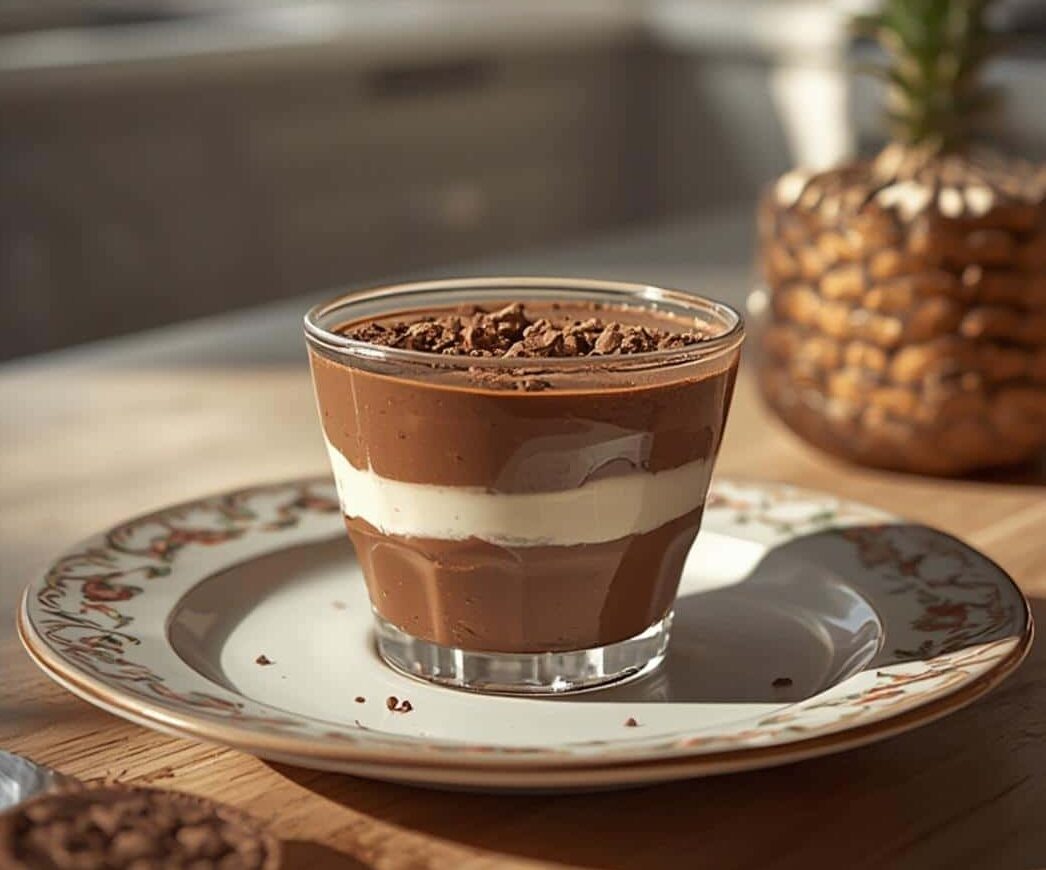
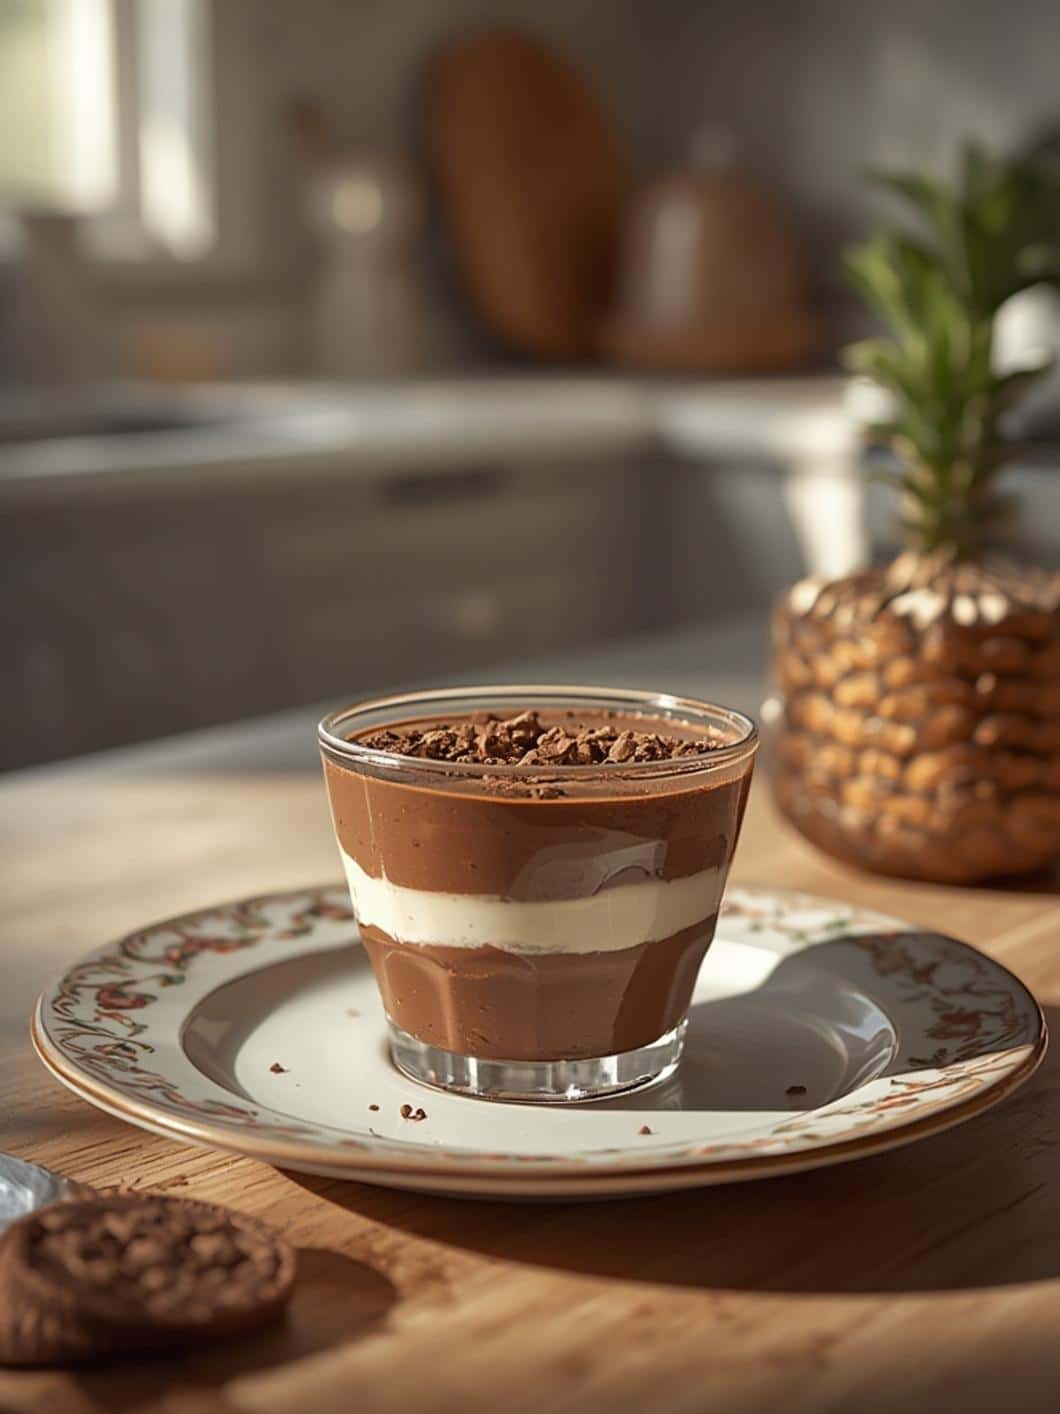
Are you craving the perfect blend of creamy peanut butter and rich chocolate but want a healthier, homemade alternative to store-bought treats? These homemade reeses cups deliver that iconic flavor combination with simple, wholesome ingredients you can feel good about. Making your own homemade reeses cup treats at home gives you complete control over quality, sweetness, and portion size while saving money compared to premium candy brands.
The beauty of crafting your own chocolate peanut butter cups, homemade candy, no-bake dessert, healthy reese’s, DIY chocolate cups lies in customization. Whether you’re following a specific diet, reducing sugar intake, or simply prefer natural ingredients, this recipe adapts beautifully to your needs. Plus, the no-bake method means you can satisfy your sweet tooth without turning on the oven, making these perfect for hot summer days or when you need a quick dessert fix.
Table of Contents
Ingredients & Kitchen Tools
For the chocolate layer:
– 1 ½ cups dark chocolate chips (70% cacao or higher for healthier option)
– 1 tablespoon coconut oil
– Pinch of sea salt
For the peanut butter filling:
– ¾ cup natural peanut butter (creamy or crunchy)
– 2 tablespoons honey or maple syrup
– 2 tablespoons coconut flour
– 1 teaspoon vanilla extract
– Pinch of sea salt
Kitchen tools needed:
– Mini muffin tin with paper liners
– Microwave-safe bowl
– Spoon or small cookie scoop
– Mixing bowls
– Measuring cups and spoons
Timing / Prep Time & Cooking Time
Total time: 45 minutes (including chilling)
Active preparation time: 15 minutes
Chill time: 30 minutes
Servings: 12-15 mini cups
These homemade reeses cups come together faster than a trip to the store, and you’ll have a batch of fresh, preservative-free treats ready in under an hour. The no-bake method makes this one of the quickest dessert options available.
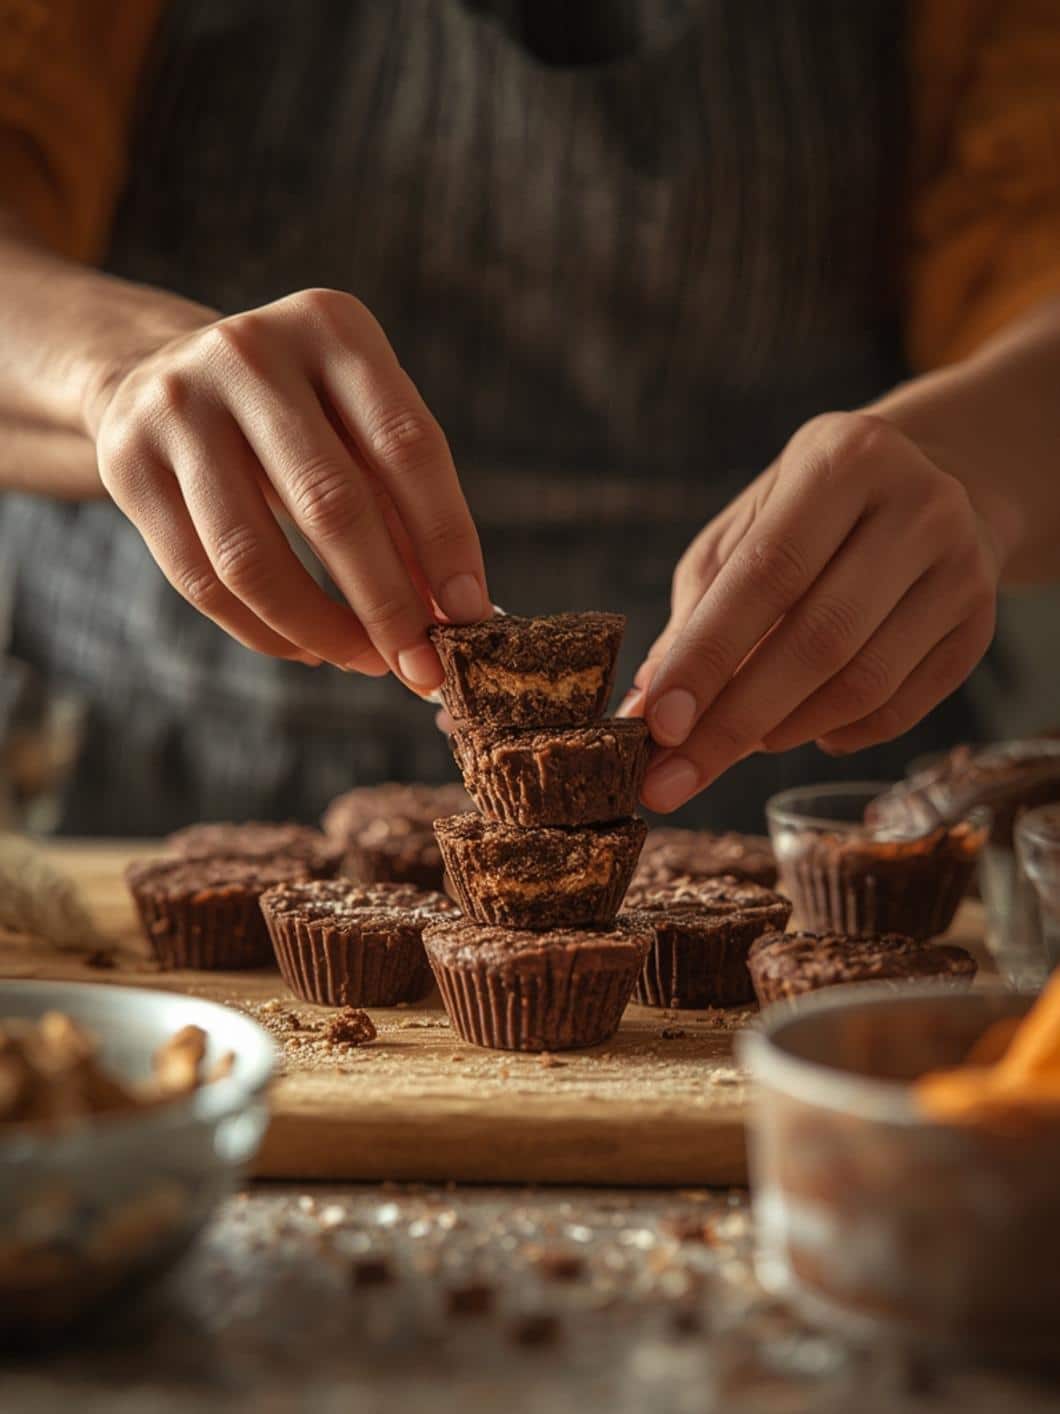
Step-by-Step Cooking Instructions
1. Prepare your workspace by lining a mini muffin tin with paper liners. This prevents sticking and makes removal effortless.
2. Create the chocolate base by melting chocolate chips and coconut oil in a microwave-safe bowl. Heat in 30-second intervals, stirring between each until smooth and glossy. The coconut oil helps create a silky texture that sets perfectly.
3. Spoon about 1 teaspoon of melted chocolate into each liner, spreading it slightly up the sides. This creates the cup shape. Place the tin in the freezer for 10 minutes to set the base.
4. While the chocolate sets, prepare the peanut butter filling. Mix natural peanut butter, honey, coconut flour, vanilla extract, and salt in a bowl until well combined. The coconut flour absorbs excess moisture and helps the filling hold its shape.
5. Remove the tin from the freezer and add a small spoonful of peanut butter mixture to each cup, pressing gently to flatten. Leave a small border around the edges for the final chocolate layer.
6. Top each cup with remaining melted chocolate, ensuring the peanut butter is completely covered. Gently tap the tin on the counter to level the surface and remove air bubbles.
7. Return to the freezer for 20-30 minutes until completely firm. The chocolate should be solid and snap when bitten.
8. Store your homemade reeses cups in an airtight container in the refrigerator for up to two weeks, or freeze for longer storage.
Nutritional Information & Benefits
Each homemade reeses cup contains approximately 120 calories, 3g protein, 8g carbohydrates, and 9g healthy fats. Using dark chocolate provides antioxidants and minerals like magnesium and iron. Natural peanut butter offers protein, healthy fats, and vitamin E. Unlike commercial versions loaded with preservatives and refined sugars, these treats use wholesome ingredients that support sustained energy rather than sugar crashes.
The no-bake method preserves the nutritional integrity of ingredients while eliminating the need for added oils or stabilizers often found in processed candies. These homemade reeses cups are naturally gluten-free and can be made vegan by using dairy-free chocolate and maple syrup instead of honey.
Tips, Variations & Substitutions
For different flavor profiles, try almond butter, cashew butter, or sunflower seed butter instead of peanut butter. Add a sprinkle of sea salt on top before the final chocolate layer sets for a gourmet salted chocolate peanut butter cups experience.
Create layered variations by adding a thin layer of raspberry jam or caramel sauce between the peanut butter and chocolate. For extra crunch, mix chopped nuts or crispy rice cereal into the peanut butter filling.
Make these truly healthy reese’s by using sugar-free chocolate chips and adjusting sweetener to taste. The coconut flour can be substituted with almond flour for a different texture, though you may need to adjust quantities slightly.
Common Mistakes to Avoid
Don’t skip the coconut oil in the chocolate layer – it’s essential for achieving the right consistency and preventing the chocolate from becoming too thick or difficult to work with. Avoid overheating the chocolate, which can cause it to seize and become grainy.
Ensure the peanut butter filling isn’t too wet, as excess moisture will prevent proper setting. If your filling seems too soft, add a bit more coconut flour. Don’t rush the chilling process – proper setting time ensures clean layers and prevents the cups from falling apart when removed from liners.
Storage & Reheating Tips
Store these homemade reeses cups in an airtight container in the refrigerator for up to two weeks. For longer storage, freeze them for up to three months. Place parchment paper between layers to prevent sticking.
These treats are best enjoyed cold or at room temperature. If frozen, let them sit at room temperature for 5-10 minutes before serving. Avoid microwaving as it can melt the chocolate unevenly and affect texture.
Conclusion
Creating your own homemade reeses cups is surprisingly simple and incredibly rewarding. You’ll enjoy the satisfaction of making a beloved treat from scratch while controlling every ingredient that goes into it. These chocolate peanut butter cups, homemade candy, no-bake dessert, healthy reese’s, DIY chocolate cups prove that indulgence and health can coexist beautifully.
Whether you’re making these for yourself, your family, or as thoughtful homemade gifts, this recipe delivers consistent results every time. The combination of rich chocolate and creamy peanut butter creates a treat that satisfies cravings while providing better nutrition than store-bought alternatives. Try making a batch this weekend and experience the joy of crafting your own homemade reeses cup perfection.
FAQs
Can I use regular peanut butter instead of natural peanut butter?
Yes, but natural peanut butter works best as it has a purer flavor and fewer additives. If using regular peanut butter, you may need less coconut flour since it contains added oils and sugars.
Why did my chocolate layer crack when I bit into it?
This usually happens when the chocolate is too thick or wasn’t tempered properly. Ensure you’re using the right ratio of chocolate to coconut oil, and don’t skip the oil as it helps create a more pliable chocolate layer.
Can I make these vegan?
Absolutely! Use dairy-free dark chocolate chips and substitute maple syrup for honey. Most dark chocolate is naturally vegan, but always check labels to be certain.
How do I prevent the peanut butter from sticking to the paper liners?
Make sure the chocolate base is completely set before adding the peanut butter layer, and ensure the top chocolate layer completely covers the filling. Using high-quality parchment paper liners also helps with easy removal.

Homemade Reese’s Cups Recipe
- Prep Time: 15 minutes
- Cook Time: 0 minutes
- Total Time: 45 minutes
- Yield: 12–15 mini cups 1x
- Category: Dessert
- Method: No-Bake
- Cuisine: American
- Diet: Gluten Free
Description
These healthy homemade Reese’s cups combine rich dark chocolate with creamy natural peanut butter for a wholesome, no-bake treat. Made with simple ingredients and no preservatives, they’re a customizable, gluten-free dessert that delivers classic flavor with better nutrition and controlled sweetness.
Ingredients
- 1 1/2 cups dark chocolate chips (70% cacao or higher)
- 1 tablespoon coconut oil
- Pinch of sea salt (for chocolate layer)
- 3/4 cup natural peanut butter (creamy or crunchy)
- 2 tablespoons honey or maple syrup
- 2 tablespoons coconut flour
- 1 teaspoon vanilla extract
- Pinch of sea salt (for filling)
Instructions
- Line a mini muffin tin with paper liners and set aside.
- In a microwave-safe bowl, melt the dark chocolate chips with coconut oil in 30-second intervals, stirring between each until smooth and glossy.
- Spoon about 1 teaspoon of melted chocolate into each liner, spreading slightly up the sides. Freeze for 10 minutes to set.
- In a separate bowl, mix peanut butter, honey or maple syrup, coconut flour, vanilla extract, and a pinch of sea salt until smooth and thick.
- Add a small spoonful of peanut butter mixture onto each chilled chocolate base, pressing gently to flatten while leaving a small border around the edges.
- Cover each cup with remaining melted chocolate, ensuring the filling is fully sealed. Tap the tin gently to level the tops and remove air bubbles.
- Freeze for 20–30 minutes until fully firm and set.
- Remove from liners and store in an airtight container in the refrigerator.
Notes
- Do not skip the coconut oil, as it ensures a smooth and properly setting chocolate layer.
- If the filling is too soft, add a small amount of extra coconut flour to firm it up.
- For a vegan version, use dairy-free chocolate and maple syrup instead of honey.
- Sprinkle flaky sea salt on top before chilling for a gourmet touch.
- Store in the refrigerator for up to 2 weeks or freeze for up to 3 months.
Nutrition
- Serving Size: 1 mini cup
- Calories: 120 kcal
- Sugar: 6 g
- Sodium: 65 mg
- Fat: 9 g
- Saturated Fat: 4 g
- Unsaturated Fat: 4.5 g
- Trans Fat: 0 g
- Carbohydrates: 8 g
- Fiber: 1 g
- Protein: 3 g
- Cholesterol: 0 mg