Skip to content
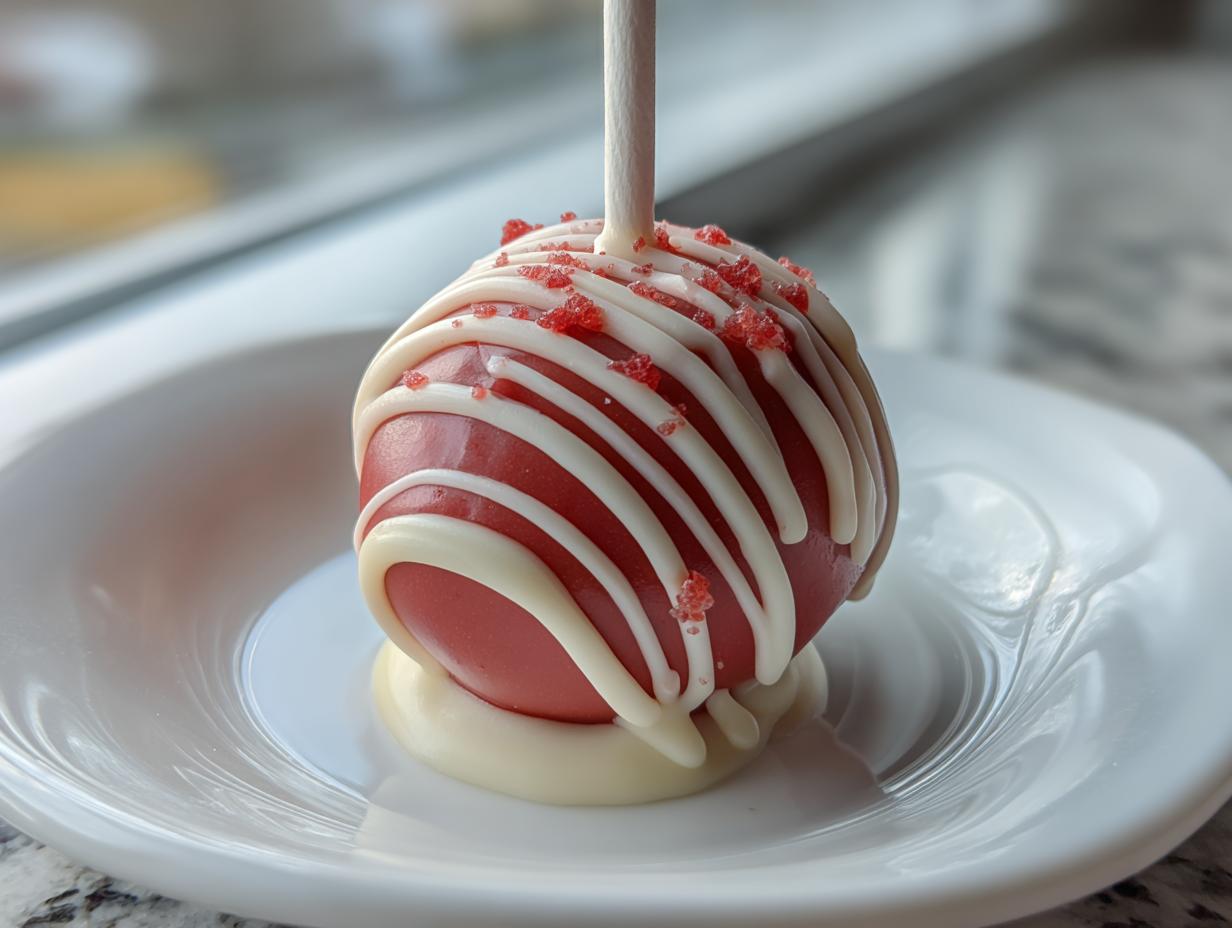
Okay, so Halloween’s creeping up, right? And you’re probably thinking about what spooky treats to whip up. Forget the same old candy corn – let’s get deliciously gory with these Bloody Red Velvet Cake Pops! Trust me, these are seriously spooky and seriously delicious. They’re always a hit!
I remember one year, I tried making fancy spiderweb cupcakes. Total Pinterest fail! They looked like… well, let’s just say the spiders had a rough night. That’s when I switched to cake pops. Way easier, and way more forgiving. Plus, you can get super creative with the decorations.
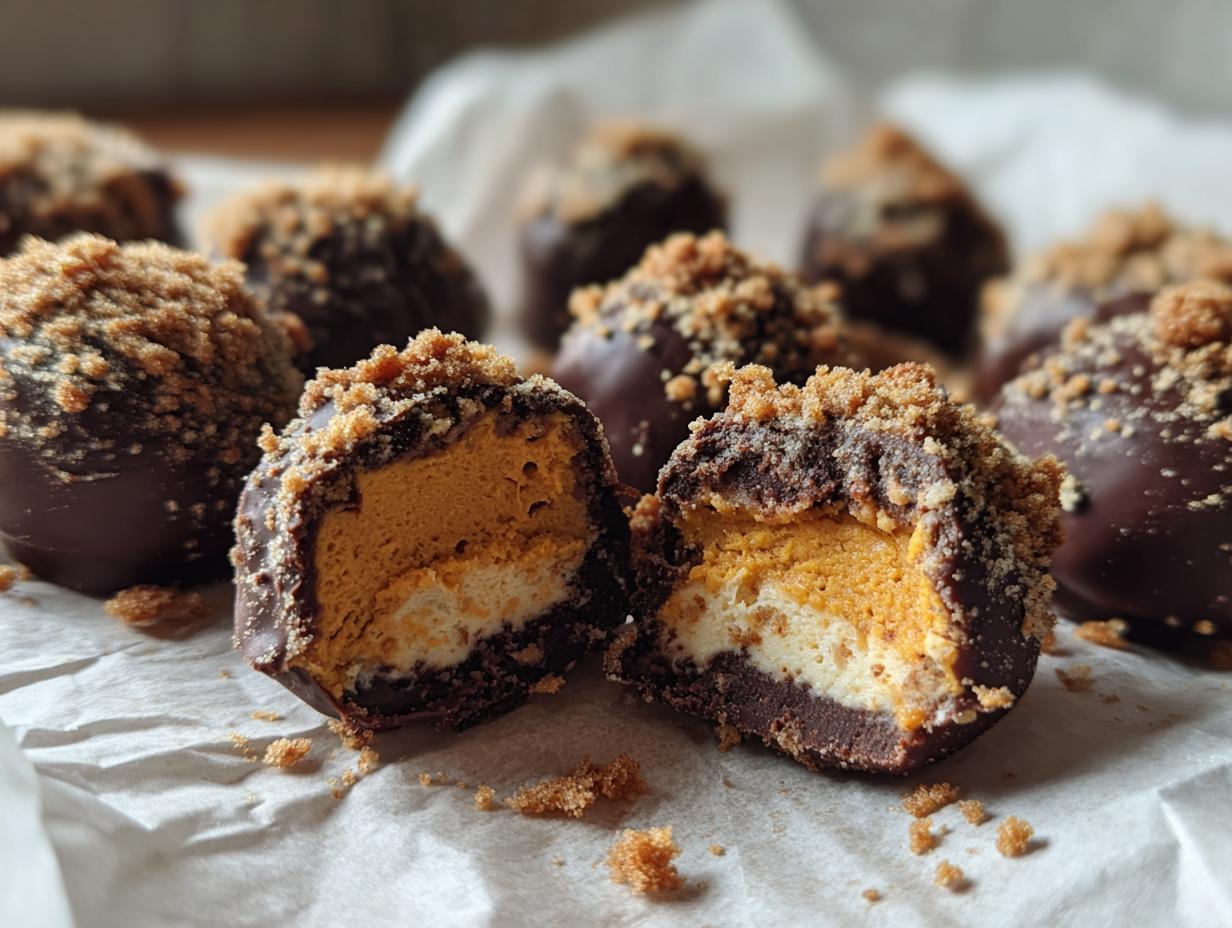
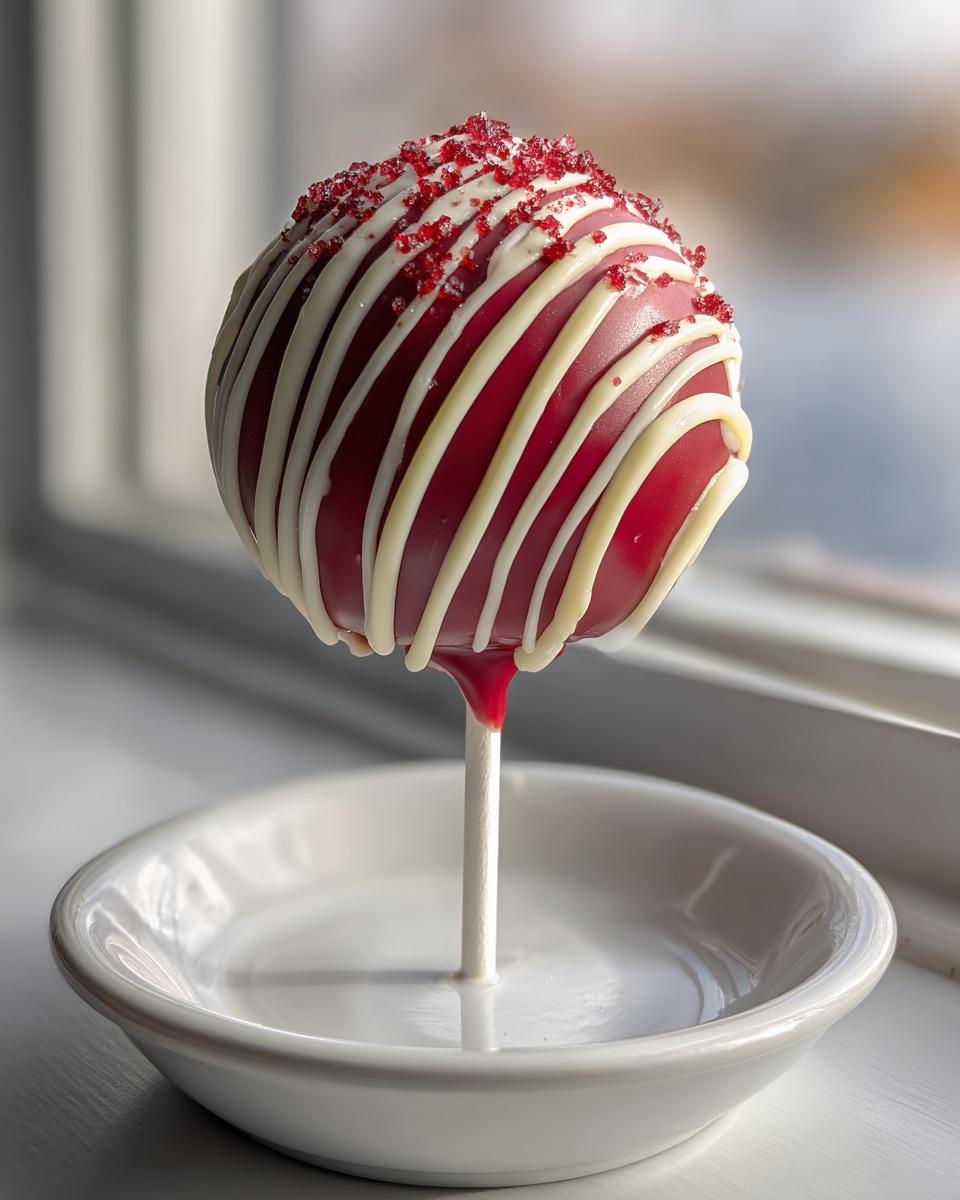
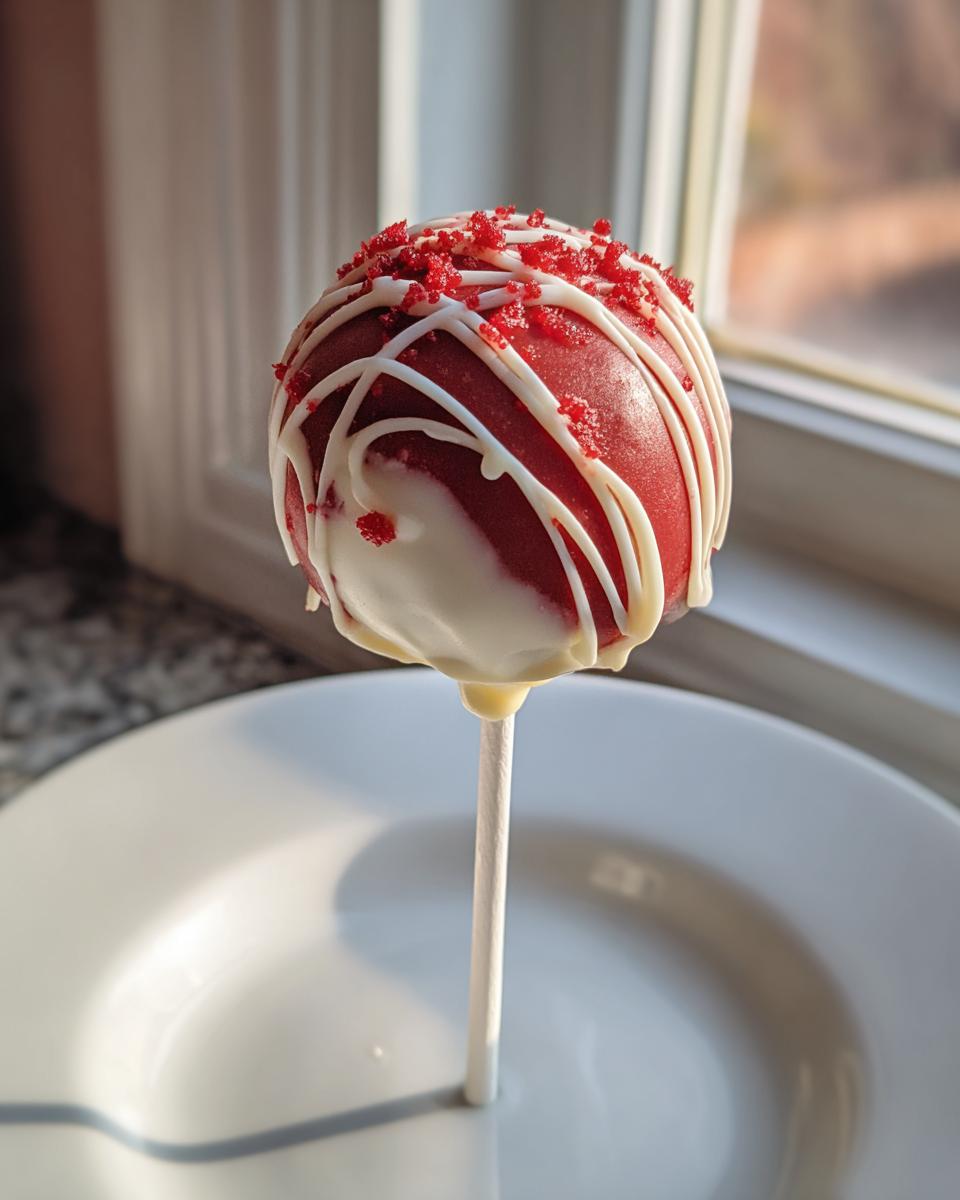
These Bloody Red Velvet Cake Pops are my go-to. The combination of that rich, red velvet cake, the creamy frosting, and the smooth chocolate shell? It’s just… *chef’s kiss*. They’re perfect for parties, school events, or just a fun night in. Get ready to wow everyone with these little bites of spooky sweetness!
Why You’ll Love These Bloody Red Velvet Cake Pops
Okay, so why should you bother making these little guys? Well, let me tell ya, they’re a total game-changer! They’re super easy, taste amazing, and are just perfect for getting into the Halloween spirit! Here’s the lowdown:
Quick and Easy Halloween Treat
Look, I’m all about easy. Using a cake mix? Genius! It cuts down on prep time like crazy. You’re basically just mixing, rolling, and dipping. My kinda baking!
Spooky and Delicious Flavor
Red velvet and chocolate? Come on! That’s a match made in spooky heaven. The tangy red velvet with that rich chocolate coating… it’s a flavor explosion in every bite. Yum!
Perfect for Halloween Parties
These Bloody Red Velvet Cake Pops are total crowd-pleasers. They look awesome on a platter, and everyone loves ’em. Plus, they’re easy to grab and go. No forks, no mess, just pure Halloween fun!
Ingredients for Your Bloody Red Velvet Cake Pops
Alright, let’s talk about what you’ll need to make these spooky-cute cake pops. Good ingredients are key, trust me! Here’s the breakdown:
Red Velvet Cake Base
Grab one box of red velvet cake mix – the standard size, you know? Prepare it exactly how the box tells you to. Now, you *could* make a red velvet cake from scratch, but honestly? The mix is so much easier, and it tastes just as good. Don’t tell Grandma I said that!
Creamy Frosting
You’ll want one can (16 oz) of cream cheese frosting. It gives that perfect tang to balance the red velvet. If you’re feeling wild, vanilla or even chocolate frosting could work, but cream cheese is my go-to. It just *works*, ya know?
Chocolate Coating
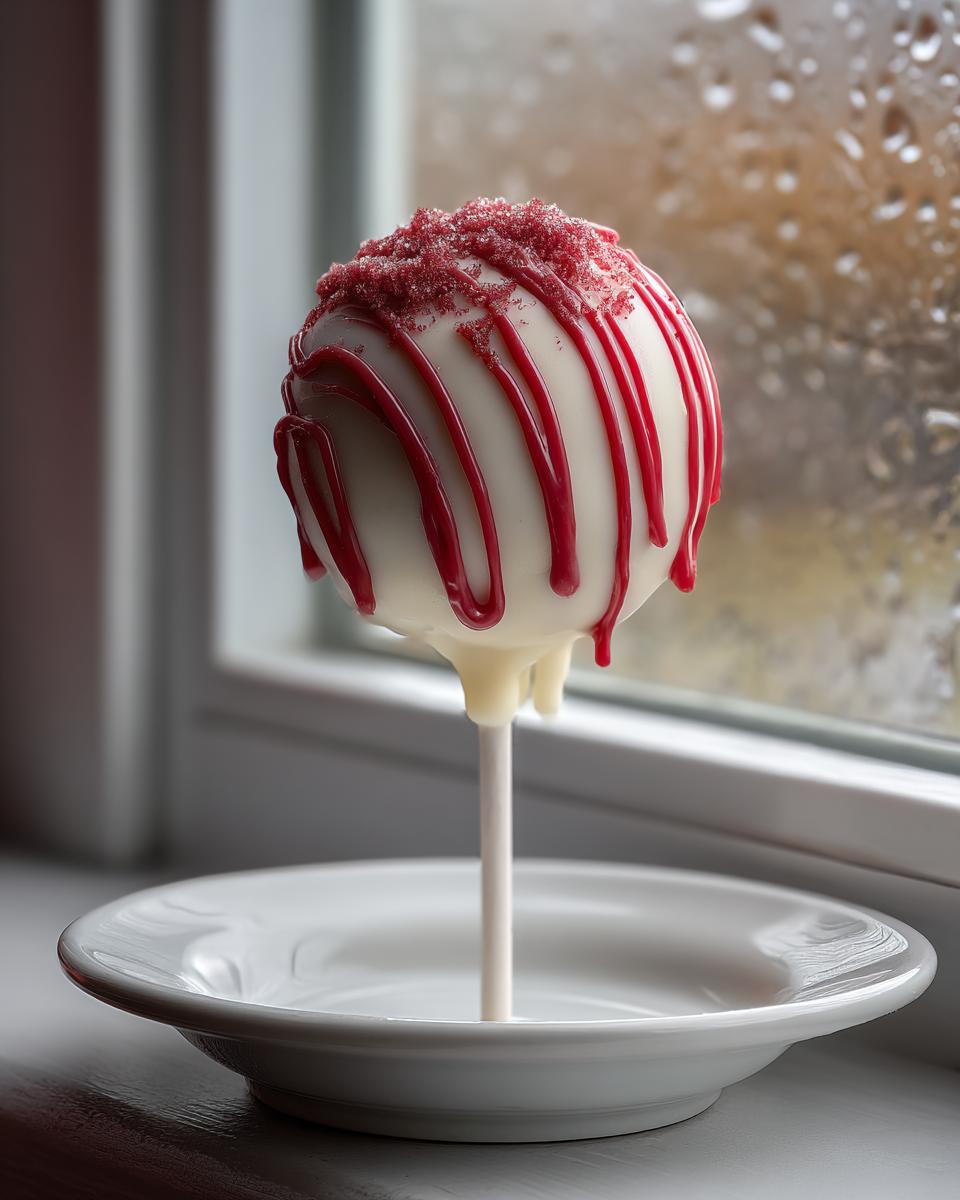
Snag 12 oz of chocolate candy coating. Melting wafers are your friend here! Milk chocolate is classic, but dark chocolate adds a nice, sophisticated edge. Or, go for white chocolate and get creative with red food coloring! Ooooh, bloody white chocolate!
Essential Supplies
Don’t forget the lollipop sticks! You can find them at any craft store or even the baking aisle. And if you really want that “bloody” look, grab some red food coloring. It’s totally optional, but it kicks up the spook-factor a notch!
Optional Decorations
This is where you can really let your inner ghoul shine! Sprinkles are always a win – think Halloween-themed, of course. Edible glitter? Yes, please! And candy eyes? OMG, they’re hilarious and creepy all at once. Get creative and have fun!
Equipment You’ll Need
Okay, before we get started, let’s make sure you’ve got all the right tools. Having everything ready just makes the whole process smoother, trust me. Here’s what you’ll need:
Baking Essentials
You’ll definitely need a baking pan (whatever size the cake mix calls for), some good ol’ mixing bowls, and your measuring cups and spoons. Nothing too fancy, just the basics!
Cake Pop Tools
Of course, you can’t make cake pops without lollipop sticks! Grab some parchment paper to keep things from sticking. And you’ll need a double boiler or a microwave-safe bowl for melting that yummy chocolate.
How to Make Bloody Red Velvet Cake Pops: A Step-by-Step Guide
Alright, buckle up, buttercup! We’re about to dive into making these awesome cake pops. Don’t worry, it’s easier than it looks. Just follow these steps, and you’ll be a cake pop pro in no time!
Baking and Crumbling the Cake
First things first, bake that red velvet cake according to the box directions. Seriously, just follow the instructions. Once it’s baked, let it cool *completely*. I’m talking stone-cold, people! Then, crumble it up in a big bowl. Like, get your hands in there and make a mess! It’s kinda therapeutic, actually.
Mixing and Shaping the Cake Pops
Now, dump that whole can of cream cheese frosting into the bowl with the cake crumbs. Mix it all together until it’s, like, totally combined. You want it to be moist enough to stick together, but not too wet. Then, roll the mixture into 1-inch balls. Try to make them even-ish, but don’t stress too much. Imperfection is charming!
Chilling and Coating with Chocolate
Pop those cake balls onto a baking sheet lined with parchment paper, and chill them in the fridge for at least 30 minutes. This is super important! If they’re not cold enough, they’ll fall apart when you dip them in the chocolate. While they’re chilling, melt your chocolate candy coating. I like to use a double boiler, but the microwave works too – just be careful not to burn it! Dip the tip of a lollipop stick into the melted chocolate, then stick it into a cake ball. Then, dip the whole cake pop into the chocolate, twirling it around to get a smooth, even coating. Tap off any extra chocolate – nobody wants a drippy mess!
Decorating and Setting the Cake Pops
Immediately after dipping, sprinkle on your decorations! Before the chocolate sets, of course. Then, pop the decorated cake pops back onto the parchment-lined baking sheet and chill them in the fridge until the chocolate is firm. And that’s it! You’ve got yourself some seriously spooky (and delicious) Bloody Red Velvet Cake Pops!
Tips for Perfect Bloody Red Velvet Cake Pops
Okay, you’ve got the steps down, but let’s talk about how to make these cake pops *amazing*. These little tricks will take your spooky treats from good to “OMG, where did you get these?!”
Achieving the Perfect Cake Ball Consistency
The frosting-to-cake ratio is key! If your cake balls are too crumbly, add a *tiny* bit more frosting. If they’re too sticky? Add more cake crumbs. It’s all about feel, baby! Trust your gut. You’ll want them to hold their shape without being gloopy.
Dipping Techniques
Dipping can be tricky, but I’ve got you! Make sure your chocolate is smooth and melted, but not too hot. Dip quickly and twirl to coat. And here’s the big one: gently tap off the excess chocolate. Seriously, tap, tap, tap! That prevents those annoying drips.
Bloody Red Velvet Cake Pops Variations
Okay, so you’ve mastered the basic recipe? Awesome! Now, let’s get a little crazy and try some fun variations. Because who wants to be boring, right?
Different Chocolate Coatings
White chocolate is amazing for that super spooky vibe. Just melt it down and add a few drops of red food coloring – instant blood drip effect! Or, go dark and mysterious with dark chocolate. It balances the sweetness perfectly. Decisions, decisions!
Flavor Infusions
A little extract can totally transform your cake pops. Try adding a dash of peppermint extract to the cake mix for a minty surprise. Or, a pinch of cinnamon or nutmeg gives them a cozy, autumn-y feel. Get creative and see what you come up with!
Storing Your Bloody Red Velvet Cake Pops
Alright, so you’ve made a batch of these beauties, but what if you have leftovers? (Highly unlikely, but hey, it could happen!). Here’s how to keep ’em fresh and delicious.
Proper Storage Instructions
Pop those cake pops into an airtight container – Tupperware is your friend! Then, stash ’em in the fridge. They’ll stay good for about a week, maybe even longer if you’re lucky. Just be warned, they might disappear faster than you think!
Frequently Asked Questions About Bloody Red Velvet Cake Pops
Got cake pop questions? I’ve got answers! Here are some of the most common things people ask me about these Bloody Red Velvet Cake Pops. Don’t be shy – if you’re wondering it, someone else probably is too!
Can I use a different type of cake?
Sure, you *can*! But honestly, red velvet is where it’s at for these. It’s the traditional choice, and it gives that awesome “bloody” look. But if you’re not a red velvet fan, chocolate or vanilla cake would totally work too. Just adjust the food coloring accordingly, ya know?
How do I prevent the cake pops from falling off the sticks?
Ugh, the dreaded cake pop plummet! The key is to make sure your melted chocolate is thick enough – not too runny. And *definitely* make sure those cake balls are super chilled before you dip them. That helps the chocolate grip better. Nobody wants a cake-pop-tastrophe!
Can I freeze these cake pops?
Yep, you can freeze ’em! But fair warning: the chocolate might “bloom,” which means it gets a kinda white-ish coating. It’s still perfectly safe to eat, it just might not look as pretty. If you’re freezing them for later, wrap them individually in plastic wrap first. That helps prevent freezer burn.
Nutritional Information for Bloody Red Velvet Cake Pops
Okay, so you’re probably wondering about the nutritional info, right? Well, here’s the deal: this is just an estimate, but each Bloody Red Velvet Cake Pop clocks in around 200 calories. They’ve also got about 10g of fat, 2g of protein, and 25g of carbs. Hey, it’s a treat! Enjoy it!
Rate this Bloody Red Velvet Cake Pops Recipe
So, did you try these spooky treats? Let me know what you think! Leave a comment below, rate the recipe, and share your creations on social media! I can’t wait to see your bloody masterpieces!
Print
Unleash 20 Sinister Bloody Red Velvet Cake Pops, Danger
- Prep Time: 30 minutes
- Cook Time: 30 minutes
- Total Time: 1 hour
- Yield: 24 cake pops 1x
- Category: Dessert
- Method: Baking
- Cuisine: American
- Diet: Vegetarian
Description
These bloody red velvet cake pops are a spooky and delicious treat for Halloween. The moist red velvet cake and creamy frosting are covered in a smooth chocolate shell, making them irresistible.
Ingredients
- 1 box red velvet cake mix
- 1 can (16 oz) cream cheese frosting
- 12 oz chocolate candy coating, melted
- Lollipop sticks
- Red food coloring (optional, for deeper color)
- Sprinkles or other decorations (optional)
Instructions
- Bake the red velvet cake according to package directions. Let cool completely.
- Crumble the cooled cake into a large bowl.
- Add the cream cheese frosting to the crumbled cake and mix until well combined.
- Roll the mixture into 1-inch balls. Place on a baking sheet lined with parchment paper.
- Chill the cake balls in the refrigerator for at least 30 minutes.
- Dip the tip of a lollipop stick into the melted chocolate and insert it into a cake ball. Repeat with remaining cake balls.
- Dip each cake pop into the melted chocolate, ensuring it’s fully coated.
- Place the dipped cake pops back on the parchment-lined baking sheet.
- Decorate with sprinkles or other decorations before the chocolate sets.
- Chill in the refrigerator until the chocolate is firm.
Notes
- For a deeper red color, add a few drops of red food coloring to the cake batter.
- Use different colored candy coatings for variety.
- Add chopped nuts or other candies to the cake ball mixture for added texture.
Nutrition
- Serving Size: 1 cake pop
- Calories: 200
- Sugar: 20g
- Sodium: 100mg
- Fat: 10g
- Saturated Fat: 6g
- Unsaturated Fat: 3g
- Trans Fat: 0g
- Carbohydrates: 25g
- Fiber: 1g
- Protein: 2g
- Cholesterol: 30mg