Okay, y’all, let’s talk festive desserts! You know I’m all about easy recipes that look like you spent hours on ’em, right? Well, this Biscoff & Nutella Butter Board? It’s *exactly* that. I mean, who doesn’t love a good excuse to play with their food?
Growing up in Texas, holidays were *always* about big family gatherings and even bigger spreads. My favorite part? The desserts, hands down. There’s just something so special about sharing a sweet treat with the people you love. And trust me, this butter board is a total crowd-pleaser. It’s like, instant smiles, guaranteed!
This Biscoff & Nutella Butter Board is so pretty and so simple to throw together. Seriously, it’s almost too easy. But hey, I’m not complaining! And being a Texas gal, I’m all about simple, flavorful recipes that everyone can enjoy. So grab your ingredients, and let’s get spreadin’!
Why You’ll Love This Biscoff & Nutella Butter Board
Okay, seriously, why *won’t* you love it? This Biscoff & Nutella Butter Board is pure genius. It’s so easy, tastes amazing, looks gorgeous, and everyone goes wild for it! What more could you want, right?
Quick and Easy Biscoff & Nutella Butter Board
Time is precious, y’all! This thing comes together in minutes. Seriously, minimal effort, maximum reward!
Irresistible Biscoff & Nutella Flavor
Biscoff and Nutella? Need I say more? It’s like a match made in dessert heaven. Soooo good!
A Show-Stopping Dessert Board
Forget boring desserts. This butter board is a total showstopper. It’ll be the star of any party, trust me!
Perfect for Sharing
Gather ’round, friends! This recipe is all about sharing the love (and the deliciousness!). It’s made for get-togethers!
Ingredients for Your Biscoff & Nutella Butter Board
Alright, here’s what you’ll need to make this magic happen! Don’t skimp on the good stuff, okay?
- 1 cup (2 sticks) unsalted butter, softened – really, *really* softened!
- ½ cup Biscoff spread, warmed a bit for easy swirling.
- ½ cup Nutella, same deal as the Biscoff – warm it up!
- Your favorite toppings! Think: chopped nuts, fresh fruit (berries are my go-to!), mini pretzels, Biscoff cookies (duh!), chocolate chips…get creative!
Step-by-Step Instructions: How to Make a Biscoff & Nutella Butter Board
Okay, here comes the fun part! Don’t be intimidated. This is seriously easy, I promise! Just follow these steps, and you’ll have a stunning (and yummy!) Biscoff & Nutella Butter Board in no time.
Preparing the Butter Base for Your Biscoff & Nutella Butter Board
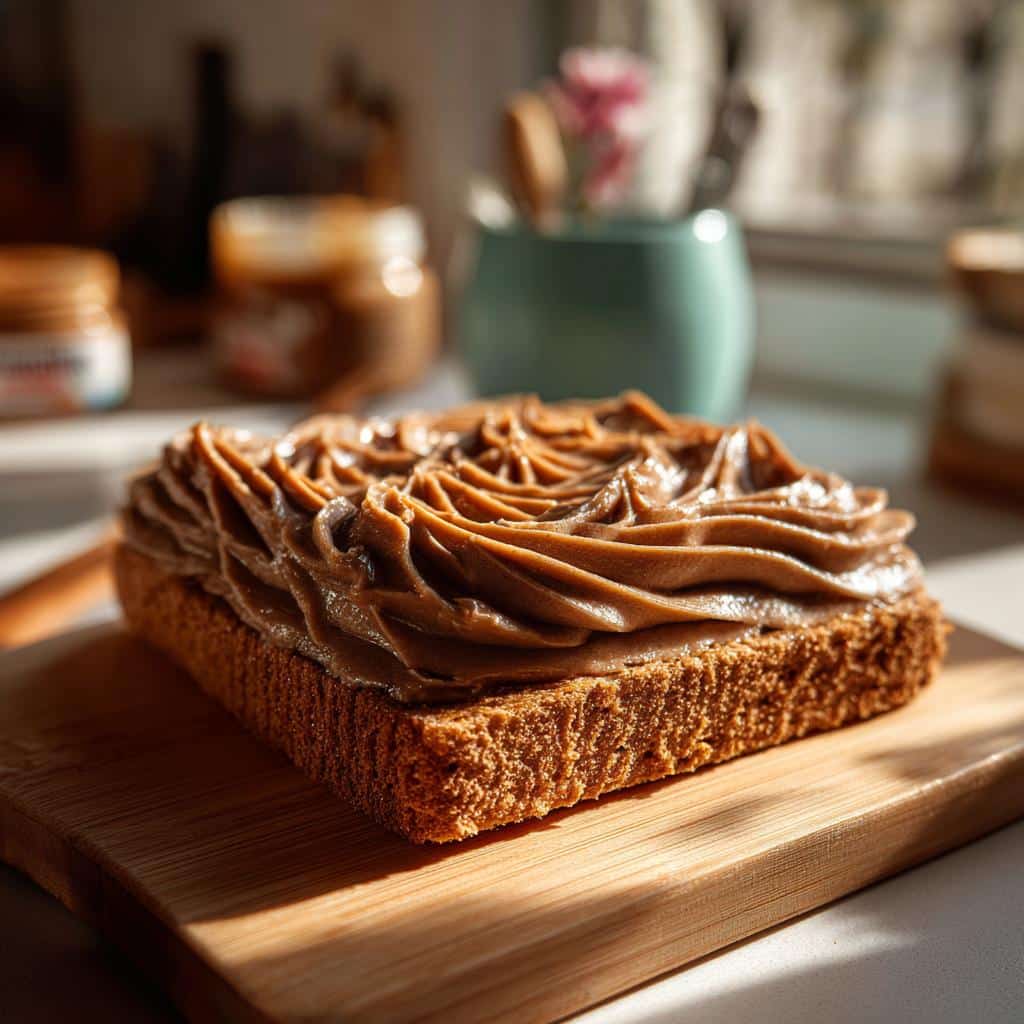
First things first: that butter! Make *sure* it’s super soft. I’m talkin’ leave-it-out-for-a-couple-hours soft. If it’s not soft enough, you’ll end up with a lumpy mess, and nobody wants that! Grab your prettiest board (a wooden one works great!), and spread that softened butter all over it. Don’t be shy! You want a nice, even layer.
Adding the Biscoff and Nutella
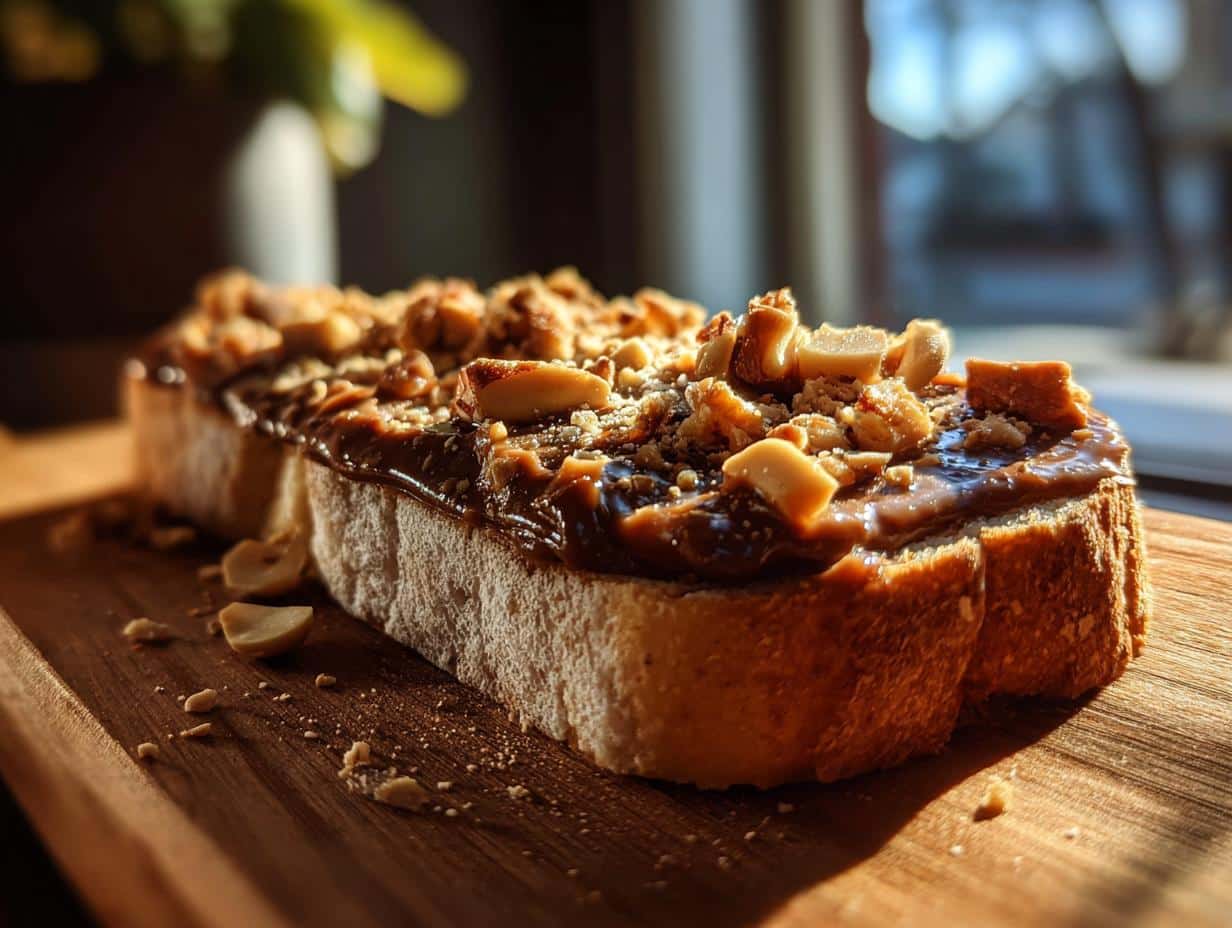
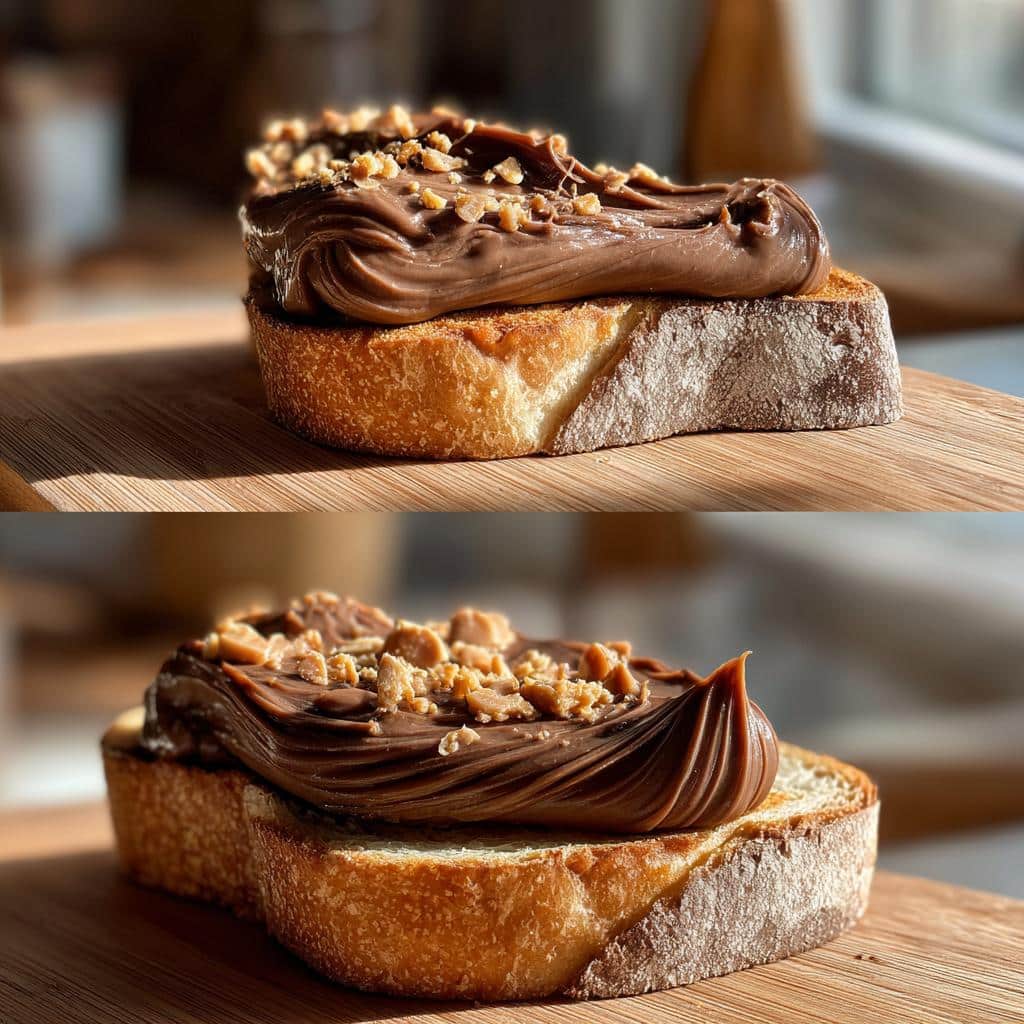
Now for the good stuff! Remember how I said to warm up the Biscoff and Nutella? This is why! It makes them *so* much easier to swirl. Dollop spoonfuls of each all over the butter. Then, grab a knife or a toothpick (or even a chopstick!), and get swirling! Don’t overdo it, though. You want to see ribbons of both Biscoff and Nutella.
Decorating Your Biscoff & Nutella Butter Board
Okay, this is where you get to be an artist! Arrange your toppings all over the butter board. I like to create little piles of each topping. Think about colors and textures. Berries look great next to chopped nuts. Mini pretzels add a salty crunch. And crumbled Biscoff cookies? Come on! It’s all about making it look pretty and inviting.
Serving Your Delicious Biscoff & Nutella Butter Board
Ta-da! You did it! Now, grab some crackers, pretzels, fruit, cookies…whatever you like! Arrange them around the board for easy dipping. And that’s it! Watch your friends’ and family’s eyes light up when they see this masterpiece. Enjoy!
Tips for the Best Biscoff & Nutella Butter Board
Want to take your butter board from “good” to “OMG!”? I’ve got you covered! Here are a few little secrets I’ve learned along the way.
First, room temperature is your friend! Seriously, softened butter is key (as I mentioned before, but it’s *that* important!). Also, don’t be afraid to get creative with your toppings! That’s my fave part!
Another tip? Chill that board *before* serving! It helps everything stay put and keeps the butter from getting too melty. Nobody wants a runny butter board, right? And hey, if you’re feeling fancy, sprinkle a little sea salt on top – it totally elevates the flavors!
Biscoff & Nutella Butter Board Variations
Okay, so you’ve nailed the classic Biscoff & Nutella Butter Board? Awesome! Now let’s get a little wild, shall we? Don’t be afraid to mix things up! It’s all about having fun in the kitchen, right?
Try swapping out the Nutella for some peanut butter (yum!) or even some marshmallow fluff (sooo good!). A little cinnamon or nutmeg sprinkled on top adds a cozy, fall-ish vibe. And hey, why not throw in some crushed Oreos or even some Reese’s Pieces? The possibilities are endless, y’all!
Serving Suggestions for Your Biscoff & Nutella Butter Board
Alright, so you’ve got this gorgeous butter board…now what to dip? Honestly, anything goes! But my faves are graham crackers (duh!), salty pretzels for that sweet-and-salty thing, and fresh apple slices for a little healthy-ish vibe. Oh, and don’t forget some Biscoff cookies for extra credit!
FAQ About Making a Biscoff & Nutella Butter Board
Got questions? I got answers! Here are a few things folks often ask about makin’ this crazy-good Biscoff & Nutella Butter Board.
Can I make a healthy Biscoff & Nutella Butter Board?
Okay, let’s be real… “healthy” might be stretchin’ it a bit! But, you *can* make it *healthier*! Load up on fresh fruit, use whole-wheat crackers, and maybe go light on the Nutella. Every little bit helps, right?
How long does a Biscoff & Nutella Butter Board last?
Honestly? Not long at *my* house! But seriously, it’s best served fresh. If you have leftovers, wrap it up tight and pop it in the fridge. It’ll be good for a day or two, but the crackers might get a little soggy. So eat up, y’all!
What are some other Biscoff & Nutella Butter Board ideas?
Oh, honey, the sky’s the limit! Try adding some chopped dates or figs for a fancy touch. A sprinkle of sea salt is *always* a good idea. And hey, if you’re feeling extra, drizzle some honey or maple syrup on top! Get creative and have fun with it!
Estimated Nutritional Information for Biscoff & Nutella Butter Board
Okay, y’all, just a heads-up: this is gonna be an *estimate*, but each serving? Probably lookin’ at a good bit of calories, fat, sugar, carbs, and protein. But hey, it’s a treat! Enjoy!
Enjoy Your Biscoff & Nutella Butter Board!
Alright, y’all, that’s it! Now go make this Biscoff & Nutella Butter Board and wow your friends! And hey, if you try it, leave a comment and let me know what you think! Share it on social media, too! Enjoy!
Print
Delicious Biscoff & Nutella Butter Board in Just 2 Steps
- Prep Time: 30 minutes
- Cook Time: 35 minutes
- Total Time: 1 hour 30 minutes
- Yield: 12 servings
- Category: Dessert
- Method: Baking
- Cuisine: American
- Diet: Vegetarian
Description
Make a gory and delicious Bloody Brain Cake for your Halloween party. This cake features a realistic brain design with red velvet cake and a strawberry glaze.
Ingredients
- Red velvet cake mix
- Eggs
- Oil
- Water
- Cream cheese frosting
- Gray food coloring
- Strawberry glaze
- Raspberry coulis (optional)
Instructions
- Prepare the red velvet cake according to package directions.
- Bake the cake in a brain-shaped mold or carve it into a brain shape after baking.
- Let the cake cool completely.
- Mix cream cheese frosting with gray food coloring.
- Frost the cake to resemble a brain.
- Drizzle strawberry glaze over the cake for a bloody effect.
- Add raspberry coulis for extra gore (optional).
- Refrigerate until ready to serve.
Notes
- Use a gelatin brain mold for a more detailed brain shape.
- Experiment with different shades of gray buttercream for a realistic look.
- Add edible glitter for a shiny, gruesome effect.
Nutrition
- Serving Size: 1 slice
- Calories: 450
- Sugar: 40g
- Sodium: 250mg
- Fat: 25g
- Saturated Fat: 15g
- Unsaturated Fat: 8g
- Trans Fat: 0.5g
- Carbohydrates: 55g
- Fiber: 1g
- Protein: 4g
- Cholesterol: 75mg