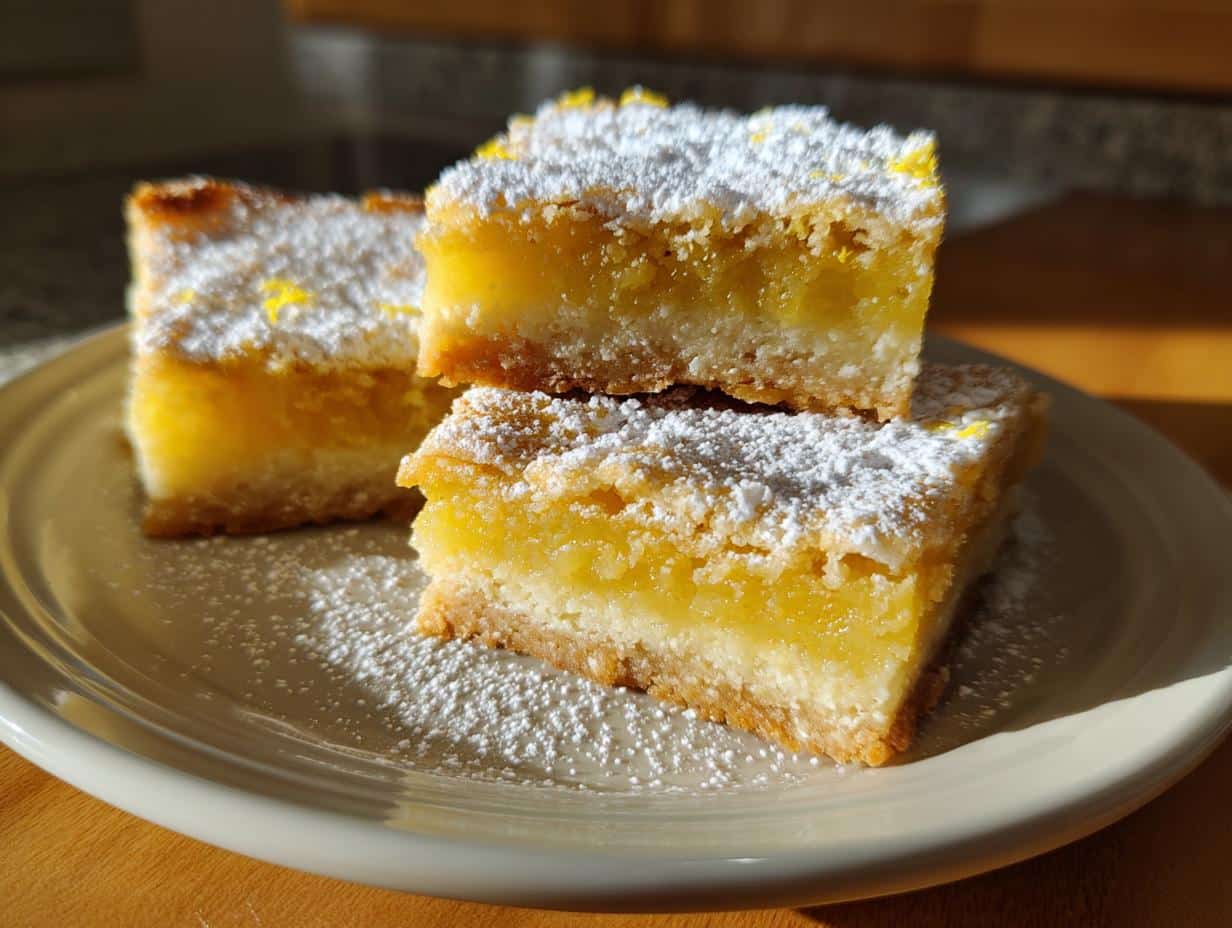
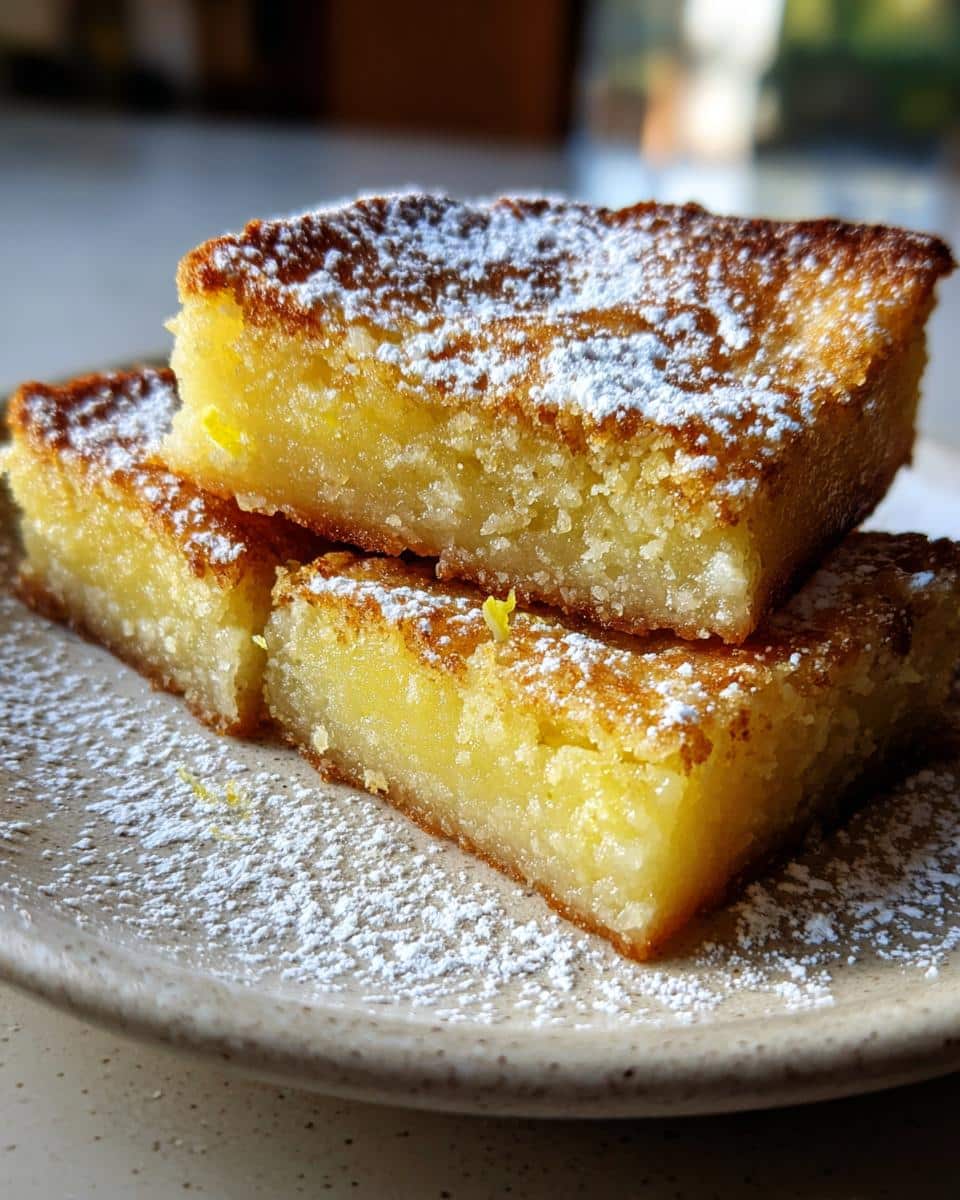
Okay, so lemon bars, right? Is there anything better? Especially when you’re feeding a crowd? I remember one time, I brought these lemon bars to a family reunion, and they were *gone* in like, five minutes. Total hit! That’s why I’m so excited to share this lemon bars 9×13 pan recipe with y’all. It’s seriously the perfect size for potlucks, holidays, or, you know, just a Tuesday when you need a little sunshine (and sugar!). It’s quick, it’s easy, and trust me, everyone will be begging you for the recipe. Being a home cook from Texas, sharing simple and flavorful recipes is my thing, so these lemon bars fit right in!
Why You’ll Love This Lemon Bars 9×13 Pan Recipe
Seriously, what’s not to love? These lemon bars are a total winner, and here’s why:
- Super easy to make – even if you’re not a baking pro!
- The 9×13 pan is perfect for parties and potlucks.
- That tangy and sweet flavor? Irresistible!
- You probably already have most of the ingredients in your pantry.
- They’re always a crowd-pleaser, guaranteed!
- Plus, they add a little sunshine to any day. Who doesn’t need that?
Ingredients for Lemon Bars 9×13 Pan
Alright, let’s gather our goodies! Here’s what you’ll need to make these amazing lemon bars:
- 1 cup (2 sticks) unsalted butter, softened – make sure it’s *softened*, not melted!
- 1/2 cup powdered sugar
- 2 cups all-purpose flour
- 4 large eggs
- 2 cups granulated sugar
- 1/3 cup all-purpose flour
- 2/3 cup lemon juice – fresh squeezed is best, trust me!
- Powdered sugar, for dusting – because everything’s better with a little extra sweetness!
How to Make Lemon Bars 9×13 Pan: Step-by-Step Instructions
Okay, ready to get baking? Don’t worry, it’s easier than you think! Just follow these super simple steps, and you’ll have a pan full of lemony goodness in no time.
- First things first: Preheat your oven to 350°F (175°C). This is important! You don’t want to forget, otherwise, uh-oh, we’re starting from scratch!
- Now, in a bowl (I usually use my stand mixer, but a regular bowl and some elbow grease work just fine!), cream together your softened butter and 1/2 cup of powdered sugar. Get it nice and smooth, like frosting.
- Gradually add the 2 cups of all-purpose flour until it’s all combined. Don’t overmix, though! You just want it to come together.
- Press that mixture into the bottom of your 9×13 inch pan. I like to use my fingers to really get it in there nice and even.
- Pop that pan into the preheated oven and bake for 20 minutes. You want the crust to be *slightly* golden. This step is key; it keeps the bars from getting soggy!
- While the crust is baking, let’s make the lemon filling! In another bowl, whisk together those 4 large eggs and 2 cups of granulated sugar. Whisk, whisk, whisk!
- Add 1/3 cup of all-purpose flour and the 2/3 cup of lemon juice to the egg mixture; mix it all up real good, until it’s nice and smooth. If you wanna go crazy, toss in a lil’ lemon zest!
- Okay, crust is ready! Carefully pour that lemon filling right over the baked crust. Try to get it even, but don’t stress too much.
- Back into the oven it goes for another 25 minutes, or until the filling is set. You’ll know it’s ready when it doesn’t jiggle too much when you gently shake the pan.
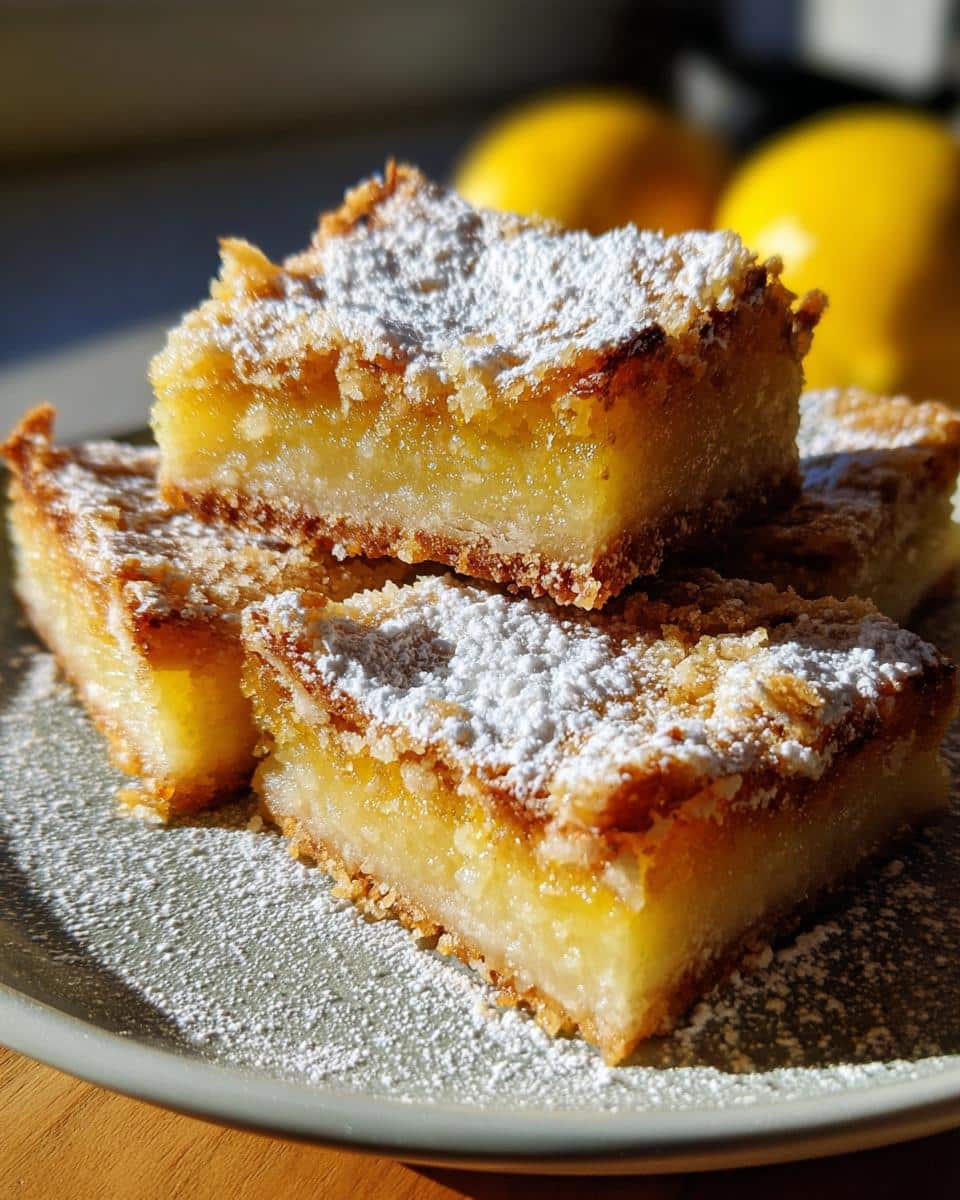
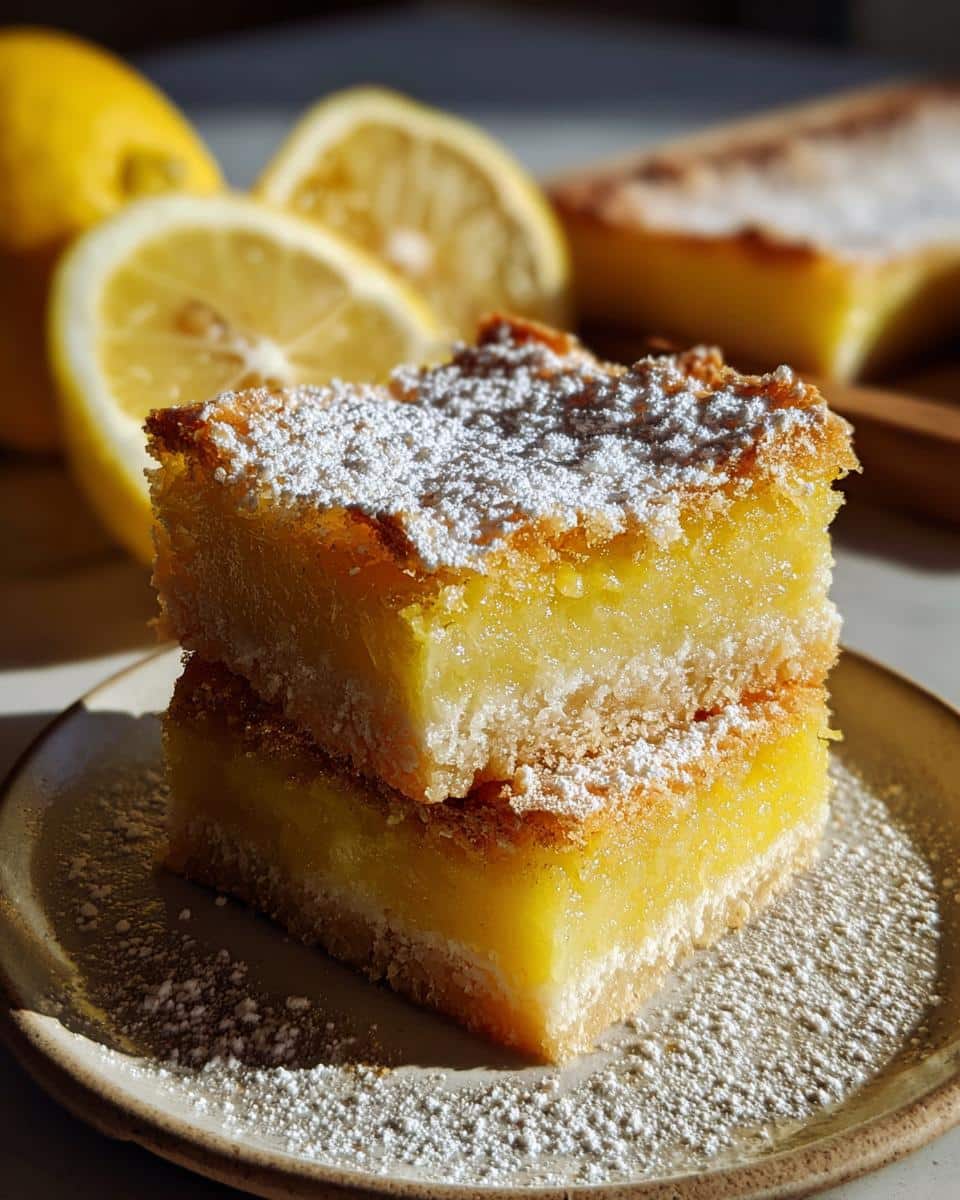
- Now comes the *hardest* part: Let it cool *completely* before dusting with powdered sugar and cutting into bars. I know, I know, it’s tempting to dig in right away, but trust me, it’s worth the wait! If you cut into them while they’re warm, they’ll be a gooey mess.
- Dust with powdered sugar (because why not?) and cut into bars. I like to use a big knife and wipe it clean between cuts for nice, neat bars.
And there you have it! Beautiful, delicious lemon bars that are perfect for sharing… or not sharing. Your call!
Tips for the Best Lemon Bars 9×13 Pan
Alright, wanna take these lemon bars from good to *amazing*? Of course, you do! Here are a few little secrets I’ve learned over the years to make ’em absolutely perfect. These come from my share of kitchen oopsies, so save yourself the trouble!
- **Fresh lemon juice is a MUST!** Seriously, skip the bottled stuff. The flavor is just so much brighter and more lemony when you use fresh juice. Plus, you can zest the lemon for an extra zing!
- **Don’t overbake that crust!** A slightly golden crust is perfect — you don’t want it too brown or hard. It’s gotta be the right balance.
- **Patience is a virtue!** I know it’s tough, but letting those bars cool *completely* before cutting is key. Otherwise, they’ll be all gooey and melty. Let gravity do its thing; you can thank me later.
Serving Suggestions for Your Lemon Bars 9×13 Pan
Okay, so you’ve got these gorgeous lemon bars… now what? Well, honestly, they’re pretty perfect on their own! But if you wanna get a little fancy, here are a couple of ideas:
- A dollop of freshly whipped cream? Yes, PLEASE! It just adds a little extra bit of luxuriousness, ya know?
- Or how about some fresh berries? Raspberries or strawberries would be *amazing* with that lemony tang.
Seriously, keep it simple or dress ’em up! You can’t go wrong!
Make-Ahead and Storage Tips for Lemon Bars 9×13 Pan
Want to get ahead of the game? Smart move! These lemon bars are totally make-ahead friendly. You can bake ’em a day or two in advance, just keep them covered tightly at room temperature. They’re even yummy straight from the fridge, but make sure those bars are covered so they don’t dry out! For longer storage, you can totally freeze them! Just wrap them individually in plastic wrap, then pop them into a freezer bag. They’ll keep for a month or two. Just thaw them out completely before dusting with powdered sugar (again…because yum!) and serving. Perfect for whenever that lemon craving hits!
FAQ About Making Lemon Bars 9×13 Pan
Got questions? I’ve got answers! Here are a few of the most common things folks ask me about making these lemon bars. Don’t worry, I’ve probably made the same mistakes you’re worried about, so lean in, and let’s get baking!
Can I use bottled lemon juice?
Okay, okay, I know I said fresh lemon juice is a must, and it really *is* the best. But if you’re in a pinch, yeah, you can use bottled lemon juice. Just try to get the best quality stuff you can find, and maybe add a little extra lemon zest to boost that flavor. But promise me you’ll try it the right way next time!
How do I prevent a soggy crust?
Soggy crust? No, thank you! The secret is to pre-bake the crust before adding the lemon filling. That little bit of baking time helps to set the crust and keep it from getting soggy when you pour in the filling. Also, make sure you let the bars cool completely before cutting them; that also helps prevent sogginess.
How long do lemon bars last?
If they last that long! Haha! Seriously though, these lemon bars are best enjoyed within 2-3 days. Keep them stored in an airtight container at room temperature or in the fridge. And trust me, they’re just as delicious (if not more!) the next day. That’s what i’m always thinking about before cutting them up, but rarely does it happen!
Nutritional Information Disclaimer
Just a quick note: The nutrition info is just an estimate! It can vary depending on the exact ingredients and brands you use. So, take it with a grain of (powdered) sugar!
Enjoy Your Homemade Lemon Bars
Alright, friend, that’s it! You’ve officially made some killer lemon bars. Now, I wanna know what you think! Leave a comment below, rate the recipe, or share your lemony creations on social media. And hey, if you’re curious about the recipes and what makes me tick check out my About Us page! Thanks so much for baking with me, y’all, and be sure to check out my other recipes. I’m all about dishing out those tasty meals!
Print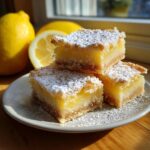
Lemon Bars for a 9×13 Pan
- Prep Time: 20 min
- Cook Time: 45 min
- Total Time: 65 min
- Yield: 24 servings 1x
- Category: Dessert
- Method: Baking
- Cuisine: American
- Diet: Vegetarian
Description
Make these classic lemon bars in a 9×13 inch pan. They are easy to prepare and perfect for gatherings.
Ingredients
- 1 cup (2 sticks) unsalted butter, softened
- 1/2 cup powdered sugar
- 2 cups all-purpose flour
- 4 large eggs
- 2 cups granulated sugar
- 1/3 cup all-purpose flour
- 2/3 cup lemon juice
- Powdered sugar, for dusting
Instructions
- Preheat oven to 350°F (175°C).
- In a bowl, cream together butter and 1/2 cup powdered sugar.
- Gradually add 2 cups flour until combined.
- Press mixture into the bottom of a 9×13 inch pan.
- Bake for 20 minutes.
- In another bowl, whisk together eggs and granulated sugar.
- Add 1/3 cup flour and lemon juice; mix well.
- Pour over the baked crust.
- Bake for an additional 25 minutes, or until set.
- Let cool completely before dusting with powdered sugar and cutting into bars.
Notes
- For a tangier flavor, add lemon zest to the filling.
- Ensure the crust is slightly golden before adding the filling to prevent a soggy bottom.
Nutrition
- Serving Size: 1 bar
- Calories: 180
- Sugar: 20g
- Sodium: 50mg
- Fat: 8g
- Saturated Fat: 5g
- Unsaturated Fat: 2g
- Trans Fat: 0g
- Carbohydrates: 25g
- Fiber: 0g
- Protein: 2g
- Cholesterol: 45mg