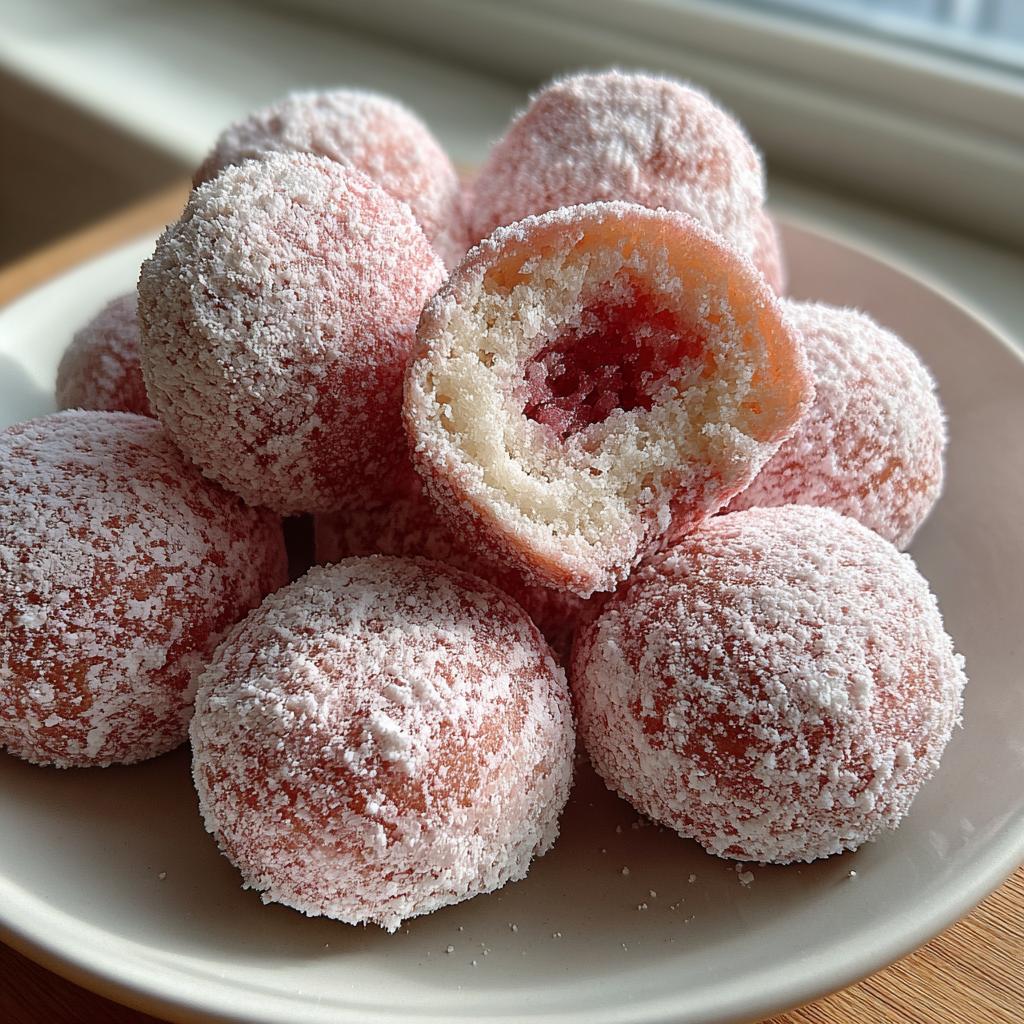
Okay, so Valentine’s Day is coming, and you KNOW what that means: cute desserts are a MUST. I’ve *always* loved baking, especially when I get to share the goodies with my friends. This year? It’s all about these adorable Mochi donut minis! I swear, these are the *perfect* little treat for Galentine’s, a romantic dessert board with your sweetie, or just, you know, a Tuesday when you need something pink and sparkly.
I’ve been experimenting with mochi donuts for ages (seriously, ask my neighbors!), and these minis are my latest obsession. They’re gluten-free, chewy, and seriously addictive. Plus, they’re small, so you can pop like five without feeling *too* guilty, haha! These little guys also look *amazing* on Instagram – #pinkdessertaesthetic, anyone? This recipe is easy enough for even beginner bakers, trust me. Let’s dive into the super-fun viral mochi donut minis trend!
Why You’ll Adore These Mochi Donut Minis
Okay, seriously, get ready to fall in LOVE. These little Mochi donut minis are just…*chef’s kiss*. Here’s why they’re gonna be your new go-to treat:
- **Quick & Easy:** Seriously, you can whip these up in under an hour.
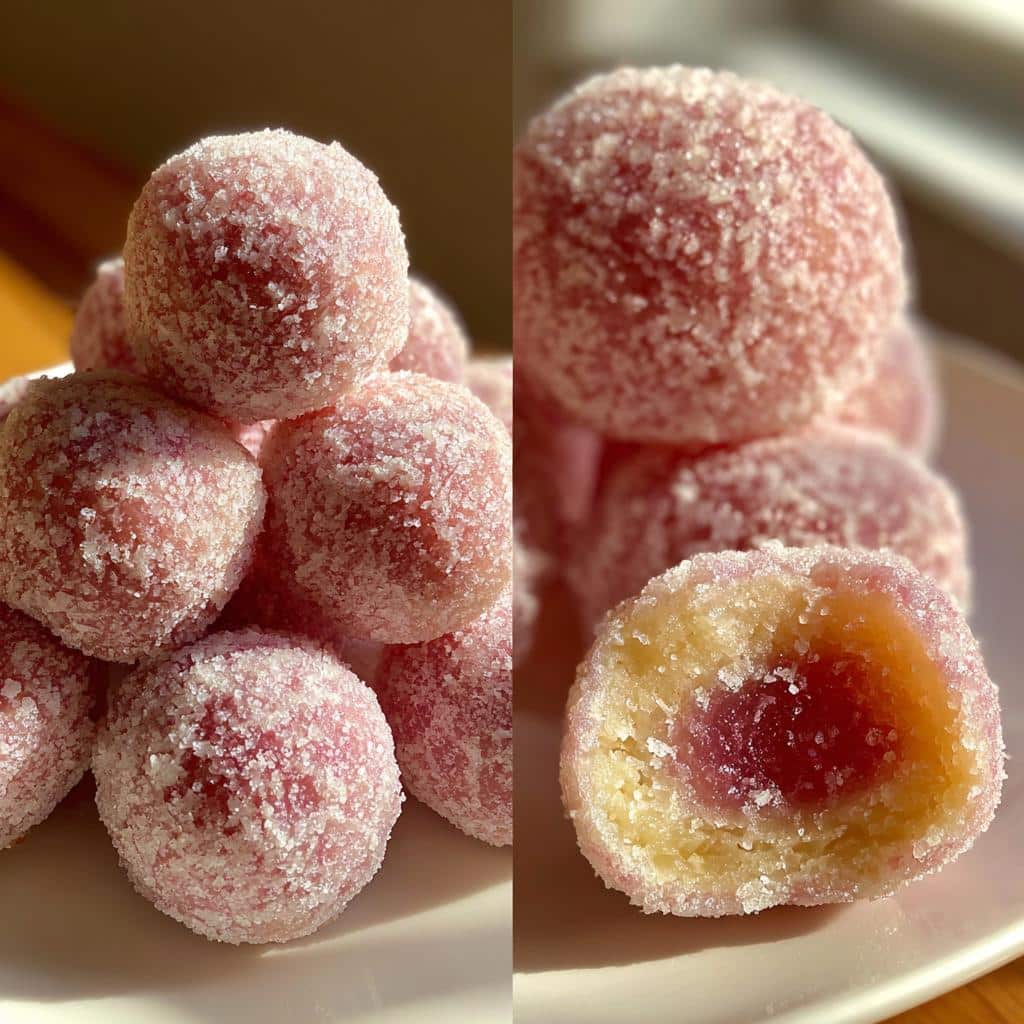
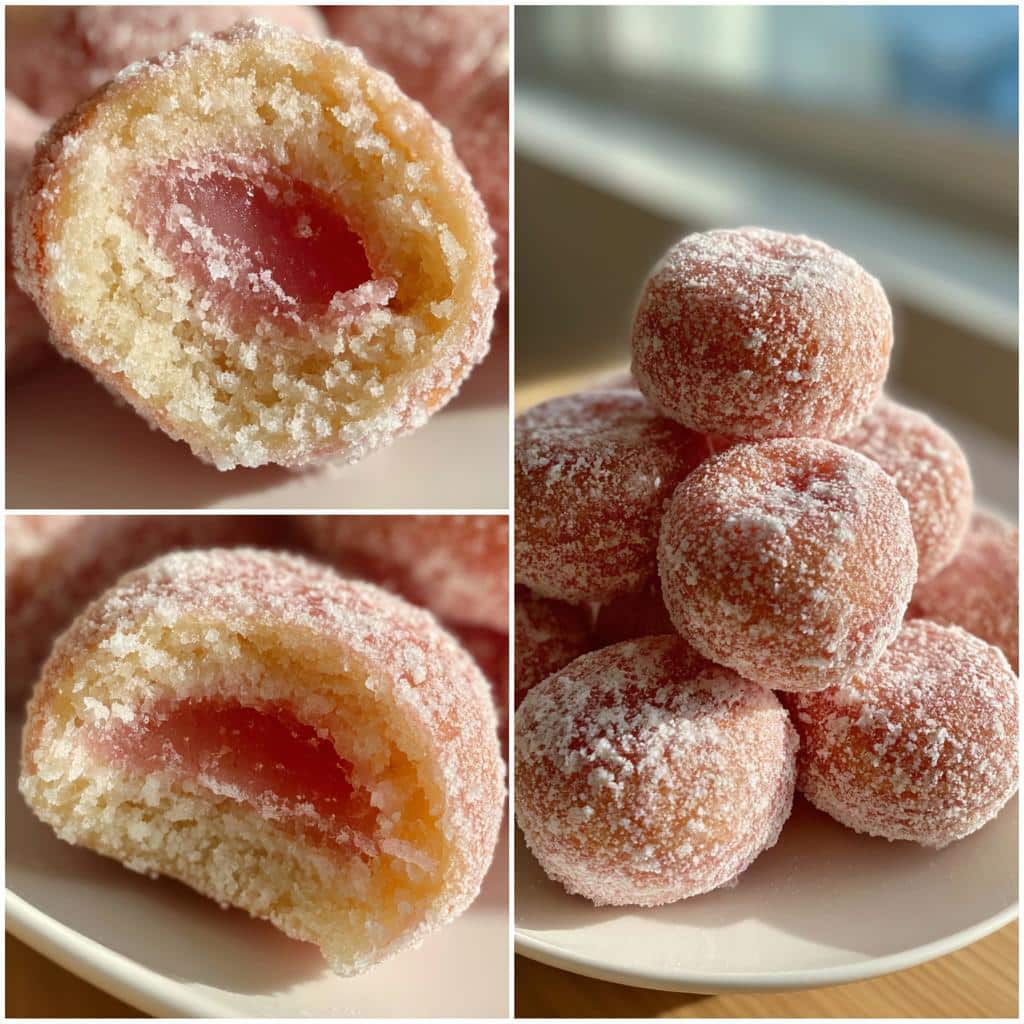
- **Super Cute:** I mean, look at them! Perfect for that pink dessert aesthetic.
- **Totally Shareable:** Ideal for parties or a romantic dessert board (if you’re feeling generous!).
- **Party Perfect:** Galentine’s? Valentine’s? Any excuse is a good excuse!
- **Riding the Viral Wave:** Jump on the Mochi donut minis trend with *the* cutest version out there!
Ingredients for Your Mochi Donut Minis
Alright, let’s gather our goodies! Here’s what you’ll need to make these magical Mochi donut minis:
- 1 cup glutinous rice flour
- 1/2 cup granulated sugar
- 1 teaspoon baking powder
- 1/4 teaspoon salt
- 1/2 cup milk
- 1 large egg
- 2 tablespoons melted butter
- 1/2 teaspoon vanilla extract
- Pink food coloring (optional, but highly recommended! 😉)
- Powdered sugar, for dusting (and making everything pretty!)
How to Make Mochi Donut Minis: Step-by-Step Instructions
Okay, ready to get baking? Don’t worry, it’s easier than it looks! Just follow these steps, and you’ll have a batch of adorable Mochi donut minis in no time.
- Preheat, Preheat, Preheat! Seriously, don’t skip this. Crank that oven up to 350°F (175°C). We want these babies to bake evenly.
- Dry Ingredients Unite! In a medium bowl, whisk together that glutinous rice flour (it’s what makes them chewy!), sugar, baking powder, and salt. Get all the lumps out!
- Wet Ingredient Party! In a *separate* bowl (yes, a clean one!), mix the milk, egg, melted butter, and vanilla extract. Now, if you’re going for the full-on pink dessert aesthetic (and you *should* be!), add a few drops of pink food coloring. Stir until it’s the perfect shade of blush!
- Combine the Forces! Pour your wet ingredients into the bowl with the dry ingredients. Now, here’s the key: mix until *just* combined. A few lumps are okay! Overmixing will make them tough, and nobody wants tough Mochi donut minis.
- Piping Time! This is where things get fun (and a little messy!). Transfer your batter to a piping bag. Don’t have one? No worries! A zip-top bag with a corner snipped off works just as well.
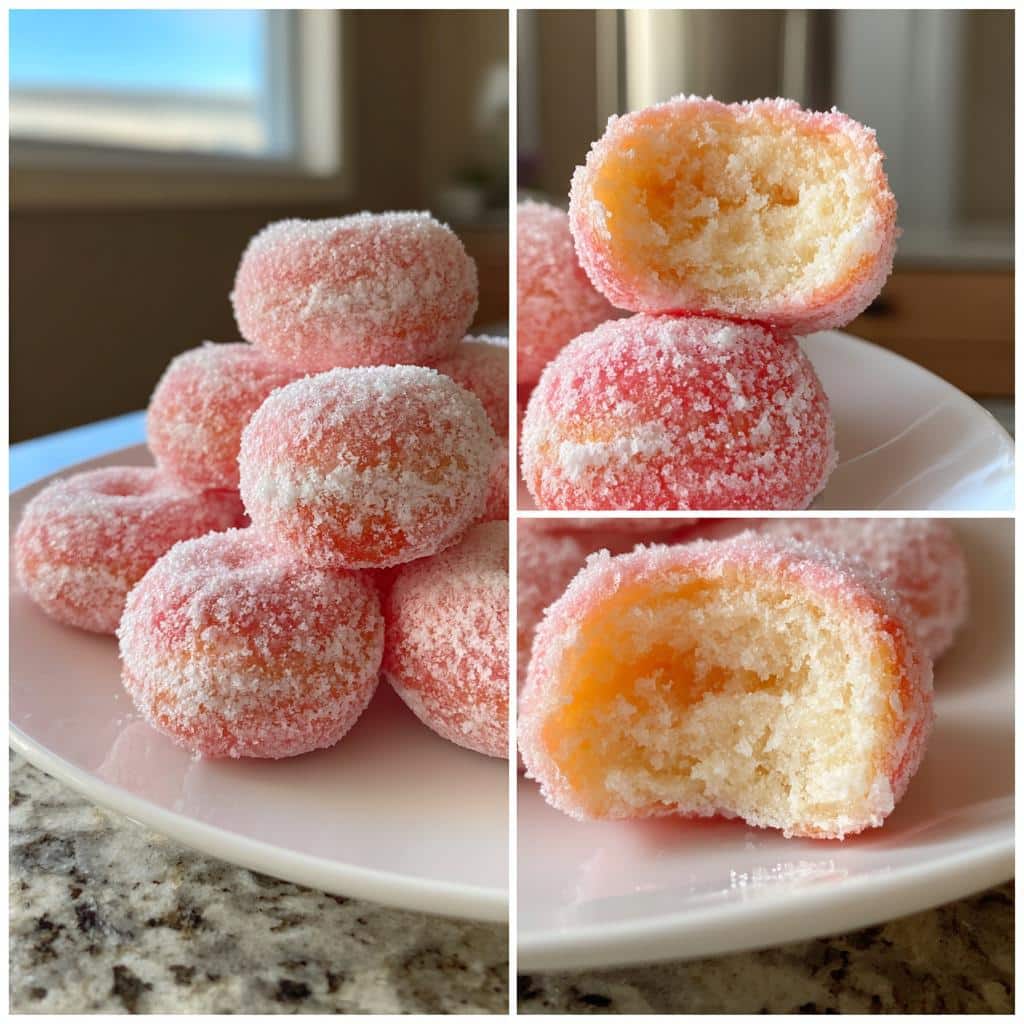
- Mini Donut Magic! Line a baking sheet with parchment paper (this is a MUST; trust me on this). Pipe small circles onto the baking sheet. I like to make them about an inch in diameter, but you do you! Remember, they puff up a bit in the oven, so don’t overcrowd them.
- Bake ‘Em Up! Pop that baking sheet into the preheated oven and bake for 12-15 minutes. Keep an eye on them! You want them to be golden brown but still a little soft.
- Cooling Time! Let those Mochi donut minis cool *slightly* on the baking sheet before…
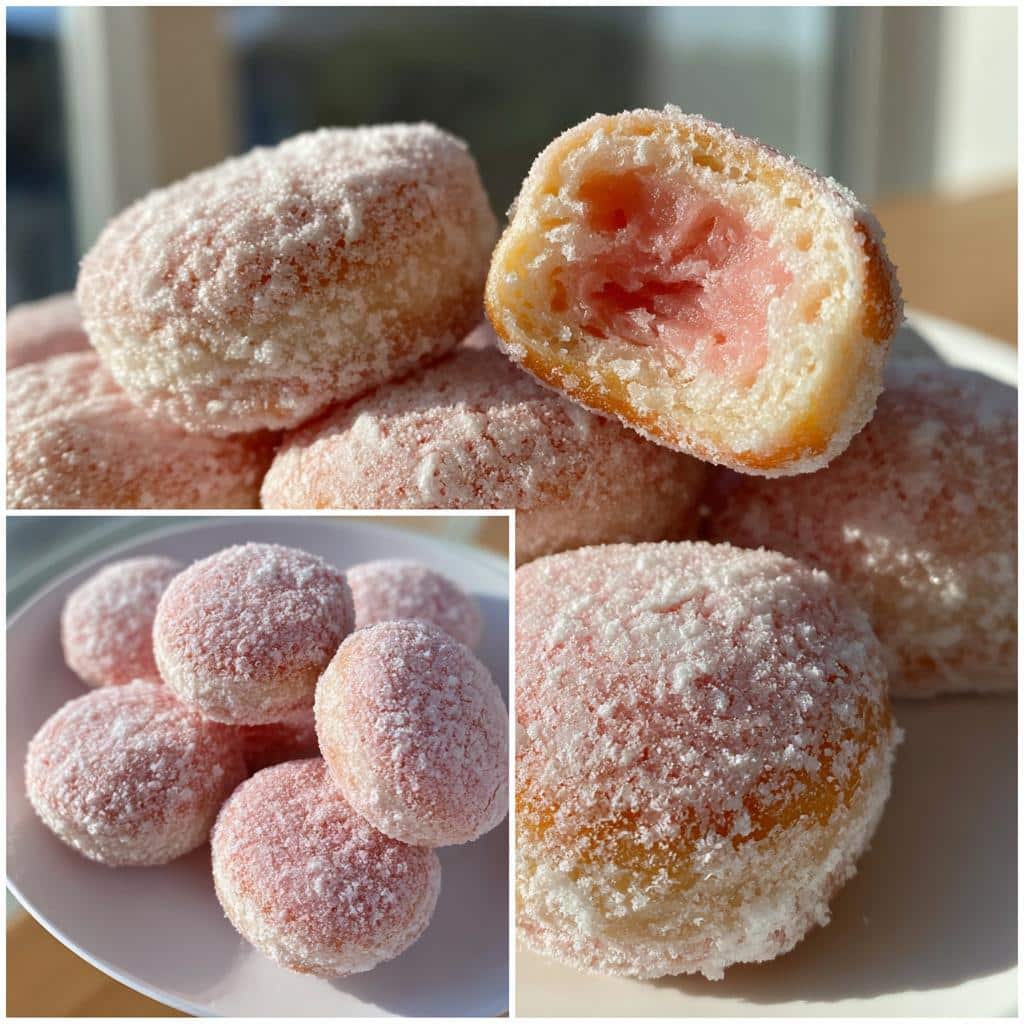
- Dust with Delight! …dusting them generously with powdered sugar. This is the *best* part (besides eating them, of course!). The powdered sugar sticks best when they’re still a little warm.
And that’s it! You’ve just created the cutest, most delicious Mochi donut minis EVER. Go ahead, take a picture for Instagram. I know you want to!
Tips for Perfect Mochi Donut Minis
Want your Mochi donut minis to be total perfection? Of course, you do! Here are a few secrets I’ve learned along the way:
- Don’t Overmix! I know I said it before, but it’s *so* important. Overmixing = tough donuts, and we’re going for chewy goodness here.
- Fresh is Best: Mochi donuts are definitely best enjoyed the day you make them. They’re still yummy the next day, but that chewy texture is at its PEAK when they’re fresh.
- Measure Carefully: Baking is a science! Especially with mochi donuts, where that chewy texture is all about the right ratios. A kitchen scale is your best friend for this recipe, seriously.
- Piping Practice: Don’t worry if your first few piped circles aren’t perfect. It takes a little practice! Just keep going; they’ll still taste amazing, even if they’re a little wonky!
Ingredient Notes and Substitutions for Mochi Donut Minis
Okay, let’s chat ingredients! A few things make these Mochi donut minis extra special, and I want you to feel super confident before you even preheat that oven, y’know?
First off, glutinous rice flour. This isn’t your everyday flour; it’s what gives mochi that signature chew! Don’t worry, it’s usually pretty easy to find in the Asian foods section of most grocery stores (or online, of course!). There really isn’t a great substitute for it, but if you’re in a bind, some folks have had *okay* luck with tapioca starch, but honestly? Just grab the glutinous rice flour. You won’t regret it!
And that pink food coloring? Totally optional, but *so* worth it for the aesthetic, right? Gel food coloring works best because it won’t thin out the batter too much, but liquid will do in a pinch! You can also use natural food colorings, like beet juice, but be careful – it might change the flavor a little. Whatever makes ’em cute, I say!
Frequently Asked Questions About Mochi Donut Minis
Got questions? I’ve got answers! Here are some of the most common things people ask me about making these adorable Mochi donut minis:
What makes Mochi donut minis chewy?
Ah, the million-dollar question! It’s all thanks to the glutinous rice flour. That stuff is MAGIC. It has a high starch content that creates that signature chewy texture we all know and love. Seriously, don’t skip it!
How do I store Mochi donut minis?
Okay, so Mochi donut minis are best enjoyed fresh (like, straight outta the oven!). But if you have leftovers (doubtful!), store them in an airtight container at room temperature. They’ll still be pretty good the next day, but they might lose a *little* of their chewiness.
Can I freeze Mochi donut minis?
I wouldn’t recommend it, honestly. Freezing can change the texture and make them a bit…weird. If you *really* need to, wrap them individually in plastic wrap and then put them in a freezer bag. But don’t say I didn’t warn you if they’re not *quite* as amazing as fresh! They’re super easy homemade Mochi donut minis so just make a fresh batch!
Can I use different toppings for my Mochi donut minis?
Heck yeah! Get creative! While that simple powdered sugar is so pretty and romantic, feel free to roll them in cinnamon sugar, drizzle them with melted chocolate, or even dip them in a simple glaze. The possibilities are endless! Think sprinkles, chopped nuts, shredded coconut…oooh, my brain is spinning! Make these cute party food Mochi donut minis totally your own!
Serving Suggestions for Your Mochi Donut Minis
Okay, you’ve got your adorable Mochi donut minis…now what? Time to get fancy! These little guys are seriously versatile. You could totally just pop ’em in your mouth one after another (no judgement here!), but if you want to impress? Let’s get creative.
My *favorite* way to serve them is on a romantic dessert board. Think strawberries, raspberries, little chunks of chocolate, maybe some macarons…and, of course, a pile of these Mochi donut minis! Check out this easy charcuterie board recipe for inspo–just swap the cheese for sweets! Or, arrange them on a tiered cake stand for a cute party food display. Trust me; they’ll disappear in seconds!
Storage and Reheating Instructions for Mochi Donut Minis
Alright, so you *somehow* managed to resist eating all those Mochi donut minis in one sitting (I salute you!). To keep them as fresh as possible, pop them in an airtight container at room temperature. If you want to revive them the next day, a quick zap in the microwave (like, 5-10 seconds!) can help bring back a bit of that chewiness. But remember, fresh is always best!
Nutritional Information Disclaimer
Okay, a quick note about nutrition! Just so you know, those numbers are estimates. It all depends on the exact ingredients you use, y’know? So, don’t take it as gospel, but it’s a good ballpark idea!
Print
Mochi Donut Minis
- Prep Time: 15 min
- Cook Time: 15 min
- Total Time: 30 min
- Yield: 24 minis 1x
- Category: Dessert
- Method: Baking
- Cuisine: Japanese-inspired
- Diet: Gluten Free
Description
Create shareable mochi donut minis, ideal for Valentine’s Day, Galentine’s parties, or a cute dessert board.
Ingredients
- 1 cup glutinous rice flour
- 1/2 cup granulated sugar
- 1 teaspoon baking powder
- 1/4 teaspoon salt
- 1/2 cup milk
- 1 large egg
- 2 tablespoons melted butter
- 1/2 teaspoon vanilla extract
- Pink food coloring (optional)
- Powdered sugar, for dusting
Instructions
- Preheat oven to 350°F (175°C).
- In a bowl, whisk together glutinous rice flour, sugar, baking powder, and salt.
- In a separate bowl, combine milk, egg, melted butter, and vanilla extract. If desired, add pink food coloring.
- Add wet ingredients to dry ingredients, mixing until just combined. Do not overmix.
- Transfer batter to a piping bag or a zip-top bag with a corner cut off.
- Pipe small circles onto a baking sheet lined with parchment paper.
- Bake for 12-15 minutes, or until golden brown.
- Let cool slightly before dusting with powdered sugar.
Notes
- For best results, use a kitchen scale to measure ingredients.
- Mochi donuts are best enjoyed fresh.
- Experiment with different food colorings and toppings.
Nutrition
- Serving Size: 2 minis
- Calories: 80
- Sugar: 8g
- Sodium: 30mg
- Fat: 3g
- Saturated Fat: 2g
- Unsaturated Fat: 1g
- Trans Fat: 0g
- Carbohydrates: 12g
- Fiber: 0g
- Protein: 1g
- Cholesterol: 15mg