Hey y’all! Casey here, straight from Texas, and I’m SO excited to share one of my latest obsessions: Onigiri! You know, those adorable little Japanese rice balls that are all over Pinterest? They’re seriously the cutest, and trust me, they’re just as yummy as they look. Think warm, comforting rice, seasoned just right, and stuffed with all sorts of goodies.
I’ve been whipping these up for quick lunches, easy dinners, and even packing ’em for picnics. Honestly, they’re perfect anytime you need a little something special. And let’s be real, who doesn’t love a good Pinterest-worthy snack that’s actually easy to make? These little Onigiri are about to become your new best friend!
Why You’ll Love This Onigiri Recipe
Okay, listen up, because you’re about to fall in LOVE with making your own Onigiri! Seriously, here’s why:
Quick and Easy Onigiri
I’m talking faster than ordering takeout! You can whip these up in minutes, perfect for those crazy busy days.
Customizable Onigiri Fillings
The best part? You get to choose what goes inside! Tuna salad? Salmon? Pickles? Anything goes, y’all!
Perfect for Meal Prep Onigiri
Make a batch on Sunday and you’ve got easy lunches all week long. They keep great in the fridge!
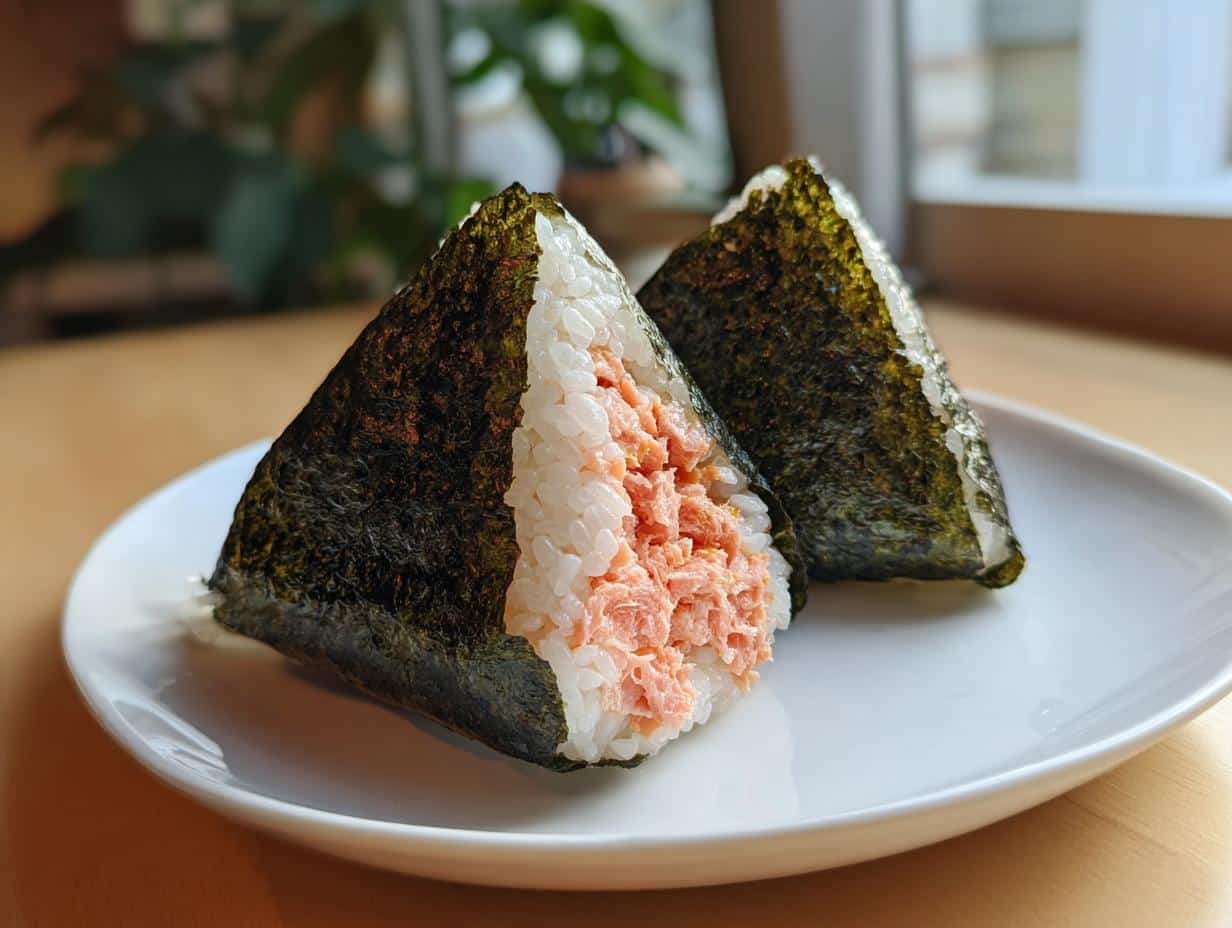
What is Onigiri?
Alright, so what *is* Onigiri, anyway? Well, simply put, they’re Japanese rice balls! Think of ’em as the ultimate comfort food snack. They’ve been around for ages, like, way back when folks needed a portable meal. Seriously, they’re a staple in Japanese culture, kinda like our sandwiches here in the States. They’re perfect for lunchboxes, picnics, you name it! Plus, they’re just so darn cute, aren’t they?
Ingredients for Your Onigiri
Okay, so here’s what you’ll need to make these little beauties! First, you gotta have about 2 cups of cooked Japanese short-grain rice – that’s key, y’all! Then grab 1/4 cup of water, 2 tablespoons of rice vinegar, and a teaspoon of salt. Don’t forget the nori seaweed sheets – cut ’em into strips. And for fillings? Oh, the possibilities! I love tuna salad, cooked salmon, pickled plum (that’s umeboshi!), or seasoned seaweed (wakame). Yum!

How to Make Easy Onigiri
Alright, let’s get down to business! Making Onigiri might seem a little intimidating, but trust me, it’s easier than making toast (okay, maybe not *that* easy, but close!). Just follow these steps and you’ll be munching on delicious rice balls in no time!
Preparing the Rice for Onigiri
Okay, this is KEY, y’all: you gotta start with warm, cooked Japanese short-grain rice. Don’t even *think* about using day-old rice! In a bowl, gently mix the rice with 1/4 cup of water, 2 tablespoons of rice vinegar, and a teaspoon of salt. Be gentle! We don’t want mushy rice. You’re aiming for slightly sticky, but still fluffy. If it seems too dry, add a tiny splash more water. Too wet? Oops! Just let it sit for a few minutes to absorb the extra moisture.
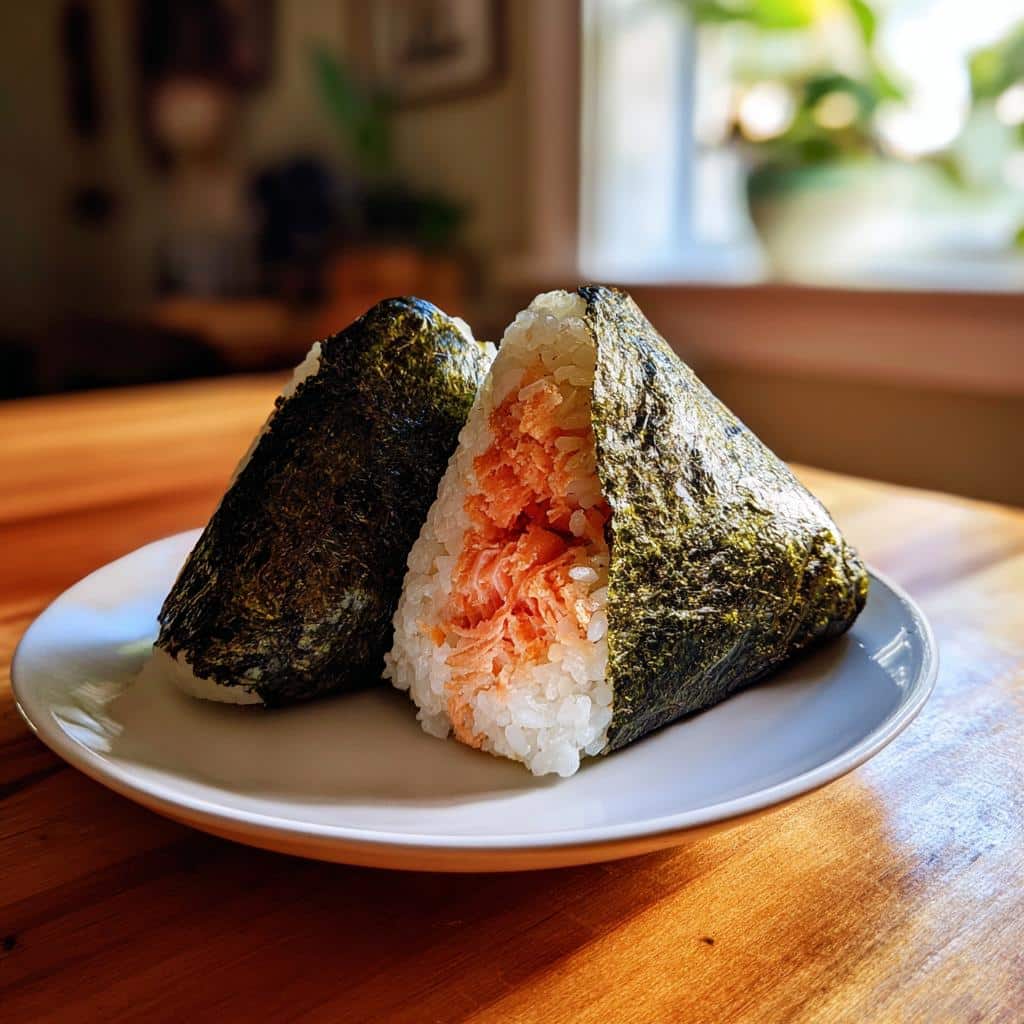
Forming the Perfect Onigiri Shape
Now for the fun part! Wet your hands with water – seriously, don’t skip this, or you’ll have a sticky mess! Grab a small handful of rice and flatten it a bit in your palm. If you’re using a filling (and you totally should!), plop a little bit right in the center. Now, gently mold the rice around the filling, forming either a triangle or a round shape. I like triangles, they look so cute! Press lightly but firmly – you want it to hold its shape, but don’t squish it! Don’t worry if it’s not perfect, practice makes perfect.
Wrapping Your Homemade Onigiri with Nori
Almost there! Grab a strip of nori seaweed and wrap it around the bottom of your Onigiri. This not only looks pretty but also keeps your hands from getting sticky when you eat it. Press the nori gently onto the rice so it sticks. And that’s it! You did it! Serve ’em up right away, or wrap them individually for a grab-and-go snack later.
Tips for Making the Best Onigiri
Okay, so you’ve got the basics down, but let’s talk about how to make your Onigiri *amazing*! First things first: warm rice is your best friend. Seriously, it’s way easier to work with when it’s still warm. And remember to wet your hands before you touch the rice – sticky rice is no fun! Don’t overpack the rice when you’re forming the shapes, either. You want it to be firm, but not rock-hard. And finally, get creative with those fillings, y’all! That’s where the real magic happens!
Onigiri Variations to Try
Okay, so you’ve mastered the basic Onigiri – awesome! But don’t stop there, y’all! This is where things get *really* fun. Think of your Onigiri as a blank canvas! Why not try mixing some chopped herbs like shiso or mitsuba right into the rice? Or a sprinkle of sesame seeds? Ooh, and don’t even get me started on fillings! Spicy tuna? Kimchi? Crispy tofu? Seriously, the possibilities are endless! You could even try a Tex-Mex version with black beans, corn, and a little salsa. YUM!
FAQ About Making Onigiri
Got questions about making these yummy rice balls? Don’t worry, I’ve got answers! Here are a few of the most common things folks ask me about making Onigiri.
Can I use different types of rice for Onigiri?
Okay, so technically, *can* you? Sure. *Should* you? Probably not! Japanese short-grain rice is the gold standard for a reason, y’all. It gets nice and sticky, which is what you need to form those perfect little shapes. Other rices might be too dry or too fluffy, and your Onigiri might just fall apart. Trust me, stick with the short-grain!
How long does homemade Onigiri last?
Okay, so these are best eaten fresh, but if you’re making them ahead, they’ll keep in the fridge for up to 24 hours. Wrap ’em individually in plastic wrap to keep them from drying out. Just remember, the nori might get a little soggy after a while, so keep that in mind! But honestly, they’re usually gone way before that in my house!
What are some other popular Onigiri fillings?
Oh, honey, the filling possibilities are endless! Besides the ones I already mentioned, think seasoned ground chicken or pork, edamame, shrimp tempura, or even a little bit of Japanese curry! Don’t be afraid to experiment and find your own favorite Onigiri combos!
Nutritional Information for Onigiri
Okay, so here’s the deal: nutritional info can vary *a lot* depending on what you stuff inside and the brands you use, so this is just a general estimate, okay? I can’t promise it’s exact!
Enjoy Your Homemade Onigiri!
Alright, y’all, go get your Onigiri on! And when you do, leave me a comment and let me know what you think! Rate the recipe, share your creations on social media, and show me what yummy fillings you came up with! I can’t wait to see ’em!
Print
Disgracefully Easy Onigiri Recipe Takes Only 25 Minutes
- Prep Time: 15 minutes
- Cook Time: 25 minutes
- Total Time: 40 minutes
- Yield: 6 onigiri 1x
- Category: Main Course, Snack
- Method: Hand Forming
- Cuisine: Japanese
- Diet: Vegetarian
Description
Onigiri are Japanese rice balls, perfect for a quick snack or meal. This recipe offers a simple and comforting way to enjoy this classic dish at home.
Ingredients
- 2 cups cooked Japanese short-grain rice
- 1/4 cup water
- 2 tablespoons rice vinegar
- 1 teaspoon salt
- Nori seaweed sheets, cut into strips
- Optional fillings: Tuna salad, cooked salmon, pickled plum (umeboshi), seasoned seaweed (wakame)
Instructions
- In a bowl, gently combine the cooked rice, water, rice vinegar, and salt. Mix well.
- Wet your hands with water to prevent the rice from sticking.
- Place a small amount of the rice mixture in your palm.
- If using, add your desired filling in the center of the rice.
- Gently form the rice into a triangle or round shape, pressing lightly but firmly.
- Wrap a strip of nori seaweed around the bottom of the onigiri.
- Serve immediately or wrap individually for later.
Notes
- Use freshly cooked, warm rice for the best results.
- Wet your hands frequently to prevent sticking.
- Get creative with your fillings!
- Store wrapped onigiri in the refrigerator for up to 24 hours.
Nutrition
- Serving Size: 1 onigiri
- Calories: 150
- Sugar: 1g
- Sodium: 200mg
- Fat: 1g
- Saturated Fat: 0g
- Unsaturated Fat: 1g
- Trans Fat: 0g
- Carbohydrates: 32g
- Fiber: 1g
- Protein: 3g
- Cholesterol: 0mg