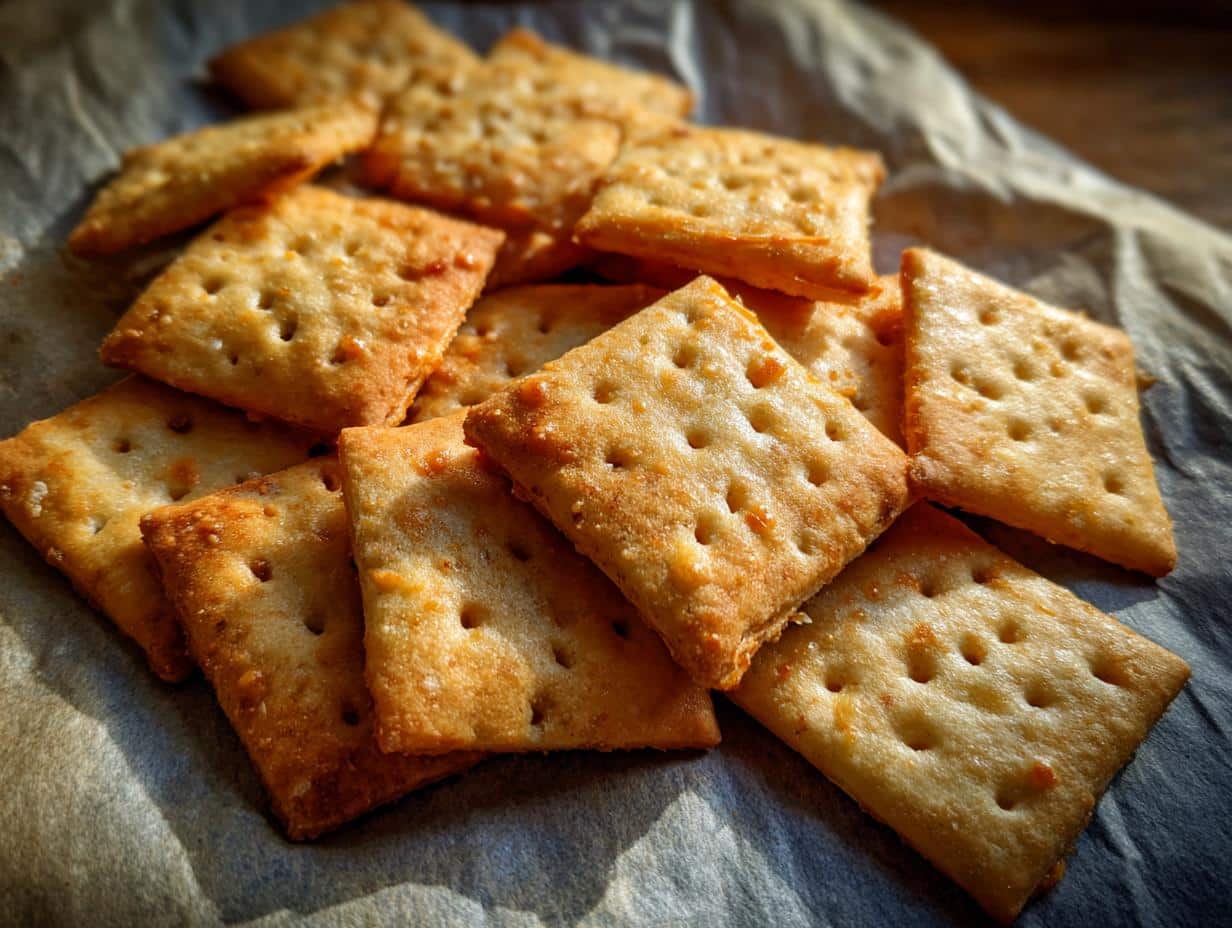
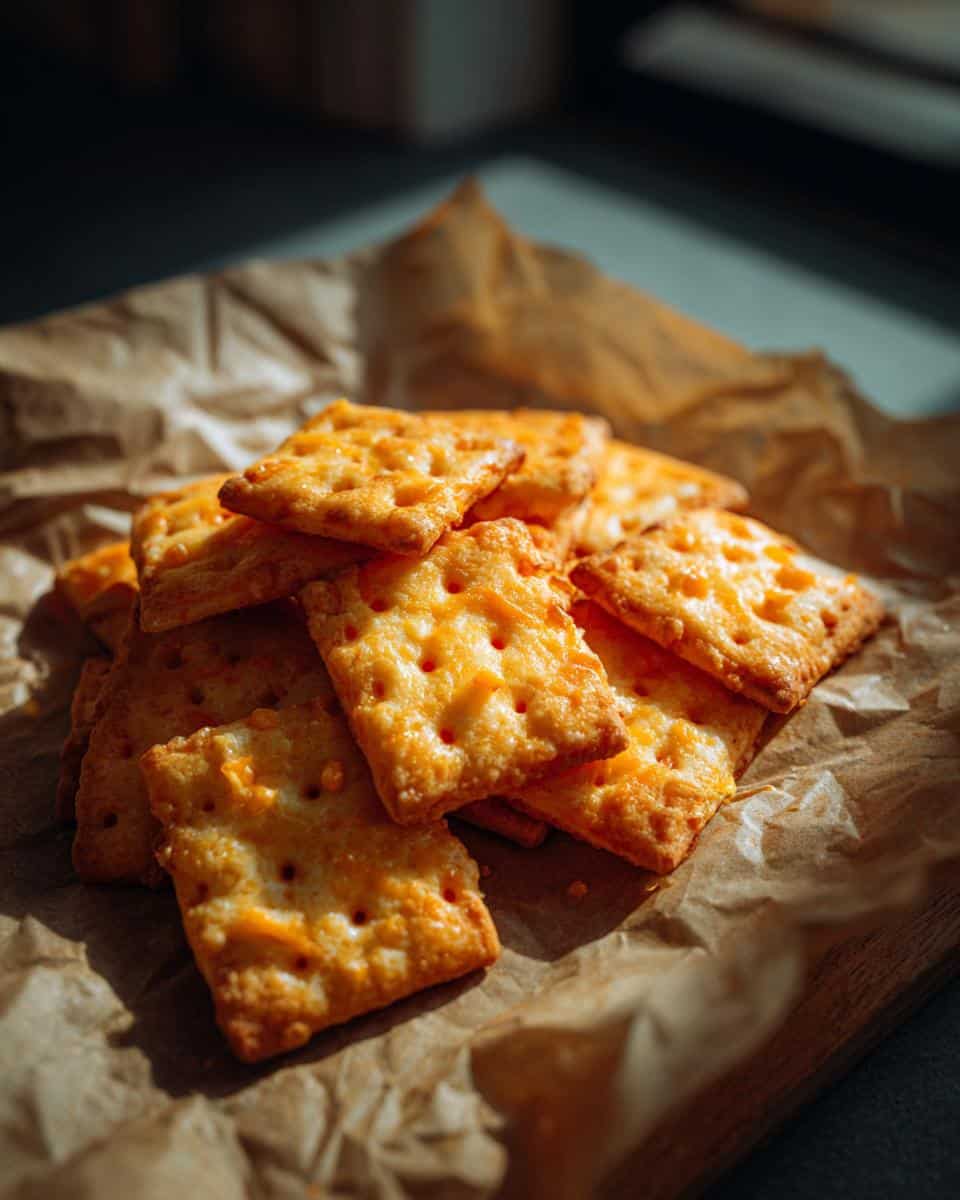
Okay, friends, who’s ready to dive headfirst into the latest snack obsession? You know I am! It seems like every other scroll on TikTok or Pinterest is someone showing off their homemade sourdough creations. And honestly? I’m here for it. But forget the fancy loaves for a minute – because we’re talking sourdough Cheez Its! Yep, that iconic, cheesy cracker, but elevated with that tangy sourdough goodness. If you’re anything like me, you’ve always got a little bit of sourdough discard hanging around begging to be used. These are ridiculously easy (seriously, way easier than shaping a boule!), pack a ton of flavor, and are guaranteed to disappear faster than you can say “cheese.” I’ve been baking with sourdough for years, and honestly, this might be my favorite use for my discard yet – it’s just that good. Trust me; your snack game is about to level UP!
Why You’ll Love This Sourdough Cheez Its Recipe
Seriously, what’s not to love? But if you need convincing, here’s why these sourdough Cheez Its are about to become your new favorite thing:
- Super easy to make – even if you’re a sourdough newbie.
- That amazing, tangy sourdough flavor with a cheesy kick. It’s a flavor explosion, promise!
- They’re seriously addictive. Consider yourself warned.
- A total crowd-pleaser – perfect for parties, game nights, or just a random Tuesday.
- Hello, Pinterest! These are totally Instagrammable (if they last long enough to snap a pic!).
Ingredients for Your Sourdough Cheez Its
Alright, let’s gather our goodies! Here’s what you’ll need to whip up a batch of these seriously addictive sourdough Cheez Its:
- 1 cup all-purpose flour (plus extra for dusting, obvi!)
- 4 tablespoons of cold, unsalted butter, cut into small cubes. The colder, the better, trust me!
- 1 cup (about 4 ounces) of sharp cheddar cheese, finely grated. I’m talkin’ *finely* grated, people! The pre-shredded stuff just doesn’t melt the same.
- 1/2 cup sourdough discard (unfed, unfed is key here!)
- 2 tablespoons of ice water (yep, ice cold!)
- 1/2 teaspoon of salt (kosher salt’s my go-to)
- A pinch of paprika (for that classic Cheez-It look!)
That’s it! Pretty simple, right? Let’s get crackin’!
How to Make Sourdough Cheez Its: Step-by-Step Instructions
Okay, people, listen up! This is where the magic happens. I’m going to walk you through, step-by-step, how to turn those humble ingredients into crispy, tangy, cheesy deliciousness. Don’t be scared; it’s way easier than you think!
- **Get Chilling (Literally!)**: Pop that butter in the freezer for like, 10 minutes. Seriously, cold butter is KEY. Also, make sure your ice water is ready to rock.
- **Flour Power**: In a large bowl, whisk together your flour, salt, and paprika. Just a pinch of paprika helps give these that classic Cheez-It vibe!
- **Butter Me Up**: Add the cubed, cold butter to the flour mixture. Now, you can use a pastry blender (if you’re fancy) or just your fingertips (like me!) to cut the butter into the flour until the mixture resembles coarse crumbs. You want little pea-sized pieces of butter – that’s what makes them flaky!
- **Cheese, Please!**: Stir in that finely grated cheddar cheese. Make sure it’s evenly distributed!
- **Sourdough Time**: Add your sourdough discard and ice water. Mix until *just* combined. Don’t overmix! You’re going for a shaggy dough that comes together in a ball.
- **Flatten & Chill**: Gently flatten the dough into a disc, wrap it in plastic wrap, and chill in the refrigerator for at least 30 minutes. An hour is even better! This is a *crucial* step, people. Don’t skip it!
- **Roll Out**: Preheat your oven to 375°F (190°C). On a lightly floured surface, roll the dough out to about 1/8-inch thickness. The thinner, the crispier!
- **Cut It Out**: Use a pizza cutter or knife to cut the dough into small squares. You can use a cookie cutter if you’re feeling fancy, but squares are classic!
- **Poke-A-Dot**: Use a toothpick or skewer to poke a hole in the center of each square. This prevents them from puffing up too much in the oven.
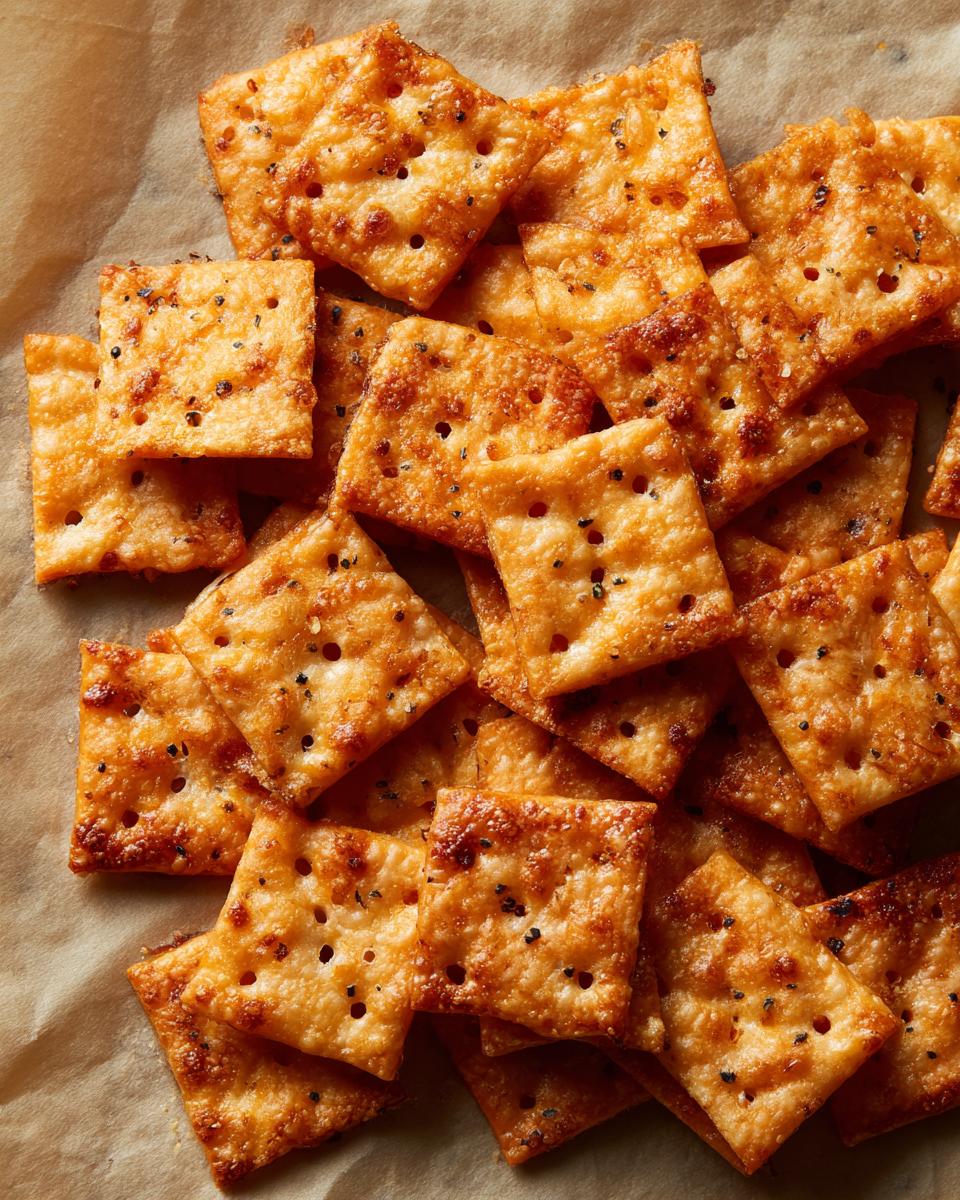
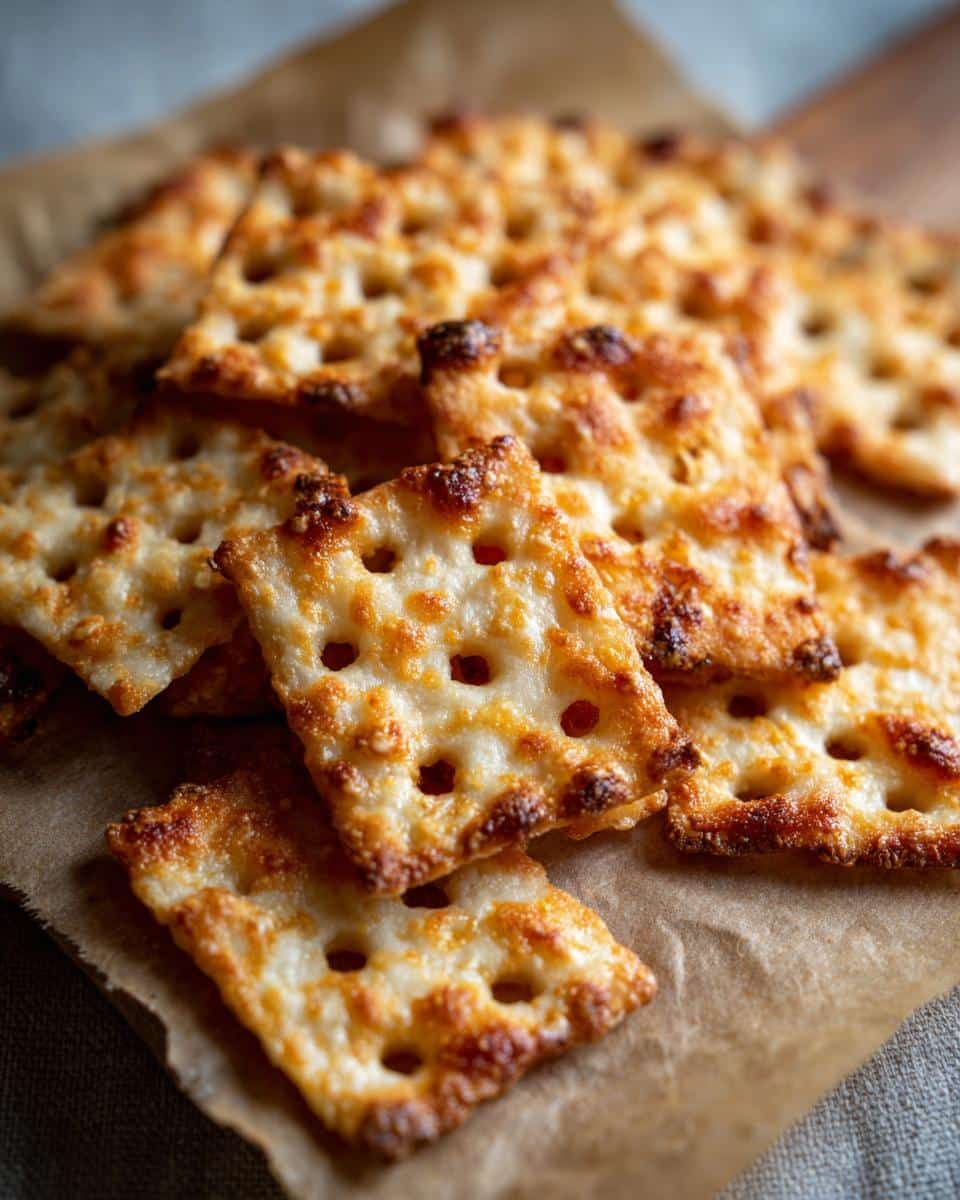
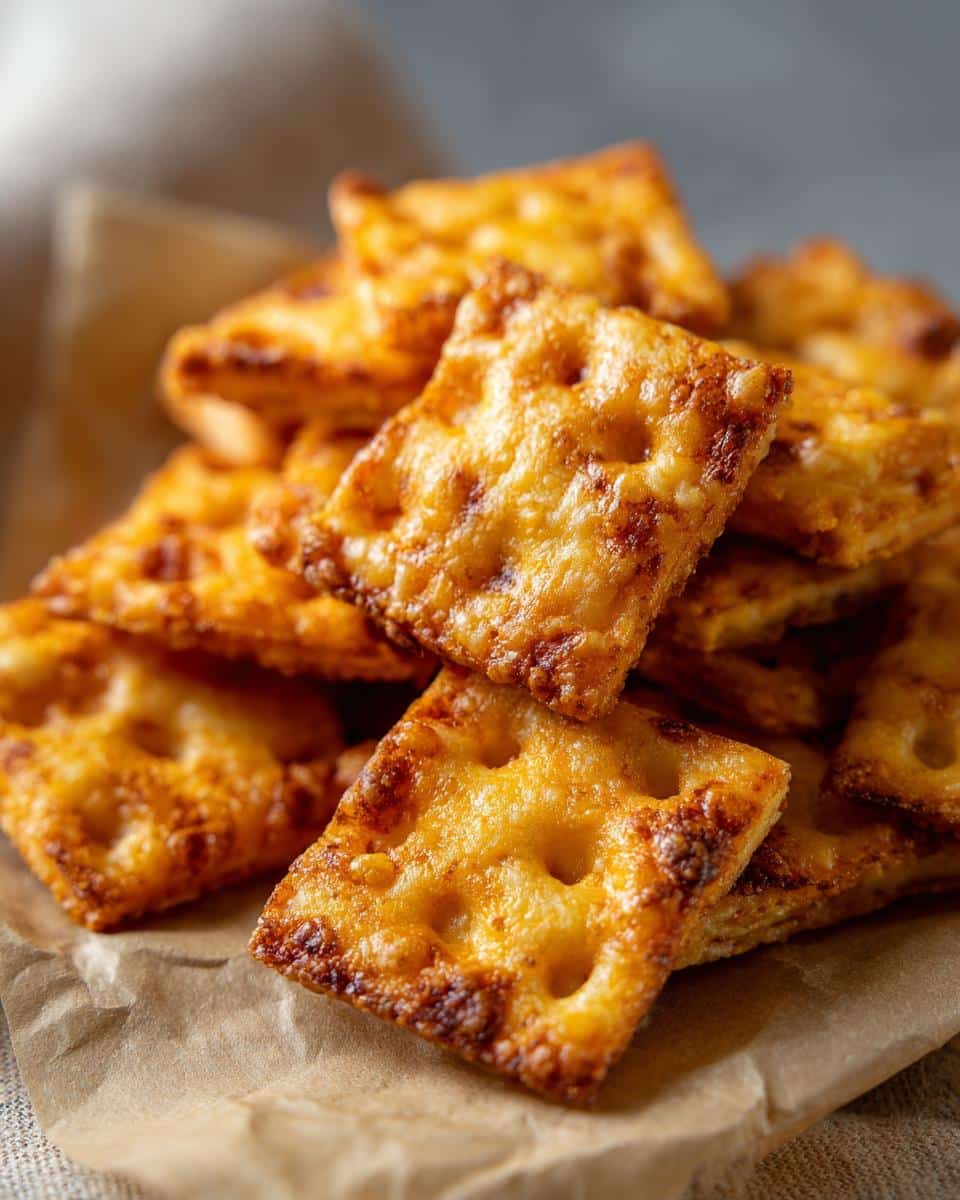
- **Bake Time**: Transfer the squares to a baking sheet lined with parchment paper. Bake for 10-12 minutes, or until golden brown. Keep a close eye on them – they can burn quickly!
- **Cool Down**: Let the Cheez Its cool completely on the baking sheet before transferring them to a wire rack. They’ll crisp up even more as they cool.
And there you have it! Homemade Sourdough Cheez Its that are guaranteed to disappear in minutes. Enjoy!
Tips for the Best Sourdough Cheez Its
Want sourdough Cheez Its that are *perfectly* crisp, tangy, and cheesy? Of course, you do! Here are my top tips to make sure your batch is a total success:
- **Keep it Cold**: I can’t stress this enough – cold ingredients are your friend! Cold butter, ice water, even chilling your cheese for a bit can make a difference in dough texture.
- **Don’t Overmix**: Overmixing develops the gluten in the flour, which can lead to tough, not-so-crispy crackers. Mix until *just* combined.
- **Watch the Baking Time**: Ovens vary, so keep a close eye on your Cheez Its. They can go from golden brown to burnt in a flash! Start checking them at 10 minutes.
- **Thin is In**: The thinner you roll out the dough, the crispier your Cheez Its will be. Aim for about 1/8-inch thickness.
Sometimes, I even put the baking sheet in the freezer for a few minutes before they go in the oven. Give it a try!
Variations on This Sourdough Cheez Its Recipe
Okay, so you’ve mastered the classic sourdough Cheez It? Awesome! Now, let’s get a little wild, shall we? The beauty of homemade snacks is you can totally make them your own. Here are a few ideas to spark your creativity:
- **Cheese Swap**: Cheddar’s a classic, but what about Gruyere? Or a spicy pepper jack? Asiago? Go crazy! Just make sure it’s finely grated.
- Spice It Up**: A pinch of cayenne pepper or red pepper flakes will add a serious kick. Smoked paprika is also amazing!
- Everything Bagel**: Brush the crackers with a beaten egg before baking and sprinkle generously with “Everything Bagel” seasoning. YUM.
- **Rosemary & Sea Salt**: Add 1 teaspoon of dried rosemary to the dough and sprinkle with flaky sea salt before baking. Fancy!
- **Gluten-Free**: I haven’t tested it *personally*, but you could try using a gluten-free all-purpose flour blend. Just be sure to watch the dough closely, as gluten-free flours can behave differently.
Serving Suggestions for Your Homemade Sourdough Cheez Its
Okay, you’ve got a pile of warm, crispy sourdough Cheez Its… now what? Well, besides just shoveling them directly into your mouth (guilty!), here are a few fun serving suggestions:
- **Dip it!**: Ranch dressing, French onion dip, or even just some plain hummus are all fantastic.
- Snack Board Star**: These are *amazing* on a charcuterie board, especially a Halloween-themed one! Add some cheese cubes, grapes, and maybe some salami for the perfect snack spread.
- Beer’s Best Friend**: Hosting game night? These are the *perfect* beer-pairing snack. Trust me.
- Just Plain**: Honestly, sometimes the best way to enjoy them is just straight up! Grab a handful and enjoy that tangy, cheesy goodness.
Storing Your Sourdough Cheez Its
So, you’ve managed to resist the urge to eat the entire batch of sourdough Cheez Its in one sitting? Good for you! (I, uh, rarely have that kind of willpower!) Here’s how to keep those little guys fresh and crispy for as long as possible:
- **Short Term**: For the first few days, store them in an airtight container at room temperature. A Ziploc bag works great too!
- **Long Term (Maybe!)**: If you really want to keep them longer (like, a week or so – but honestly, will they last that long?!), you *can* freeze them. Pop them in a freezer bag and squeeze out as much air as possible. When you’re ready to munch, let them thaw at room temperature. They might lose a *tiny* bit of crispness, but they’ll still be delicious!
Frequently Asked Questions About Sourdough Cheez Its
Still got questions about making the *best* sourdough Cheez Its ? Don’t sweat it! I’ve rounded up the most common head-scratchers to help you on your cracker-making journey:
Can I use a different type of cheese?
Absolutely! Sharp cheddar is classic, but feel free to experiment! Gruyere, Parmesan, or even a spicy pepper jack would be delicious. Just make sure it’s finely grated so it melts evenly. My family favorite sourdough Cheez Its version includes a blend of cheddar and Gruyere!
How do I make my sourdough Cheez Its extra crispy?
Thin is the name of the game! Roll that dough as thin as you possibly can – about 1/8 inch. Also, make sure your oven is fully preheated. And don’t be afraid to bake them a *little* longer, keeping a close eye so they don’t burn, of course!
Can I freeze the sourdough Cheez Its dough?
Yep, you sure can! Wrap the dough tightly in plastic wrap and then pop it in a freezer bag. It’ll keep in the freezer for up to a month. When you’re ready to bake, thaw it overnight in the fridge. You might need to add a tiny bit of flour when you roll it out, as the dough can sometimes get a little sticky after freezing.
What can I do if I don’t have sourdough discard?
While these are sourdough Cheez Its, I get it – not everyone has discard. If you really want that tang, try adding a teaspoon of white vinegar or lemon juice to the ice water. It won’t be *exactly* the same, but it’ll give you a similar vibe!
Nutritional Information for Sourdough Cheez Its
Okay, disclaimer time! Keep in mind that the nutritional info for these sourdough Cheez Its can totally vary depending on the specific cheeses, flours, and brands you use. So, the info here is just a guesstimate, not an exact science! Enjoy responsibly (but let’s be real, who can?!)
Print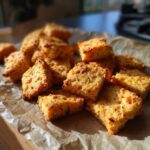
Irresistible Sourdough Cheez Its Recipe
- Prep Time: 15 min
- Cook Time: 15 min
- Total Time: 30 min
- Yield: About 4 servings 1x
- Category: Snack
- Method: Baking
- Cuisine: American
- Diet: Vegetarian
Description
Make homemade sourdough Cheez Its with this simple recipe.
Ingredients
- 4 oz sharp cheddar cheese, shredded
- 2 oz cold unsalted butter, cubed
- 1/2 cup sourdough discard, unfed
- 1/4 cup all-purpose flour
- 1/2 teaspoon salt
- 1/4 teaspoon paprika
- Pinch of cayenne pepper (optional)
- 2 tablespoons cold water (optional)
Instructions
- Preheat oven to 350°F (175°C).
- In a food processor, combine cheddar cheese, butter, sourdough discard, flour, salt, paprika, and cayenne pepper (if using).
- Pulse until the mixture forms a coarse, crumbly dough. If the dough seems too dry, add cold water, 1 tablespoon at a time, until it comes together.
- Turn the dough out onto a lightly floured surface.
- Roll the dough out to about 1/8 inch thickness.
- Use a knife or pizza cutter to cut the dough into small squares.
- Transfer the squares to a baking sheet lined with parchment paper.
- Use a toothpick or skewer to poke a hole in the center of each square.
- Bake for 12-15 minutes, or until the edges are golden brown and the crackers are firm.
- Let the crackers cool completely on the baking sheet before serving.
- Store in an airtight container at room temperature.
Notes
- For a sharper flavor, use extra-sharp cheddar cheese.
- Adjust the amount of cayenne pepper to your preference.
- If you don’t have a food processor, you can mix the ingredients by hand using a pastry blender or your fingers.
Nutrition
- Serving Size: 1 ounce
- Calories: 150
- Sugar: 1g
- Sodium: 250mg
- Fat: 10g
- Saturated Fat: 6g
- Unsaturated Fat: 3g
- Trans Fat: 0g
- Carbohydrates: 10g
- Fiber: 0g
- Protein: 6g
- Cholesterol: 30mg