St. Patrick’s Day is practically *begging* for a baking spree, wouldn’t you say? I mean, green sprinkles, shamrock shapes… it’s a cookie decorator’s dream! We’re diving headfirst into some seriously fun and ridiculously easy St Patrick’s Day cookies. What makes *these* special? They’re so simple, even a leprechaun could bake ’em (though I can’t promise they won’t steal a few sprinkles!). Picture this: bright green cookies, maybe a little gold glitter, and a taste that’ll have everyone doing an Irish jig. One year, my attempt at these resulted in green frosting *everywhere* – the walls, the dog, you name it! But you know what? Those were the best tasting St Patrick’s Day cookies we ever made. I swear, the extra “green” added to the flavor, ha! So, let’s get baking the perfect, viral-worthy, and totally unforgettable St Patrick’s Day cookies this year!
Why You’ll Love These St Patrick’s Day Cookies
Okay, so why *these* cookies? Let me tell you! They’re:
- **Ridiculously Easy:** Seriously, if I can do it after a day of chasing rainbows (aka toddlers), you can too.
- **Super Quick:** From craving to cookie in, like, no time. Perfect for those last-minute party panics.
- **Totally Delicious:** They’re not just pretty! Taste is number one around here, and these deliver.
- **Kid-Approved:** Little ones *love* helping decorate, and even more, they love eating them. Win-win!
- **Party Perfect:** Imagine showing up with a plate of these! Instant St. Patrick’s Day hero status, guaranteed.
Ingredients for the Best St Patrick’s Day Cookies
Alright, let’s talk ingredients. Nothing fancy here, promise! We’re going for easy and delicious, remember? So, before you start raiding the pot of gold at the end of the rainbow, make sure you’ve got these essentials:
For the Cookies:
- 1 cup (2 sticks) unsalted butter, softened (trust me, softened is KEY!)
- ¾ cup granulated sugar
- ¼ cup packed light brown sugar (adds a nice little somethin’ somethin’)
- 2 large eggs
- 1 teaspoon vanilla extract (the real stuff, if you can!)
- 2 ¼ cups all-purpose flour
- 1 teaspoon baking powder
- ½ teaspoon salt
- Green food coloring (gel is best for vibrant color!)
For the Frosting:
- 4 cups powdered sugar
- ½ cup (1 stick) unsalted butter, softened
- ¼ cup milk (or more, to reach desired consistency)
- 1 teaspoon vanilla extract
How to Make St Patrick’s Day Cookies: Step-by-Step
Okay, friend, let’s get down to the nitty-gritty! Don’t worry, even if you’re not a professional cookie artist (I’m *definitely* not!), you can totally nail these. Just follow these steps, and you’ll have a batch of St Patrick’s Day cookies worthy of any celebration. Ready? Let’s do this!
- Cream that Butter & Sugar: This is where the magic starts! In a large bowl, cream together the softened butter, granulated sugar, and brown sugar until it’s light and fluffy. No lumps allowed! I like to use my stand mixer for this (because, laziness), but a good old-fashioned hand mixer works too. This might take a solid 3-5 minutes, so be patient!
- Add the Eggs & Vanilla: Beat in the eggs one at a time, then stir in the vanilla extract. Make sure everything’s nicely combined before moving on.
- Dry Ingredients, Assemble!: In a separate bowl, whisk together the flour, baking powder, and salt. This step ensures everything gets evenly distributed.
- Combine Wet & Dry: Gradually add the dry ingredients to the wet ingredients, mixing until *just* combined. This is super important: Don’t overmix the dough! Overmixing leads to tough cookies, and nobody wants that. It’s okay if you still see a few streaks of flour.
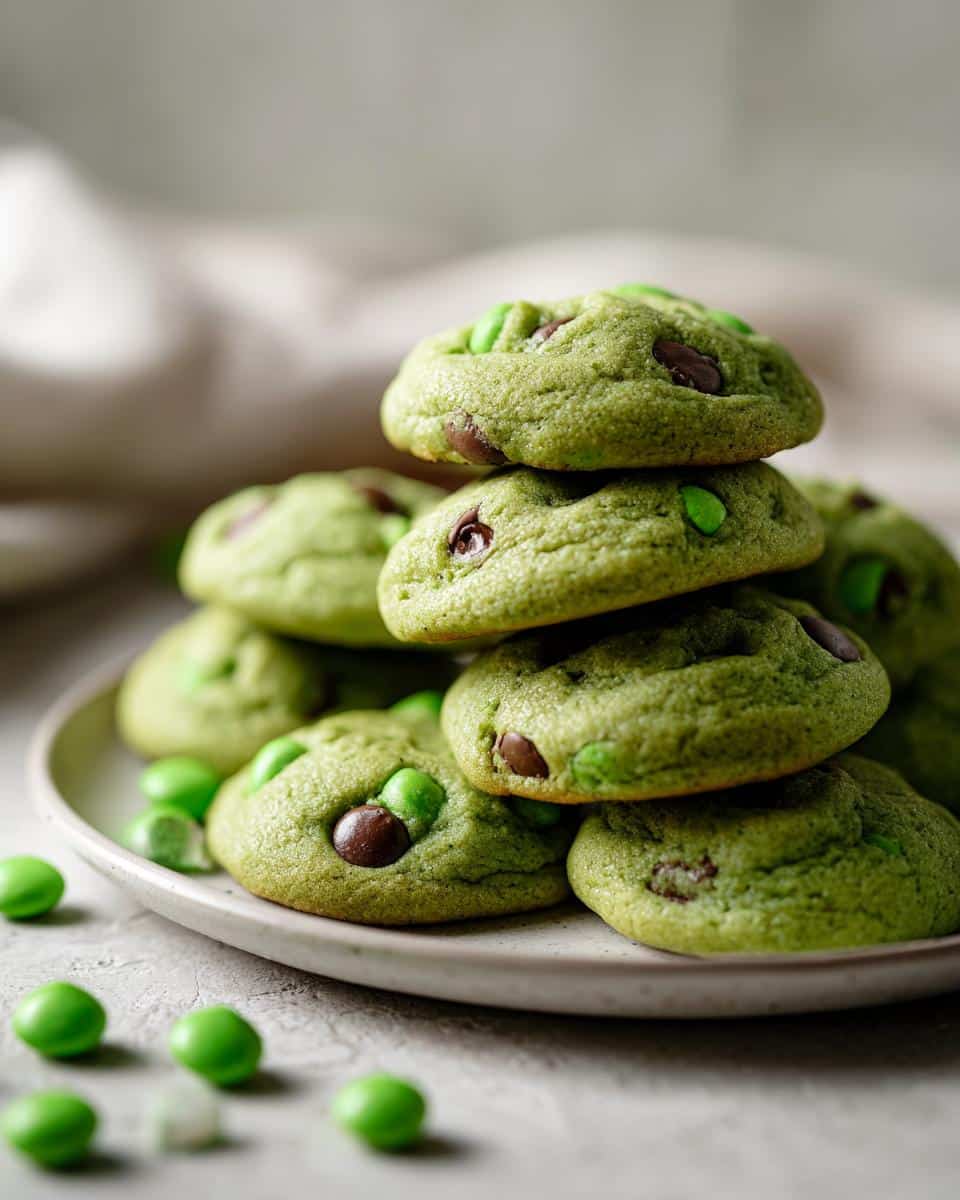
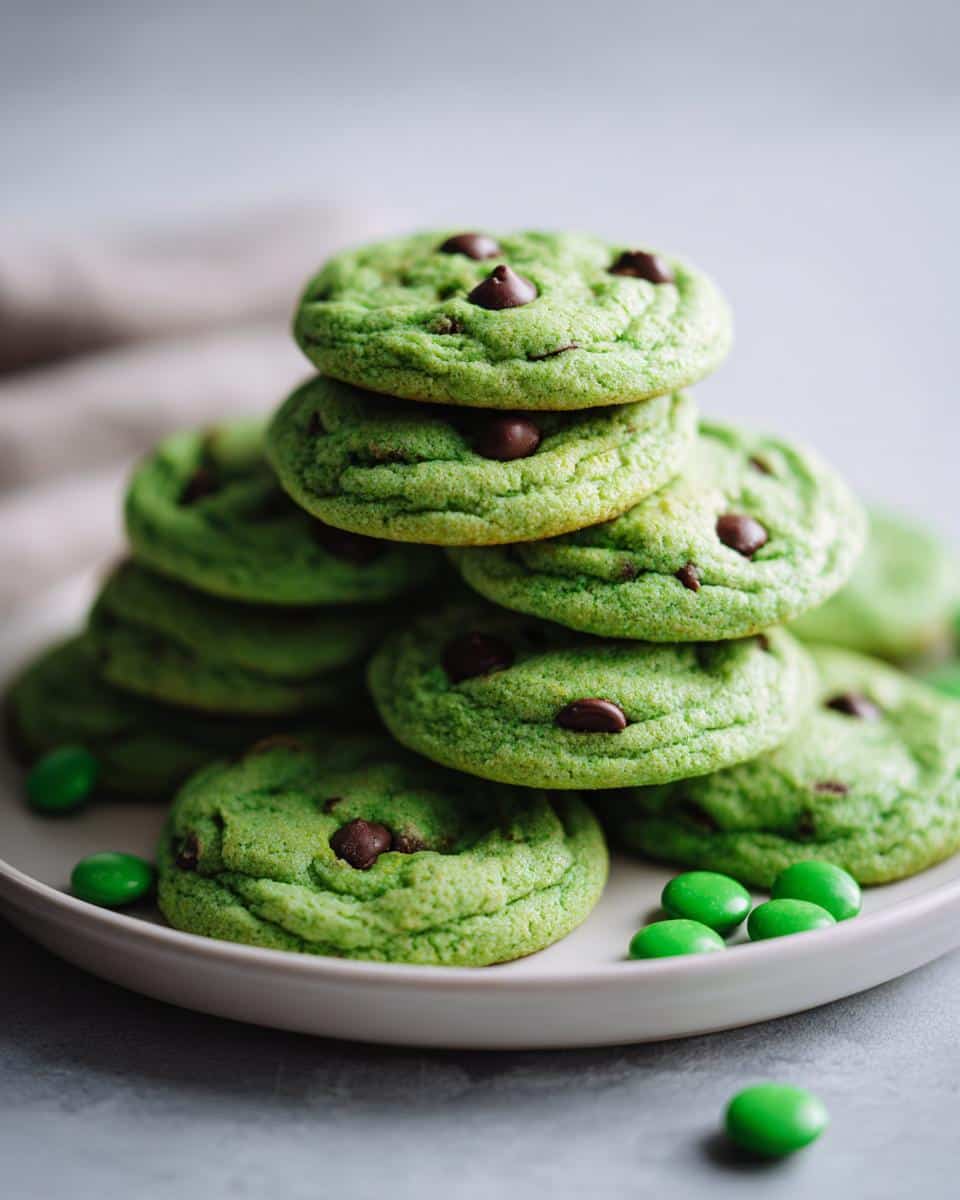
- Greenify It!: Add the green food coloring. Start with a few drops and mix until you reach your desired shade of green. Remember, you can always add more, but you can’t take it away! I like a vibrant, lucky green, but hey, you do you.
- Chill Out (the Dough, That Is): Cover the dough with plastic wrap and chill in the refrigerator for at least 30 minutes. This helps prevent the cookies from spreading too much in the oven. Don’t skip this step, trust me! I’ve tried, and it’s not pretty.
- Preheat & Roll: Preheat your oven to 375°F (190°C). On a lightly floured surface, roll out the dough to about ¼-inch thickness.
- Shape Up!: Use shamrock cookie cutters (or any festive shape you like!) to cut out the cookies. Here’s a trick: dip the cookie cutter in flour between cuts to prevent sticking.
- Bake Time!: Place the cookies on an ungreased baking sheet (or a baking sheet lined with parchment paper) and bake for 8-10 minutes, or until the edges are lightly golden. Keep a close eye on them – they can go from perfect to burnt pretty quickly!
- Cool Completely: Let the cookies cool on the baking sheet for a few minutes before transferring them to a wire rack to cool completely.
- Frosting Fun!: While the cookies are cooling, make the frosting. In a large bowl, beat together the powdered sugar, softened butter, milk, and vanilla extract until smooth and creamy. Add more milk if needed to reach your desired consistency.
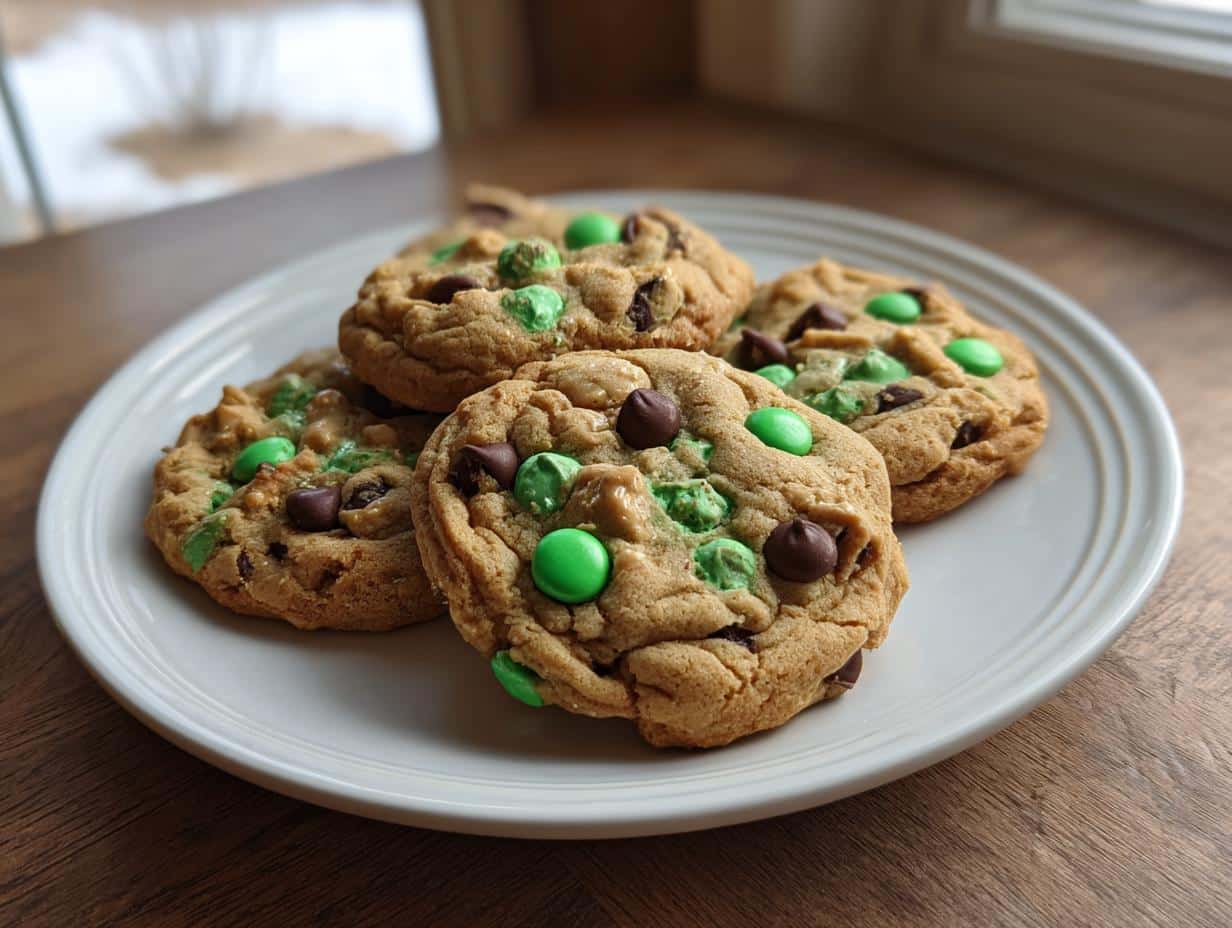
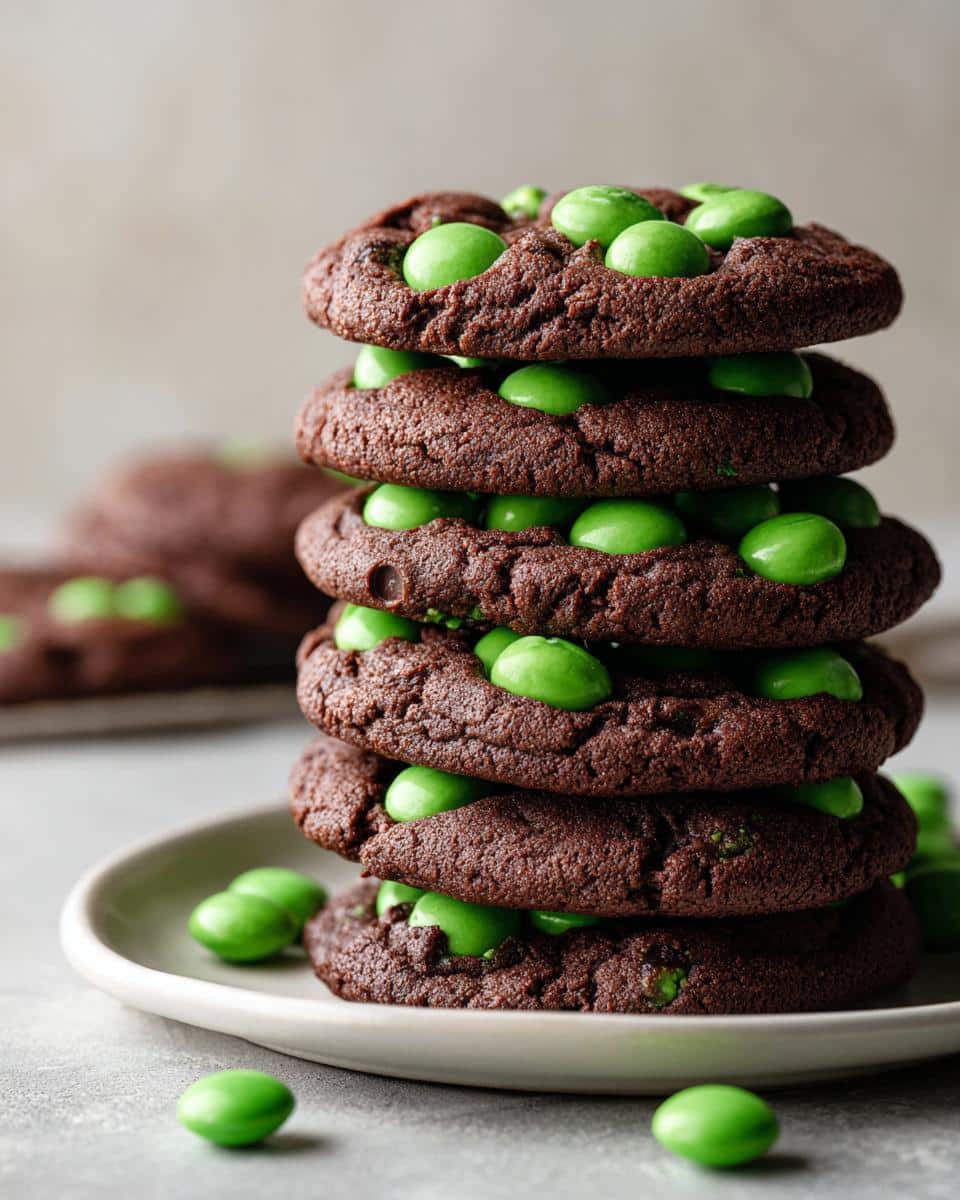
- Decorate Away!: Once the cookies are completely cool, frost them with the green frosting and decorate with sprinkles, edible glitter, or whatever your heart desires. This is where you can really get creative and let your inner artist shine! One year I tried edible gold leaf – total Pinterest fail, but hilarious. I say go for it!
Tips for Perfect St Patrick’s Day Cookies
Want to take your St Patrick’s Day cookies from “meh” to “WOW”? Of course, you do! Here are my go-to tricks for cookie perfection:
- **Chill That Dough!** I know, I know, waiting is the worst. But chilling the dough really does minimize spreading and maximizes flavor. Don’t skip it!
- **Room Temp Butter is Your BFF:** Seriously, if your butter’s too cold or too melty, your dough will be sad. Take it out an hour or two before baking.
- **Don’t Overbake!** Slightly underbaked cookies are way better than crispy hockey pucks. Watch ’em closely!
- **Piping Bag Pro-Tip:** For a super smooth frosting finish, use a piping bag with a small round tip. It makes all the difference!
- **Sprinkles Galore!** Don’t be shy with the sprinkles. It’s St. Patrick’s Day, after all!
Ingredient Notes and Substitutions for St Patrick’s Day Cookies
Okay, let’s talk specifics! Baking isn’t always black and white – sometimes you gotta swap things out. So, here’s the lowdown on some key ingredients and how you can tweak them:
- Butter: It gives these cookies richness, but if you’re dairy-free, a good vegan butter substitute works! Just make sure it’s one that’s solid at room temperature. Margarine? Eh, I’m not a fan, but in a pinch…
- Sugar: I use a mix of granulated and brown for depth. But if you only have one? No biggie! All granulated or all brown will still work. For less processed swaps, turbinado or coconut sugar are an option but will alter the flavor and color.
- Flour: All-purpose is the standard here, but gluten-free blends are getting so good these days! Just follow the package directions for a 1:1 swap. Though sometimes it can make the cookies a bit drier, so watch out!
- Green Food Coloring: Gel food coloring is your best bet for vibrant color, but liquid works too. For a *natural* option, try spinach powder *very* sparingly. It’ll add a subtle green (and taste!), but won’t be as intense.
Storing Your Homemade St Patrick’s Day Cookies
Alright, you’ve got a batch of gorgeous St Patrick’s Day cookies, but what now? Nobody wants stale shamrocks! Here’s the deal on keeping them fresh:
- Room Temperature: In an airtight container, they’ll last about 3-4 days. Keep them out of direct sunlight (that frosting can get melty!).
- Refrigerator: Wanna stretch that out a bit? Pop them in the fridge! They’ll be good for up to a week. Just let them come to room temperature before serving for the best texture.
- Freezer: For long-term storage, freezing is the way to go. They can last up to 2-3 months in a freezer-safe container. Thaw them completely before enjoying. Pro-tip: freeze them *unfrosted* for best results! Then you can whip up fresh frosting when you’re ready to party.
Frequently Asked Questions About St Patrick’s Day Cookies
Got questions about whipping up these St Patrick’s Day cookies? Don’t sweat it, I’ve probably asked myself the same thing at some point (usually while covered in green sprinkles!). Here are a few common q’s I hear:
Can I make these easy St Patrick’s Day cookies ahead of time?
Absolutely! The dough can be made a day or two in advance and stored in the fridge. You can also bake the cookies and freeze them, unfrosted, for up to 2-3 months. Just thaw and decorate when you’re ready for your St. Paddy’s Day bash. I do this every year ahead of the rush. Plus, check out my Christmas cookie tips; a lot of the advice works here too!
What’s the best way to decorate these holiday St Patrick’s Day cookies?
Honestly, go wild! Green frosting is a must, of course. But sprinkles, edible glitter, gold dragees… the sky’s the limit. A piping bag and tips make it easier to get fancy, but a ziplock bag with the corner snipped off totally works too. And don’t forget to add St. Patrick’s Day themed decorations!
Can I use a different type of flour for these family favorite St Patrick’s Day cookies?
Yep! A 1:1 gluten-free flour blend is a great option, but be sure to follow the package instructions. Almond flour could also work, but it’ll give the cookies a slightly different texture. And speaking of gluten free, be sure to use gluten free specific decorations.
Help! My easy St Patrick’s Day cookies are spreading too much!
Ah, the dreaded spread! This usually happens if your butter was too soft or your dough wasn’t chilled enough. Make sure you chill that dough for at least 30 minutes, and use butter that’s softened but still cool to the touch. Try adding a tablespoon of flour to the next dough mix and see if the problem goes away!
Nutritional Information for St Patrick’s Day Cookies
Please note: Nutritional information is an estimate only. Values vary depending on specific ingredients and brands used, so this info isn’t a guarantee!
Enjoy Your St Patrick’s Day Cookies!
Alright, my friend, you’ve officially conquered St Patrick’s Day cookies! Now comes the best part: devouring them! I hope these bring a little luck (and a whole lot of deliciousness) to your St. Paddy’s Day celebration. Don’t forget to rate the recipe below and tell me what you think! Share your cookie creations with me on social media – I want to see all your green masterpieces! Happy baking!
Print
Unforgettable St Patrick’s Day Cookies in Just 1 Hour
- Prep Time: 15 min
- Cook Time: 10 min
- Total Time: 25 min
- Yield: 24 cookies 1x
- Category: Dessert
- Method: Baking
- Cuisine: American
- Diet: Vegetarian
Description
Make these St Patrick’s Day cookies for a fun and festive treat. This recipe is quick, easy, and perfect for parties.
Ingredients
- 2 1/4 cups all-purpose flour
- 1 tsp baking soda
- 1 tsp salt
- 1 cup (2 sticks) unsalted butter, softened
- 3/4 cup granulated sugar
- 3/4 cup packed brown sugar
- 1 large egg
- 1 tsp vanilla extract
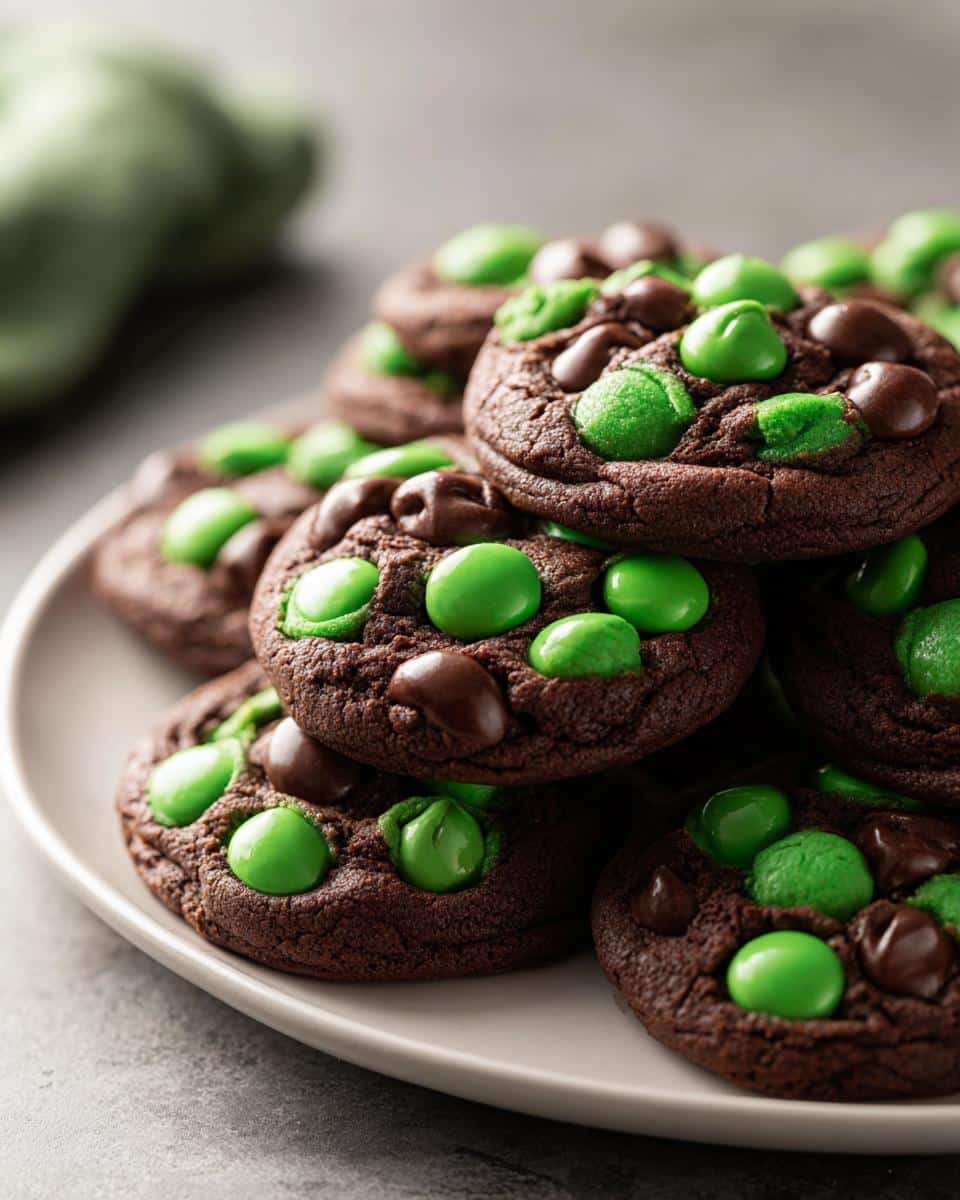
- 1 cup green candy-coated chocolate pieces
Instructions
- Preheat oven to 375°F (190°C).
- In a small bowl, whisk together flour, baking soda, and salt.
- In a large bowl, cream together butter, granulated sugar, and brown sugar until smooth.
- Beat in egg and vanilla extract.
- Gradually add dry ingredients to wet ingredients, mixing until just combined.
- Stir in green candy-coated chocolate pieces.
- Drop by rounded tablespoons onto ungreased baking sheets.
- Bake for 9-11 minutes, or until edges are lightly browned.
- Let cool on baking sheets for a few minutes before transferring to a wire rack to cool completely.
Notes
- For softer cookies, slightly underbake them.
- Store in an airtight container at room temperature.
Nutrition
- Serving Size: 1 cookie
- Calories: 150
- Sugar: 12g
- Sodium: 75mg
- Fat: 8g
- Saturated Fat: 5g
- Unsaturated Fat: 2g
- Trans Fat: 0g
- Carbohydrates: 20g
- Fiber: 1g
- Protein: 1g
- Cholesterol: 25mg