Alright, gather ’round, my fellow foodies! St. Patrick’s Day is practically *begging* for us to whip up some deliciously festive st patrick’s day treats, don’t you think? It’s the perfect excuse to get a little crazy in the kitchen and spread some shamrock cheer. You know I’m all about easy st patrick’s day treats, and that’s exactly what I’m sharing with you. This isn’t about spending hours slaving away – nope! I’m talking quick st patrick’s day treats that are guaranteed to bring smiles (and maybe a little luck o’ the Irish!) All the recipes are designed to be visually appealing. We want to get on that viral st patrick’s day treats trend, right? Fun fact: did you know that green wasn’t always associated with St. Patrick’s Day? Blue was the original color! But hey, green treats are way more fun, so let’s get baking!
Why You’ll Love These St Patrick’s Day Treats
Okay, seriously, you NEED these in your life. Trust me on this! Why? Let me break it down for ya:
- Super easy to whip up – even the kiddos can help!
- Seriously delicious flavors that everyone will adore.
- They’re totally Pinterest-worthy – get ready for those likes!
- Kid-friendly? Oh yeah! These are always a hit.
- Party perfect! Bring these to any St. Paddy’s bash and be the star.
- A fantastic way to celebrate the holiday.
Ingredients for Your St Patrick’s Day Treats
Alright, let’s talk ingredients! To make these magically delicious St Patrick’s Day treats, you’ll need good stuff. Here’s the lowdown on what you’ll be grabbing from the pantry:
- 3 ripe bananas, mashed ’til they’re practically liquid
- ⅓ cup vegetable oil – canola works great too!
- ¾ cup granulated sugar – for that perfect sweetness
- 1 teaspoon vanilla extract – because everything’s better with vanilla, right?
- 1 teaspoon baking soda – for that beautiful rise
- ½ teaspoon salt – a pinch of salt balances it all out
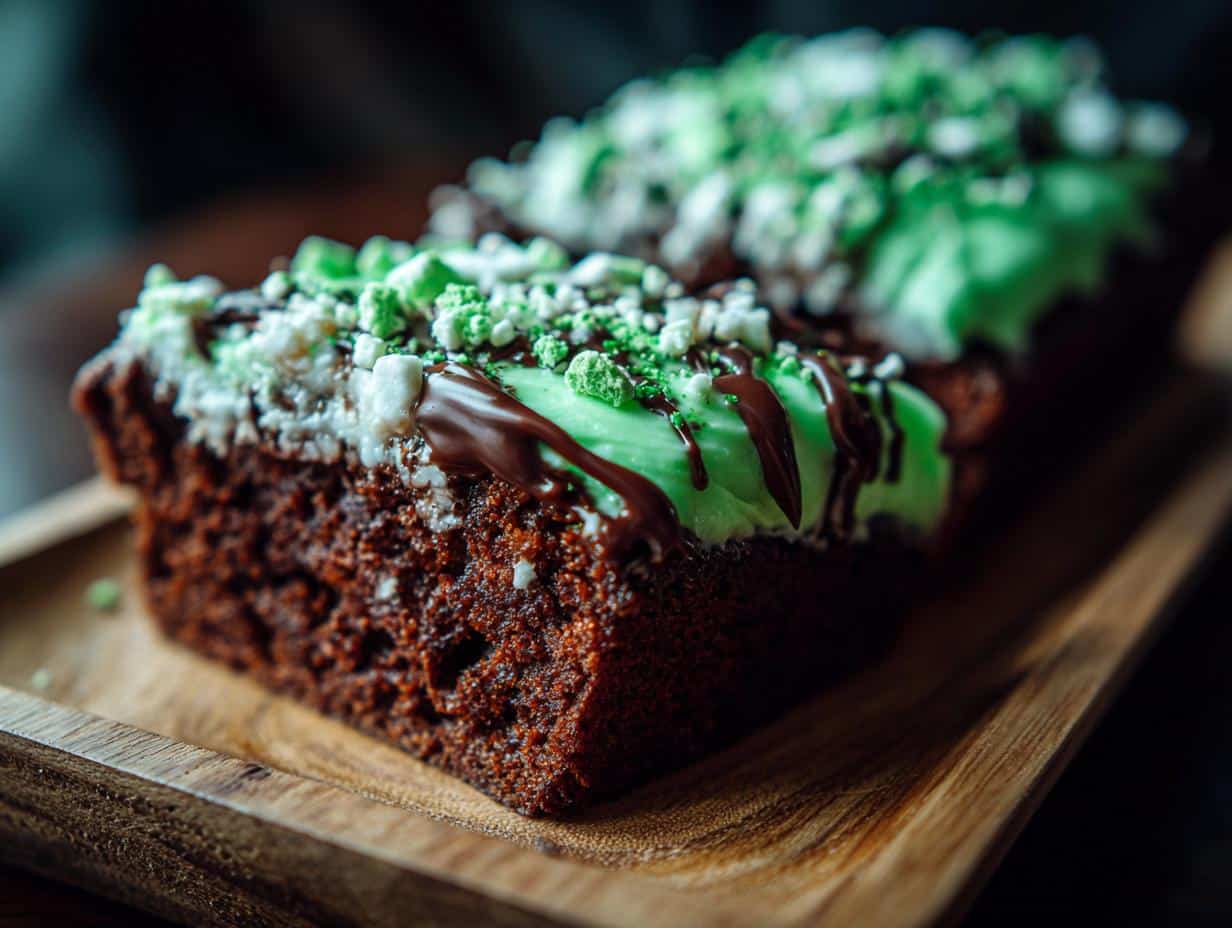
- 1 ½ cups all-purpose flour – the base of our delicious bread
- Green food coloring – gotta get that green for the day!
Make sure everything’s fresh, and you’re golden! Now, let’s bake!
How to Prepare These Delicious St Patrick’s Day Treats
Okay, here’s where the magic happens! Follow these step-by-step instructions, and you’ll be munching on the best St Patrick’s Day treats in no time. Don’t worry, it’s easier than finding a pot of gold at the end of the rainbow!
- **Get Ready to Bake!** First things first, preheat your oven to 350°F (175°C). This is super important! While the oven’s heating, grease a loaf pan. You can use butter, oil, or even baking spray. A little flour dusting helps too – nobody wants a sticky banana bread!
- **Mash Those Bananas!** In a large bowl – and I mean LARGE – mash those bananas until they’re nice and smooth. If there are a few little chunks, that’s totally fine. Adds character, right?
- **Mix the Wet Stuff!** Now, toss in the vegetable oil, sugar, and vanilla extract. Mix it all together until it’s well combined. It should look kinda glossy and delicious.
- **Dry Ingredients Join the Party!** In a separate bowl, whisk together the baking soda, salt, and flour. This helps distribute everything evenly. Trust me, you don’t want a clump of baking soda in one bite!
- **Wet Meets Dry… Carefully!** Gradually add the dry ingredients to the wet ingredients. This is key: mix until *just* combined. Don’t overmix! Overmixing leads to tough banana bread, and nobody wants that. A few streaks of flour are okay.
- **Green It Up!** Now’s the time to add a few drops of green food coloring until you have the shade of green that screams “St. Patrick’s Day. Start with adding two or three drops then continue to add drop by drop until you reach the desired shade of green.
- **Into the Pan!** Pour the batter into your greased loaf pan, and spread it out evenly.
- **Bake Time!** Pop that bad boy in the oven for 50-55 minutes. But keep an eye on it! Every oven is different.
- **Toothpick Test!** To check if it’s done, stick a toothpick into the center. If it comes out clean (or with just a few moist crumbs), it’s ready! If it’s still wet, give it a few more minutes. Remember, we’re aiming for moist, not mushy!
- **Cool Down!** Let the bread cool in the pan for 10 minutes before transferring it to a wire rack to cool completely. I know, it’s tempting to dig in right away, but trust me it’s worth the wait.
Once cooled, slice it up, and get ready to enjoy your festive St Patrick’s Day treat!

Tips for the Best St Patrick’s Day Treats
Want to take your St Patrick’s Day treats from “meh” to “WOW”? Check out these super-secret tips:
- **Ripe Bananas are EVERYTHING:** Seriously, the riper, the better! Those spotty, almost-too-ripe bananas are your best friend. They bring the most flavor and moisture.
- **Don’t Overmix!** I can’t stress this enough. Seriously, gently fold the wet and dry ingredients together until JUST combined. Overmixing = tough bread, and nobody wants that on St. Paddy’s Day (or any day, really).
- **Oven Thermometer is Your Pal:** Every oven is different, ya know? An oven thermometer helps to make sure your oven is accurate. This will give you moist, perfectly green banana bread every time!
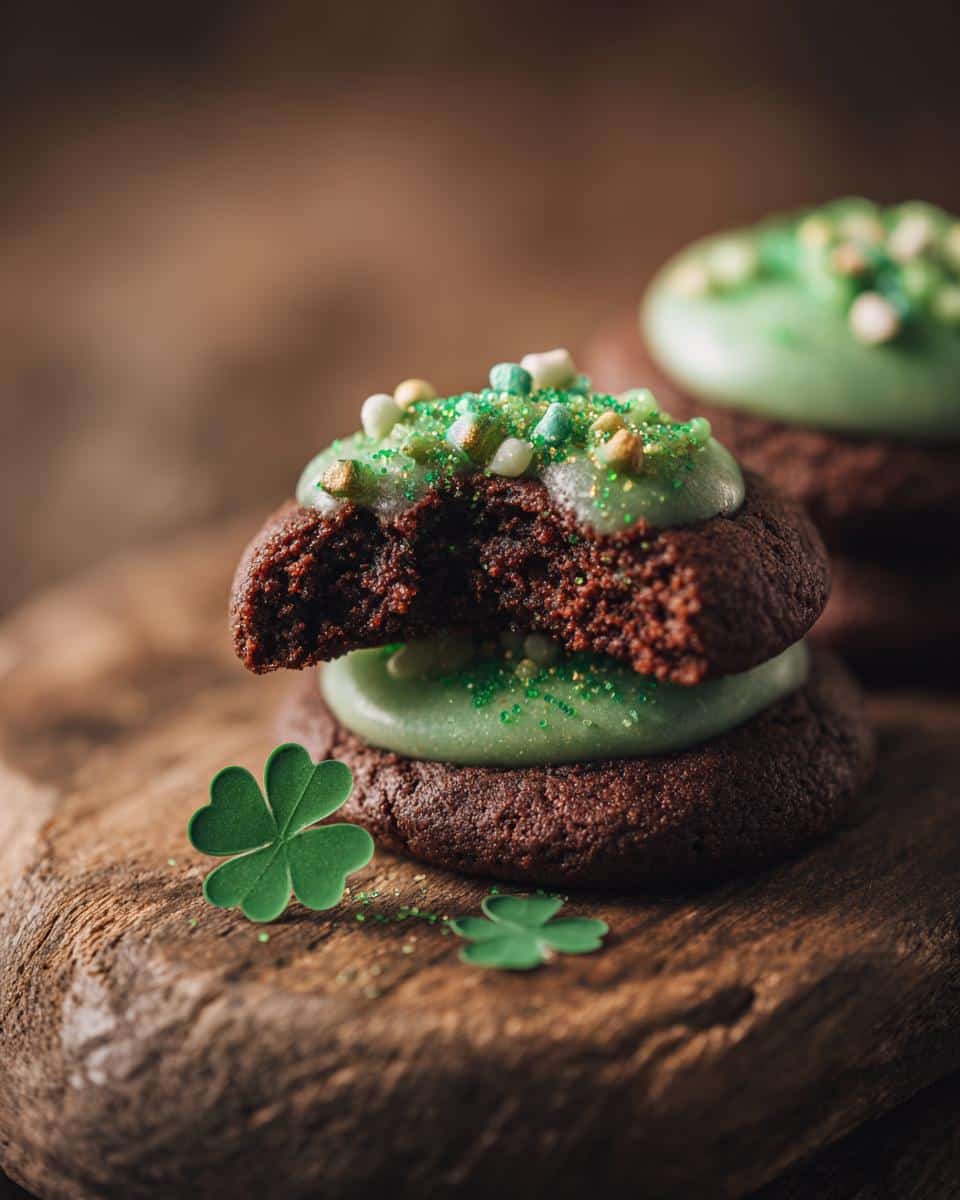
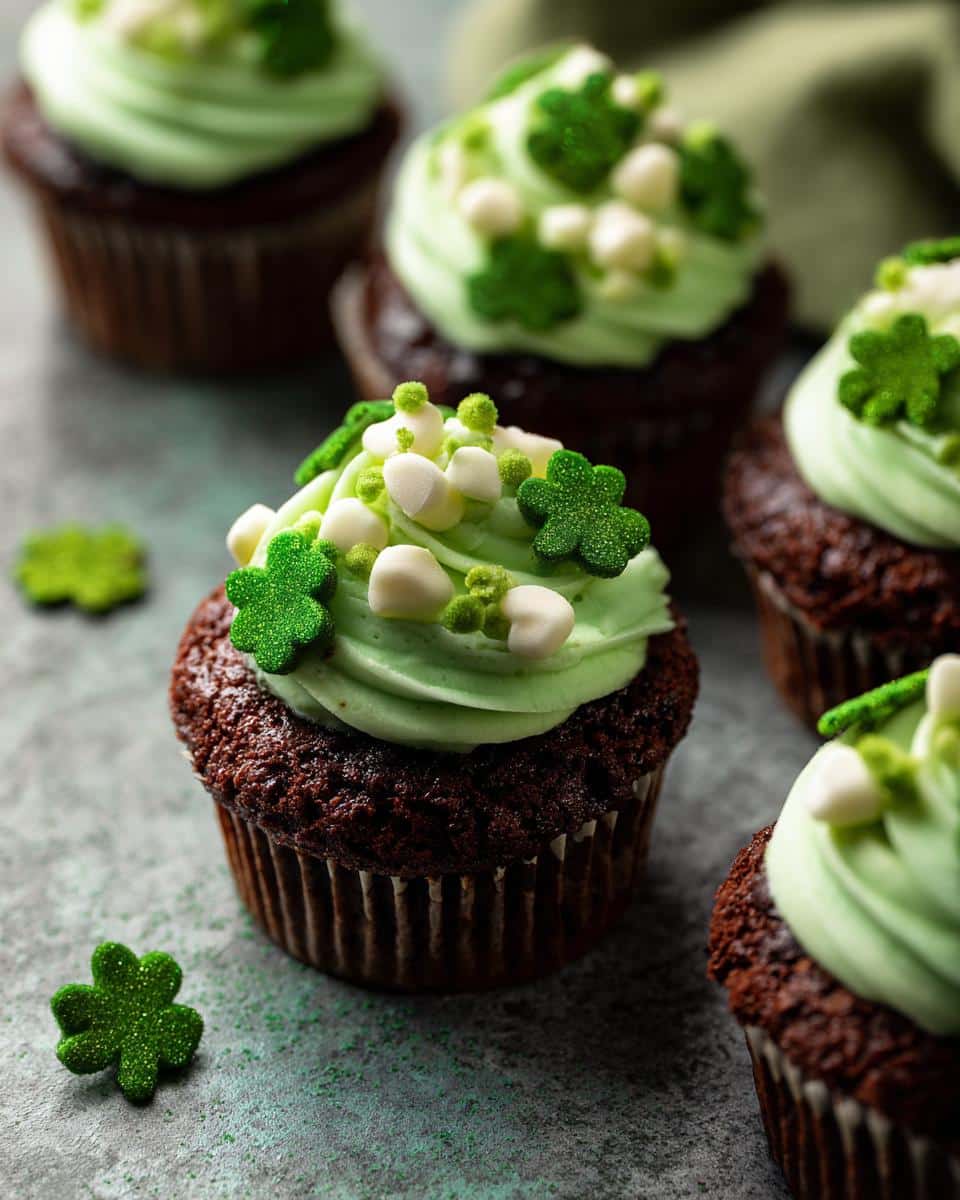
Variations for Your St Patrick’s Day Treats
Okay, so you’ve made the basic green banana bread – awesome! But why stop there? Let’s get creative and try some fun variations for these St Patrick’s Day treats! Here are a few ideas to get your shamrocks shakin’:
- **Chocolate Chip Leprechaun Bait:** Toss in ½ cup of chocolate chips (or even better, mint chocolate chips!) to the batter. It’s like a party in every bite!
- **Walnut Wonder:** Add ½ cup of chopped walnuts for a little nutty crunch.
- **Green Swirl Magic:** Before baking, swirl a little green food coloring into the top of the batter for a marbled effect. Super fancy!
- **Minty Fresh Glaze:** After baking, drizzle with a simple glaze made from powdered sugar, milk, and a touch of mint extract.
Go wild – there are endless possibilities! I mean the most important thing about these st patrick’s day treats is that they taste amazing.
Make-Ahead and Storage Tips for St Patrick’s Day Treats
Want to get ahead of the game? You totally can! Baked banana bread is awesome the next day. Honestly, give it a try if you haven’t already! Just wrap it tightly in plastic wrap or pop it in an airtight container, and it’ll stay fresh at room temperature for about 3 days. If you want to keep it longer, slice it up and freeze it! Just thaw individual slices when the craving hits. So easy!
Frequently Asked Questions About St Patrick’s Day Treats
Got questions? I’ve got answers! Here are a few of the most common things people ask me about making these awesome St Patrick’s Day treats.
Can I substitute ingredients in this easy st patrick’s day treats recipe?
Sure, a little! If you don’t have vegetable oil, you can use melted coconut oil or even unsweetened applesauce. For a gluten-free version, try a 1-to-1 gluten-free flour blend.
How long will these homemade st patrick’s day treats last?
At room temperature, they’ll stay moist and delicious for about 3 days if wrapped well. In the fridge, they’ll last for up to a week. But honestly, they never last that long in my house!
Are these simple st patrick’s day treats ideas suitable for kids?
Totally! These are very family favorite st patrick’s day treats. You can even let the little ones help with mashing the bananas and mixing the ingredients. Just be careful with the hot oven!
Can I freeze these st patrick’s day treats tiktok style?
Yep! Slice the bread, wrap each slice individually, and freeze. They’ll be good for up to 2 months. Just thaw at room temperature, and they’re ready to go!
Estimated Nutritional Information
Okay, so here’s the deal: I’m not a nutritionist, and nutritional info can vary *a lot* depending on the exact ingredients you use (brands, ripeness of bananas, etc.). Consider this a rough estimate, not gospel, okay?
Enjoy and Share Your St Patrick’s Day Treats
Okay, my friends, go get your baking on and share your awesome st patrick’s day treats! I seriously can’t wait to see what creative twists you put on these recipes. Seriously, leave a comment below and let me know how they turned out! Rate the recipe if you loved it, and pretty please share your pics on social media – don’t forget to tag me so I can see your amazingly lucky creations!
Print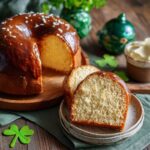
St Patrick’s Day Treats: 1 Unlucky Baking Mistake
- Prep Time: 15 min
- Cook Time: 30 min
- Total Time: 45 min
- Yield: 4 servings
- Category: Dessert
- Method: Baking
- Cuisine: Irish
- Diet: Vegetarian
Description
Fun and easy St Patrick’s Day treat recipe for a party or family fun.
Ingredients
- qty ingredient
Instructions
- step
Notes
- tip
Nutrition
- Serving Size: 1 slice
- Calories: 200
- Sugar: 25g
- Sodium: 100mg
- Fat: 10g
- Saturated Fat: 5g
- Unsaturated Fat: 5g
- Trans Fat: 0g
- Carbohydrates: 30g
- Fiber: 2g
- Protein: 3g
- Cholesterol: 30mg