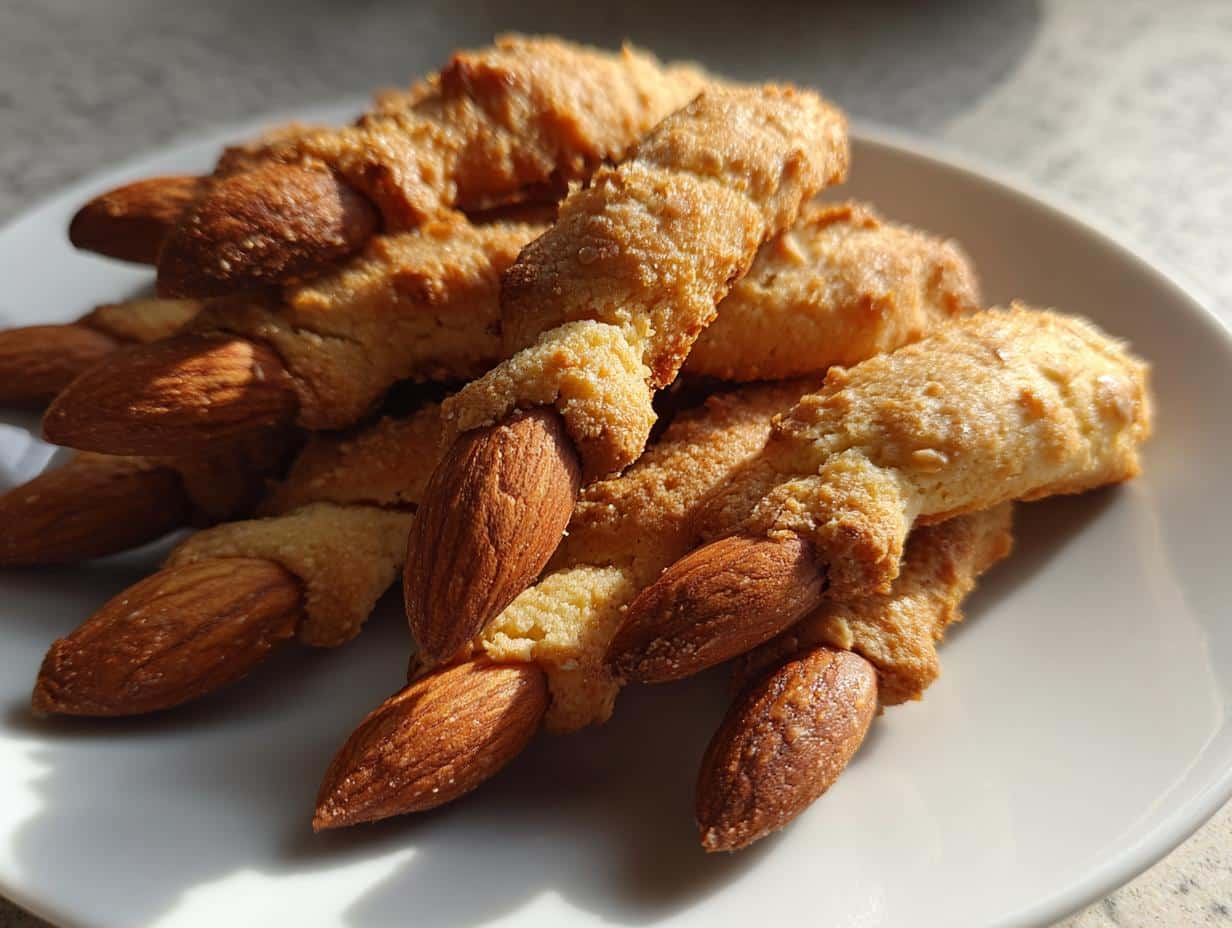
Halloween just *screams* for spooky treats, doesn’t it? And trust me, nothing’s quite as fun (or slightly creepy!) as these witch finger cookies. They’re almond-y, buttery, and look like they came straight from a witch’s cookbook (in the best way possible, of course!).
I remember making these with my kids when they were little – flour *everywhere*, red food coloring mishaps… good times! Honestly, they’re so simple and fun, it’s the perfect kids baking project. Plus, who can resist a cookie that looks like a gnarled witch finger? Get ready for some spooky baking!
Why You’ll Love These Witch Finger Cookies
Okay, so why *these* witch finger cookies? Well, for starters, they’re seriously the best! But here’s the real deal:
Quick and Easy Halloween Treat
You don’t need to be a pastry chef to whip these up! Simple ingredients, easy steps – it’s a super fast way to get your spooky treat fix.
Spooky and Fun for All Ages
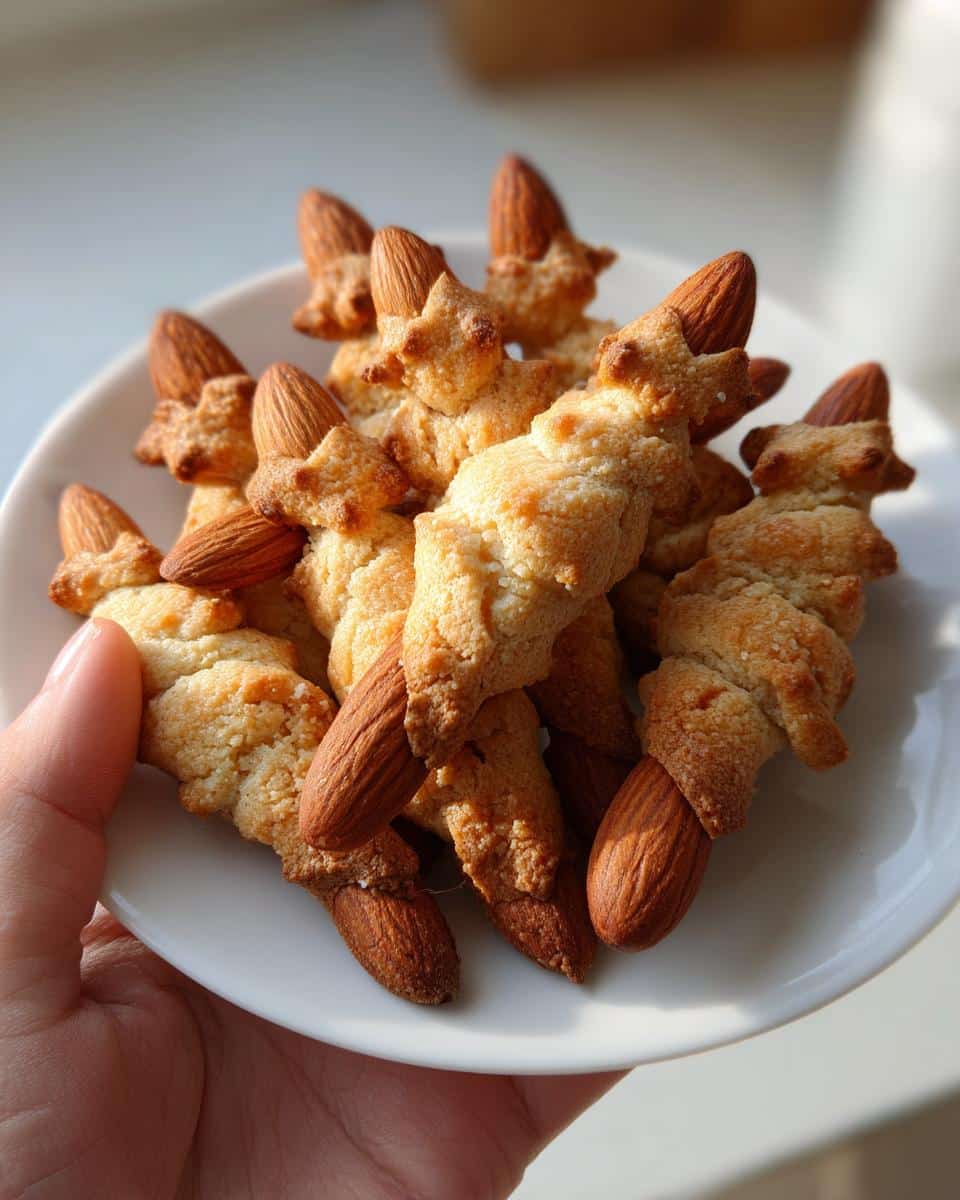
Seriously, who can resist a cookie that looks like a witch finger? They’re so visually fun and perfect for any Halloween party, trust me!
Delicious Almond Flavor
It’s not just about looks, folks! The almond flavor makes these cookies totally irresistible. It’s that something *extra* that makes them special.
Ingredients for Perfect Witch Finger Cookies
Alright, let’s talk ingredients. To get these witch finger cookies spot-on, you’ll want to gather everything *before* you start. Trust me, it makes life so much easier! Here’s what you’ll need:
- 1 cup (2 sticks) unsalted butter, softened – Really softened! You want it squishy, not melted.
- 1 cup granulated sugar – For that perfect sweetness.
- 1 teaspoon almond extract – Don’t skimp on this! It’s key for the witchy flavor.
- 1 large egg – Just your standard large egg.
- 1 teaspoon vanilla extract – A little extra somethin’ somethin’.
- 3 cups all-purpose flour – The backbone of these cookies.
- 1 teaspoon baking powder – Helps ’em puff up just right.
- 1/2 teaspoon salt – Balances the sweetness!
- 1/2 cup whole almonds – For the fingernails! These add a perfect crunch.
- Red food coloring or jam – For the “blood,” of course! I like using a seedless raspberry jam.
Make sure you have everything prepped and ready to go. Now, let’s get baking!
How to Make Witch Finger Cookies: Step-by-Step Instructions
Alright, here’s where the magic happens! Follow these steps, and you’ll have a batch of spooky witch finger cookies in no time. Don’t worry, it’s easier than you think!
Preparing the Witch Finger Cookies Dough
First, you’ll want to preheat your oven to 325°F (160°C). Now, in a large bowl, cream together the softened butter and sugar until it’s light and fluffy. This is important! It takes a few minutes, so don’t rush it. Beat in that almond extract, egg, and vanilla extract. In a separate bowl, whisk together the flour, baking powder, and salt. Gradually add the dry stuff to the wet stuff, mixing until a dough forms. Be careful not to overmix – that’ll make your cookies tough!
Shaping the Witch Finger Cookies
Okay, now for the fun part! Divide the dough in half. On a lightly floured surface, roll each half into a log. Cut the logs into 3-inch pieces. Roll each piece into a finger shape, tapering slightly at one end. This is where you get to be creative! Don’t worry if they’re not perfect; witch fingers aren’t supposed to be pretty, right? The more gnarled, the better, I say!

Adding the Witch Finger Nails and Baking
Place the cookies on a baking sheet lined with parchment paper – this is a must, trust me! Press an almond onto the tapered end of each cookie to create a fingernail. Then, use a knife to make a few wrinkles on each cookie to resemble knuckles. This really makes ’em look creepy! Bake for 12-15 minutes, or until lightly golden. Keep an eye on them; ovens vary!
Finishing the Witch Finger Cookies
Let the cookies cool on the baking sheet for a few minutes before transferring them to a wire rack to cool completely. Once cooled, use red food coloring or jam to create a ‘bloody’ effect around the almond fingernail. This is my favorite part! A little goes a long way, unless you want them *extra* gruesome. And there you have it – witch finger cookies!
Tips for the Best Witch Finger Cookies
Want to take your witch finger cookies from good to *ghoulishly* great? Here are a few little secrets that always work for me:
Achieving the Perfect Witch Finger Cookie Texture
Make sure that butter is *really* softened, and don’t overmix the dough! Trust me, that’s key for a tender, not tough, cookie.
Preventing Witch Finger Cookie Spreading
Chilling the dough for about 30 minutes before baking helps *so* much! And don’t forget that parchment paper – it’s your best friend.
Enhancing the Witch Finger Cookie Flavor
Splurge on the good almond extract – it makes a world of difference! And a pinch of salt? Chef’s kiss! It balances everything out perfectly.
Witch Finger Cookies Variations
Okay, so you’ve got the basic witch finger cookie down? Awesome! Now, let’s get a little crazy and try some fun variations. These are just a few ideas to get you started – feel free to experiment!
Green Shortbread Witch Finger Cookies
Want extra spooky? Add a few drops of green food coloring to the dough! It makes ’em look like they’re straight out of a swamp. Creeeepy!
Spooky Sugar Witch Finger Cookies
Before baking, sprinkle some sanding sugar on top for extra sweetness and sparkle! It gives them a fun, slightly sinister shimmer, don’t you think?
Different Witch Finger Nail Options
Forget plain almonds! Try slivered almonds for sharper nails, or even pecans for a more rustic look. Get creative with those witch finger nails!
Serving Suggestions for Your Witch Finger Cookies
Alright, you’ve baked these creepy witch finger cookies. Now what? Here’s how to make ’em a real showstopper!
Creating a Halloween Cookie Platter with Witch Finger Cookies
Pile ’em high on a platter with ghost cookies, spiderweb cupcakes… you name it! The more spooky, the better, right?
Presenting Witch Finger Cookies as a Spooky Gift
Pop ’em in a Halloween-themed box or bag! Instant spooky-sweet gift. Trust me, anyone would love to get these!
Storing Your Witch Finger Cookies
So, you’ve got a batch of these witch finger cookies… and maybe, *just maybe*, you have some leftovers (highly unlikely, I know!). Here’s how to keep them fresh, if you can resist eating them all!
Storing Baked Witch Finger Cookies
Easy peasy! Just pop ’em in an airtight container at room temperature. They’ll stay good for up to 3 days… if they last that long!
Make Ahead Witch Finger Cookie Dough
Want to get ahead of the game? You can totally store the dough in the refrigerator for up to 2 days, or even freeze it for longer. Just thaw it out before baking. So easy!
Frequently Asked Questions About Witch Finger Cookies
Got questions about these witch finger cookies? Don’t worry, I’ve got answers! Here are a few of the most common things folks ask me:
Can I make witch finger cookies ahead of time?
Absolutely! You can totally make the butter cookie dough a day or two in advance and keep it in the fridge. Just wrap it up tight! That make ahead cookie dough is a lifesaver, trust me.
What can I use if I don’t have almond extract for witch finger cookies?
No almond extract? No problem! Vanilla extract works just fine. Or, you could try a little lemon zest for a fun twist! Get creative with those green shortbread fingers!
How do I get the ‘bloody’ effect on my witch finger cookies?
Easiest way? A dab of red jam blood around the almond fingernails! Or, mix a little red food coloring with corn syrup for a super glossy, creepy look. Have fun with it!
Nutritional Information for Witch Finger Cookies
Okay, let’s talk numbers! Here’s a *very* rough estimate of the nutritional info for one of these witch finger cookies. Keep in mind, it’s all gonna depend on the exact ingredients you use – different brands, you know? I’m not a nutritionist, so this isn’t exact science. Just a general idea!
We’re talking around 80 calories per cookie, maybe 5 grams of fat, and about 6 grams of sugar. Hey, they’re cookies! A little spooky treat won’t hurt, right? But seriously, this is just a ballpark. Don’t come at me if your batch is slightly different!
Enjoy Your Spooky Witch Finger Cookies!
And there you have it! I hope you have a blast making these spooky witch finger cookies. Don’t forget to leave a comment and let me know how they turned out! Rate the recipe, share your pics on social media – I can’t wait to see your creepy creations! Happy Halloween baking from your fellow home cook, Casey Mitchell!
Print
Wicked Witch Finger Cookies: Bake 4 Doomed Delights
- Prep Time: 20 minutes
- Cook Time: 15 minutes
- Total Time: 35 minutes
- Yield: About 36 cookies 1x
- Category: Dessert
- Method: Baking
- Cuisine: American
- Diet: Vegetarian
Description
Witch finger cookies are a fun and spooky treat, perfect for Halloween. These almond-flavored cookies resemble gnarled witch fingers, complete with a ‘fingernail’ and creepy wrinkles.
Ingredients
- 1 cup (2 sticks) unsalted butter, softened
- 1 cup granulated sugar
- 1 teaspoon almond extract
- 1 large egg
- 1 teaspoon vanilla extract
- 3 cups all-purpose flour
- 1 teaspoon baking powder
- 1/2 teaspoon salt
- 1/2 cup whole almonds, for fingernails
- Red food coloring or jam, for ‘blood’
Instructions
- Preheat oven to 325°F (160°C).
- In a large bowl, cream together the butter and sugar until light and fluffy.
- Beat in the almond extract, egg, and vanilla extract.
- In a separate bowl, whisk together the flour, baking powder, and salt.
- Gradually add the dry ingredients to the wet ingredients, mixing until a dough forms.
- Divide the dough in half. On a lightly floured surface, roll each half into a log.
- Cut the logs into 3-inch pieces. Roll each piece into a finger shape, tapering slightly at one end.
- Place the cookies on a baking sheet lined with parchment paper.
- Press an almond onto the tapered end of each cookie to create a fingernail.
- Use a knife to make a few wrinkles on each cookie to resemble knuckles.
- Bake for 12-15 minutes, or until lightly golden.
- Let the cookies cool on the baking sheet for a few minutes before transferring them to a wire rack to cool completely.
- Once cooled, use red food coloring or jam to create a ‘bloody’ effect around the almond fingernail.
Notes
- For a more intense almond flavor, add 1/4 teaspoon of almond extract to the dough.
- You can use green food coloring to tint the dough for a more ghoulish look.
- Store the cookies in an airtight container at room temperature for up to 3 days.
Nutrition
- Serving Size: 1 cookie
- Calories: 80
- Sugar: 6g
- Sodium: 30mg
- Fat: 5g
- Saturated Fat: 3g
- Unsaturated Fat: 2g
- Trans Fat: 0g
- Carbohydrates: 8g
- Fiber: 0g
- Protein: 1g
- Cholesterol: 15mg